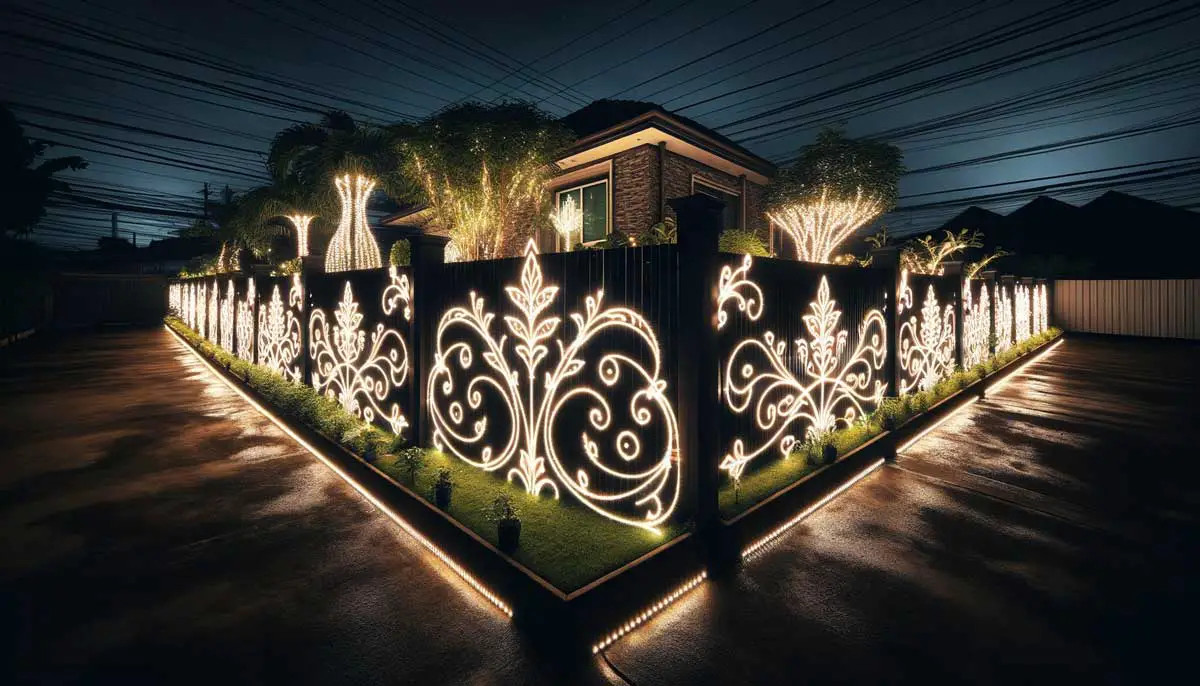
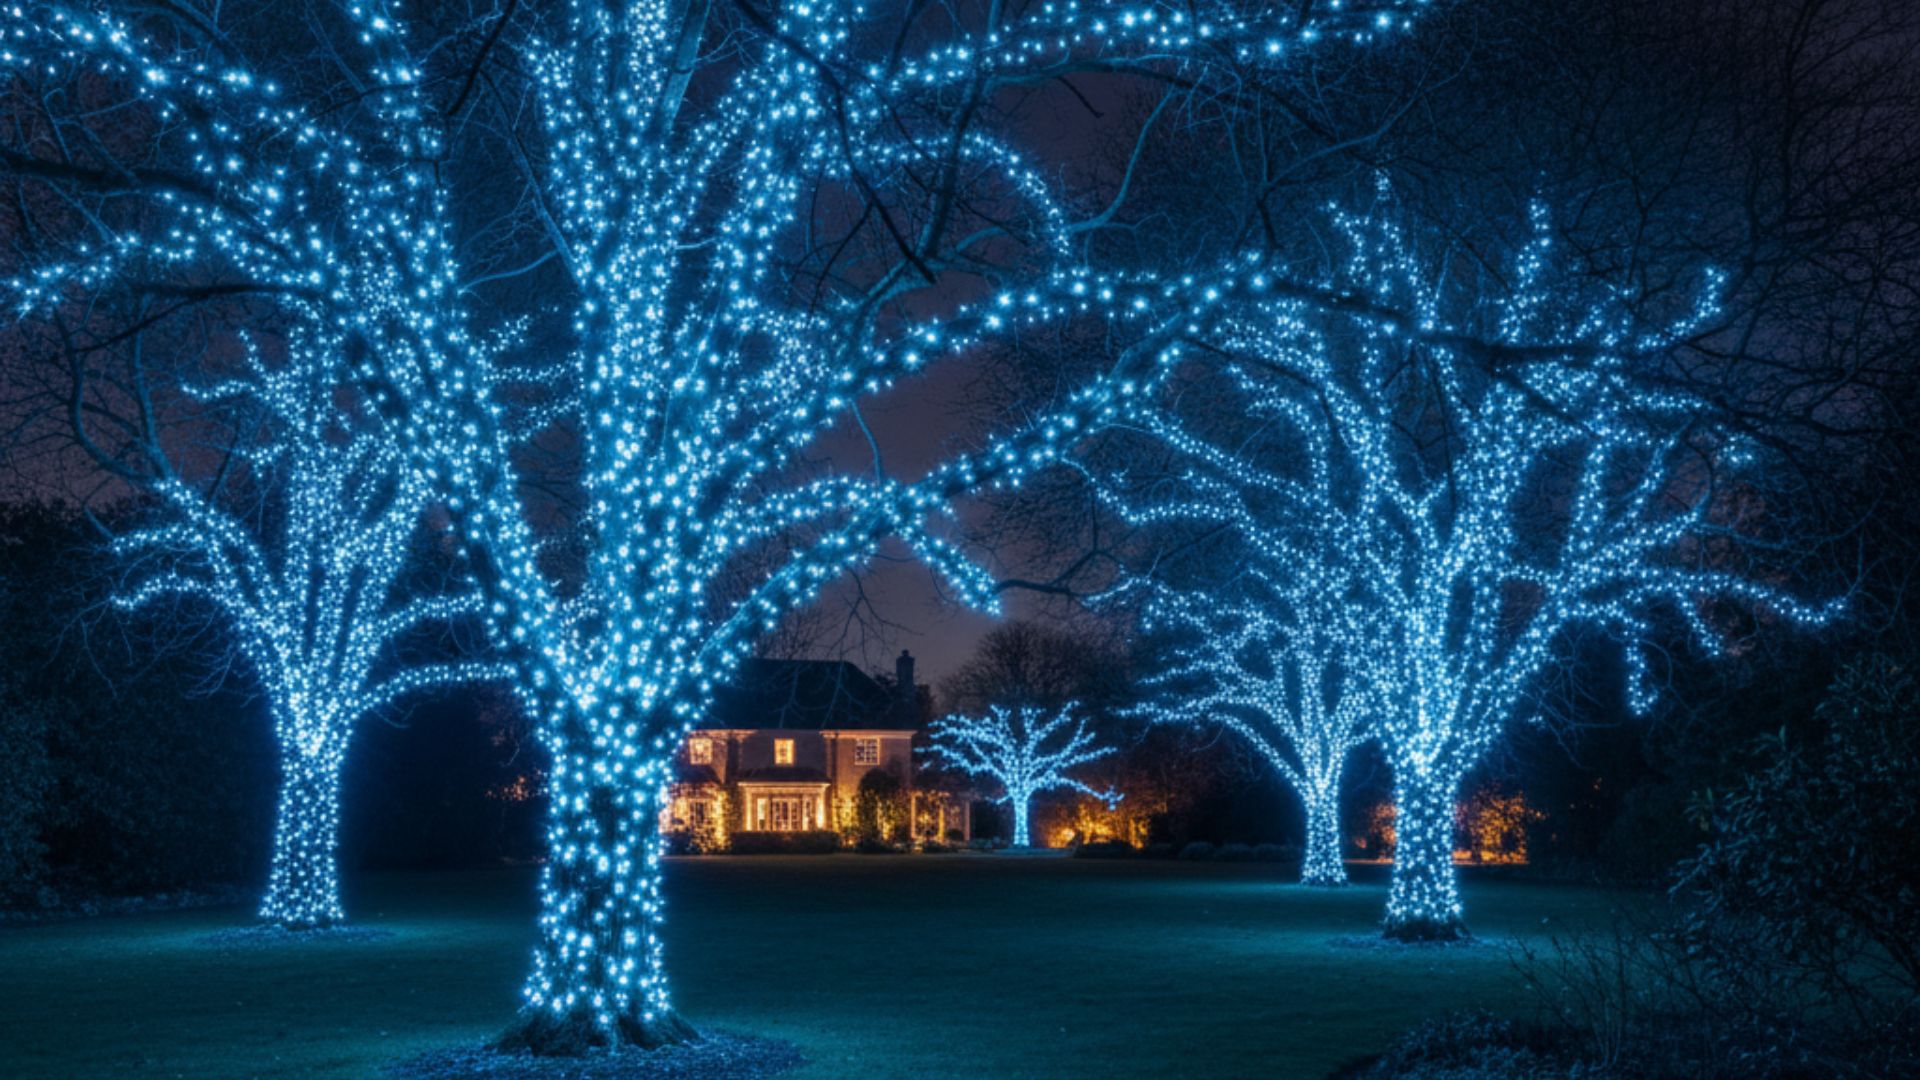
Setting up a landscape often starts with great plants, but most people forget that those plants disappear the moment the sun goes down. If you only have one big porch light, your beautiful trees just end up looking like flat, creepy shapes in the dark.
The trick is to use a few different outdoor lights to highlight textures and features rather than just blasting the whole yard with one bulb.
Today, in this article, we will go over three ways to use layered lighting so your outdoor space feels cozy and intentional instead of just bright.
What Is Layered Lighting?

Layered lighting is a simple way to give your yard more life and character.
Instead of blasting everything with one harsh light, you use a mix of smaller lights to brighten different areas.
This helps create a space that feels balanced and easy on the eyes. Nothing is too bright, nothing is too dark, and you can move around safely without squinting.
Here are the three types of lighting used in layering:
Ambient Lighting
This is your base layer—the soft glow that fills the whole space so it never feels too dark.
It sets the mood quietly, without calling too much attention to itself.
You can create this effect with lights placed high in trees to mimic moonlight or with gentle lights around the edges of your yard to outline the space.
Task Lighting
Task lighting helps you see clearly where it matters most.
It keeps you safe and steady, whether you’re walking along a path or cooking outdoors.
These lights are a bit brighter and more focused, placed right where you need them.
Even so, they don’t have to stand out—you can tuck them into stonework or greenery so they blend in naturally.
Accent Lighting
This is where you highlight the parts of your landscape that you really love.
A well-placed light can draw attention to a tree, a sculpture, or a water feature.
It adds a bit of drama by playing with light and shadow, turning simple details into something eye-catching once night falls.
Practical Tips to Layering Your Landscape Lights

Getting your outdoor lighting to look just right doesn’t have to be complicated, but it does help to plan things out before you start installing anything.
Think of your yard as a blank space where you slowly add light in the spots that need it most.
A few simple habits can save you from ending up with a setup that looks rushed or uneven.
Here are some practical tips to guide you:
- Test Before You Dig — Before installing anything permanent, try using flashlights or temporary solar lights to see how the light falls at night. Move them around, change angles, and see what looks best. This gives you a clear idea of what works before you start putting wires into the ground.
- Pay Attention to Beam Angle — Different lights spread light in different ways. A narrow beam works well for tall, slim trees, while a wider beam is better for large walls or open areas. Picking the right one helps you highlight your space properly instead of sending light where it’s not needed.
- Stick to One Color Tone — Choose one color temperature—warm white is usually a safe choice—and use it across all your lights. Mixing warm and cool tones can make your yard look uneven and distracting. Keeping it consistent helps everything feel well-put-together.
- Go Easy on Brightness — Outdoor lighting doesn’t need to be overly bright. A softer glow is often more inviting and lets your eyes adjust naturally. Too much light can wash out textures and take away from the overall look.
- Build from the Ground Up — Start with lighting for walkways and steps so you can move around safely. Then add lights that highlight your favorite features. After that, fill in any dark spots with soft background lighting. Taking it step by step helps you see what your space really needs without adding extra lights you don’t need.
Now here are 3 landscape layered lighting ideas you need to try for your outdoor space right now:
1. Garden Path Lighting

Your garden path isn’t just a walkway—it helps shape how your yard feels at night. When you mix practical lighting with softer touches around it, the path becomes more than just a route. It turns into a gentle guide that leads you through the space.
Start by placing low, subtle lights along the edges of the path so it’s easy to see where you’re going. This keeps everyone safe and on track. Once that’s in place, you can add small spotlights or string lights in nearby plants and branches to bring a soft glow into the surroundings.
When you combine brighter path lighting with softer accents, the space feels more inviting and alive. Instead of looking like a plain strip of light, your path blends into the rest of the garden and helps the whole yard feel more open.
Here are some tips to guide you with this layered lighting idea:
- Space Your Lights Naturally — Rather than placing lights in a strict, even line, try setting them on alternating sides of the path. This creates a more relaxed and natural look, similar to how light falls outdoors at night.
- Use Shielded Fixtures — Choose lights that direct the glow downward and keep the bulb out of sight. This helps avoid harsh glare and keeps your focus on the path and the textures underfoot.
- Choose the Right Light Spread — For wider paths, go with lights that cast a broad, gentle glow. If you want to highlight something specific at the end of the path, use a more focused beam. This keeps the lighting even and avoids overly bright spots or dark patches.
- Add Small Highlights Along the Way — Pick a few plants or features near the path and give them a bit of extra light. These small highlights create visual pauses and make the walk more interesting, giving people something to enjoy as they move through the space.
2. Water Feature Lighting

A water feature can be the star of your yard during the day, but at night it can easily fade into the background. With the right mix of outdoor lighting, you can bring it back to life and highlight every ripple and gentle splash.
Start by placing submersible lights beneath the water to create a soft glow from within. Then add floating lanterns on the surface for a calm, moving light. To complete the scene, use uplights on nearby plants and trees, along with small lights around the edges to outline the shape and keep the area safe to walk around.
Layering your lights this way adds depth and makes the water feel more alive. Instead of light simply reflecting off the surface, it shines from different angles, giving your garden a warm and welcoming look.
If you’re interested in this layered lighting idea, here are some helpful tips to guide you:
- Light Up the Movement — Place underwater lights where the water is moving, like under a small waterfall or fountain. This helps catch bubbles and movement, creating a lively, sparkling effect.
- Keep the Fixtures Out of Sight — Hide your perimeter lights behind rocks or within plants so only the glow is visible. This keeps the scene clean and lets the water and greenery take center stage.
- Keep the Water Clear — Clean water helps light travel better. If the water is cloudy, the light can look dull and blocked. Regular upkeep keeps everything looking bright and clear.
- Choose Safe, Reliable Lighting — Go for waterproof, low-voltage LED lights made for outdoor water use. They’re safer, last longer, and use less energy, so you can enjoy the glow all evening without worry.
3. Flower Bed Lighting

Your flower beds don’t have to fade into the dark once the sun goes down. With a few well-placed lights, you can bring out their shapes and colors, letting them stand out even at night.
Start by placing small stake lights among your favorite plants. This helps highlight the petals and leaves, giving them a soft glow against the darker background.
Adding low path lights nearby also makes it easier and safer to walk around, so you can enjoy your garden anytime.
To pull everything together, you can add a few lights higher up in nearby trees. This creates a gentle, moon-like glow that spreads across the area and gives your garden a calm, welcoming feel.
Here are some useful tips to make the most of this layered lighting idea:
- Keep Colors Looking Natural — Use lights that show colors clearly so your flowers keep their rich reds, yellows, and purples even at night. A warm, natural white light works best to avoid a dull or faded look.
- Play with Angles — Instead of pointing lights straight down, try angling them from the side. This creates soft shadows that bring out the texture of leaves and the layers of each bloom.
- Adjust as Plants Grow — As your plants get taller, your lights should keep up. Use adjustable stakes so you can raise them when needed, making sure the light isn’t blocked by thick leaves.
- Focus on Standout Plants — Choose one or two plants that really catch your eye and give them a bit more light. This creates a clear focal point and helps guide the eye across the whole flower bed.

Elevate the Look of Your Landscape with These Layered Lighting Ideas
Properly lighting your yard can completely change how your home feels at night. With the layered lighting ideas we’ve talked about in this article, you can create a landscape that looks warm, inviting, and well-put-together.
Once you start layering your lights, you might catch yourself pausing to admire your landscape and all its features more often than you expected.
So now that you’ve got a simple guide to follow, you can start bringing your landscape to life and make it the star of your neighborhood.