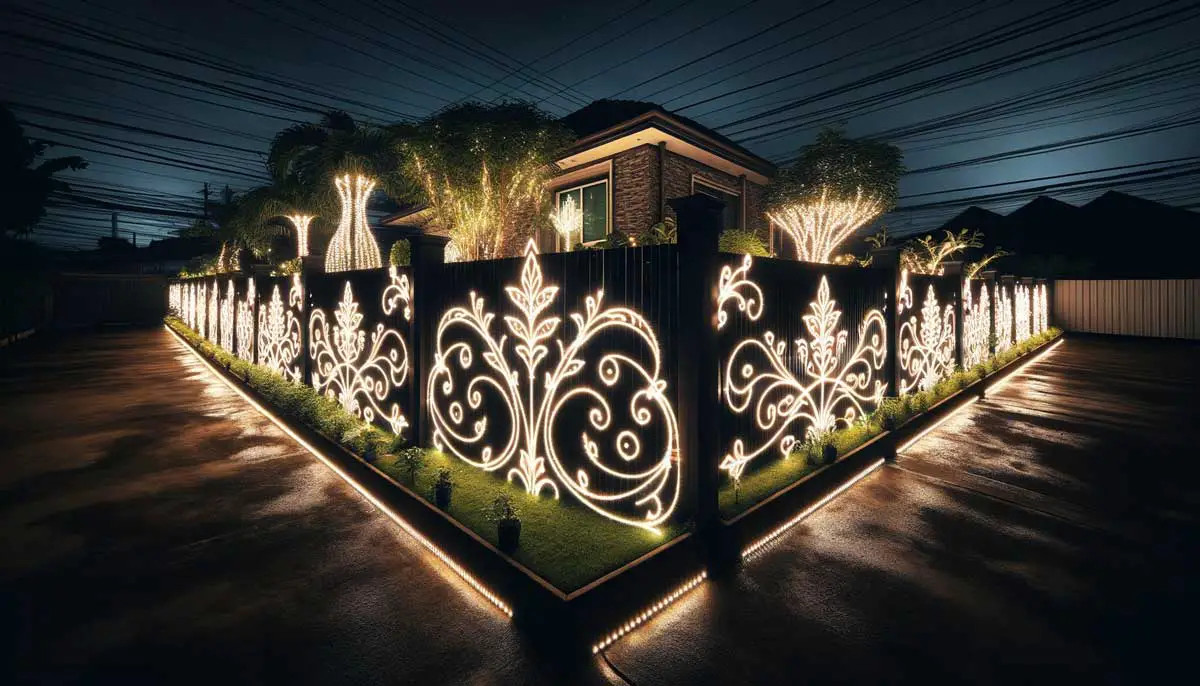
You don’t need a big budget or complicated tools to create outdoor lighting that’s both practical and full of personality. With a dash of creativity and a few items you probably already have lying around, your backyard can shine in no time.
DIY outdoor lighting isn’t just a money-saver—it’s a chance to make something that’s truly your own. Plus, repurposing everyday materials is not only fun but also a clever way to reduce waste and embrace a more sustainable lifestyle.
In this article, we’ll explore creative ways to craft unique lighting for your outdoor spaces using simple, everyday items. Get ready to roll up your sleeves and discover how easy (and satisfying) it is to brighten up your yard with a little DIY ingenuity.
Why DIY Outdoor Lighting?

Before we dive into the fun DIY ideas, let’s take a minute to appreciate why making your own outdoor lighting is such a brilliant option. It’s not just a project—it’s a chance to get creative, save money, and bring a personal touch to your space.
DIY outdoor lighting is also a fantastic way to break free from the cookie-cutter options at the store. You get to design something that fits your style, uses materials you already have, and feels truly one-of-a-kind.
Here are a few great reasons to try your hand at DIY outdoor lighting:
- It’s All About You: When you make your own lighting, it reflects your taste and personality. You can choose the shapes, colors, and materials that make your space feel like home, not like the display aisle at a hardware store.
- Good for the Planet: Repurposing old items is an easy way to cut down on waste and give everyday materials a second life. Turning jars, cans, or bottles into beautiful lights is not just creative—it’s eco-friendly, too.
- Budget-Friendly Creativity: Outdoor lighting can get pricey, but DIY lets you use what you already have or spend just a little. You get unique lighting that doesn’t burn a hole in your wallet.
- The Fun Is in the Making: There’s something so satisfying about looking at a finished project and thinking, “Wow, I made that!” The process is just as enjoyable as the finished product, especially when you see your space glowing with your own handiwork.
5 Must-Try DIY Outdoor Lighting Projects Using Everyday Materials
1. Cardboard Lanterns

Have you ever looked at a cardboard box and thought, “This could be so much more than a storage solution”? With a little creativity, that plain box can be transformed into a stylish lantern that adds a warm, inviting glow to your outdoor spaces. Whether they’re perched on your porch steps or serving as eye-catching centerpieces, these lanterns are proof that lighting doesn’t have to be complicated to look amazing.
Cardboard lanterns are all about versatility and personalization. You can create any pattern you like—think stars, swirls, or even your initials—and let the light shine through in a way that’s entirely your own. Pair that with LED lights, which are safe, energy-efficient, and long-lasting, and you’ve got a lighting solution that’s practical and fun.
Turning cardboard boxes into lanterns is also a clever way to reuse something you’d normally toss out. It’s a simple project that doesn’t cost much but leaves a big impression. In just a few steps, you’ll have lighting that’s not only functional but also full of character.
How to Make Cardboard Lanterns
Follow these steps to craft your very own cardboard lanterns:
- Gather Your Supplies: You’ll need a cardboard box, a pencil, a utility knife, LED lights, and some tape or glue.
- Sketch Your Design: Draw patterns or shapes on the sides of the box. The design is up to you—get creative!
- Cut Out the Patterns: Use a utility knife to carefully cut out your designs, keeping the edges clean and sharp.
- Assemble the Lantern: If the box is open, tape or glue the sides together to make it sturdy.
- Place the Light Inside: Pop an LED light into the box, making sure it’s positioned to shine through your patterns.
- Show It Off: Place your finished lanterns on steps, tables, or anywhere else you’d like a little extra glow.
2. Colorful Bottle Lights

Colorful bottles don’t need to sit idle or head straight to the recycling bin—they can bring life and light to your outdoor space instead. Their natural colors and unique shapes make them perfect for creating fun and stylish lighting. Whether you place them along a walkway or dangle them from tree branches, these bottle lights are sure to catch the eye.
These lights aren’t just practical—they add personality and charm to your yard. Using battery-powered or solar fairy lights keeps them energy-efficient and safe for outdoor use. Plus, the variety of bottle colors and sizes means you can mix and match to create a setup that feels uniquely yours.
Reusing bottles for this project is both creative and eco-friendly. It’s an affordable way to brighten your space while giving new life to something you already have. With minimal effort, you’ll end up with lighting that’s as functional as it is visually appealing.
How to Make Colorful Bottle Lights
Here’s how you can create these unique lights:
- Collect Your Supplies: Gather glass or plastic bottles in different colors, battery-powered or solar fairy lights, and string or hooks for hanging.
- Prep the Bottles: Clean the bottles thoroughly and remove any labels to keep them looking neat.
- Add the Lights: Carefully insert the fairy lights into the bottles, spreading them evenly for the best effect.
- Secure Them: Attach string or hooks if you’re hanging them, or simply position the bottles along pathways or in your garden.
- Arrange and Enjoy: Place the bottles in your desired spots, ensuring they’re secure and easy to admire.
3. DIY Chandelier

Ever thought about turning those old spoons, forks, and keys into something more than just forgotten drawer clutter? A DIY chandelier can breathe new life into those odds and ends, turning them into a stylish and functional lighting piece for your outdoor space. It’s a fun and creative way to mix upcycling with a touch of industrial flair.
This DIY chandelier is a unique blend of charm and practicality, making it a standout addition to any backyard. By hanging utensils and metallic items from a hoop, you create layers of texture and movement that catch the light beautifully. Adding fairy lights around the hoop and letting a few strands dangle alongside the metals gives it a warm, inviting glow that’s perfect for outdoor dinners or cozy nights under the stars.
The best part? It’s simple to make and easy on the budget, using items you likely already have at home. Not only do you get a beautiful, functional centerpiece, but you’re also giving a second life to things that might otherwise be tossed aside. It’s a win for your creativity and the planet.
How to Make a DIY Chandelier
Here’s how you can create your own chandelier from everyday materials:
- Collect Your Supplies: Grab a hoop (like an embroidery hoop or metal ring), old utensils, keys, fairy lights, string or thin wire, and a pair of pliers.
- Set Up the Base: Attach strings or wires around the hoop, leaving enough length to hang your metallic items.
- Add the Utensils and Keys: Secure the spoons, forks, keys, or other metallic objects to the strings, varying their lengths for a layered and dynamic look.
- Weave in the Fairy Lights: Wrap the fairy lights around the hoop, letting some strands hang down with the metallic pieces for extra sparkle.
- Hang It Up: Use sturdy string or chain to suspend the chandelier from a strong branch, pergola, or patio ceiling.
- Tweak the Design: Adjust the placement of the lights and items to ensure everything looks balanced and secure.
If you want to give this idea a try, here’s a product that’s perfect for it:

4. Paper Lanterns

If you have some colorful papers, old newspapers, or magazine pages gathering dust, why not turn them into unique paper lanterns? This DIY project lets your creativity run wild as you craft all kinds of shapes and designs to suit your style. Whether hanging in your garden or sitting as the centerpiece on a balcony table, these lanterns add a warm and artistic vibe to your outdoor space.
Paper lanterns are not just visually appealing—they’re incredibly flexible in design. You can go bold with geometric patterns or keep it playful with freehand cuts, making each lantern truly one of a kind. Pair them with battery-powered LED lights for a soft glow that’s safe and perfect for outdoor evenings.
This idea is also a budget-friendly way to reuse materials you already have, making it eco-friendly and rewarding. With just a little effort, you’ll create lighting that’s personal and functional. It’s an easy, creative project that leaves you with something to admire long after it’s done.
How to Make Paper Lanterns
Here’s how to create your own stunning paper lanterns:
- Collect Your Materials: Grab some old newspapers, magazines, or colorful papers, along with LED lights, scissors, glue, and string or hooks for hanging.
- Cut and Design: Decide on the shape and size you want, then cut the paper into your desired patterns. Get creative—experiment with designs that make the light shine through beautifully.
- Assemble the Lantern: Fold and glue the paper into your chosen shape, ensuring it’s sturdy enough to hold its form.
- Add the Light: Place the LED light inside the lantern, positioning it to spread the glow evenly.
- Display It: Hang the lanterns using string or hooks, or place them on tables for a cozy centerpiece.
5. DIY Fairy Light Lantern

For anyone with a few old containers lying around—think tin cans, pails, or even worn-out lamps—here’s a creative way to put them to good use. By wrapping fairy lights around these forgotten items, you can create simple yet eye-catching lanterns for your outdoor space. They’re perfect for lighting up pathways or tucking into your garden for a cozy, welcoming glow.
This idea is not just practical—it’s also a great excuse to upcycle items that might otherwise go to waste. The mix of delicate fairy lights and repurposed containers adds character to your outdoor setup, blending rustic charm with a modern touch. Plus, the soft light these lanterns give off is just right for setting the mood for evening hangouts or a quiet moment to yourself.
DIY fairy light lanterns are an easy and budget-friendly way to refresh your outdoor lighting. They’re quick to make, don’t require fancy tools, and let you get creative with materials you already have. In no time, you’ll have unique lanterns that brighten your space while reflecting your personal style.
How to Make DIY Fairy Light Lanterns
Follow these steps to create your own lanterns:
- Gather Your Supplies: Collect any unused containers like tin cans, small pails, or old lamps, along with fairy lights and tape or zip ties to secure them.
- Clean the Containers: Give the containers a quick clean to remove dust and dirt, ensuring they’re ready for their makeover.
- Wrap the Fairy Lights: Carefully wrap the fairy lights around the containers, securing them with tape or ties where needed to keep them in place.
- Place the Lanterns: Position your lanterns along walkways, nestled in garden beds, or anywhere else that could use a soft glow.
- Adjust for Effect: Make small adjustments to the fairy lights to ensure an even and attractive spread of light.
Lighting Up Your Creativity

With these DIY outdoor lighting ideas, everyday items can turn into eye-catching features for your outdoor space. From tin cans to colorful bottles, each project lets you repurpose materials, save a few bucks, and showcase your unique style. And the bonus? These ideas are not only practical but also fun to make, giving you lighting that’s as personal as it is functional.
Now it’s your turn to dive in and bring these ideas to life. Whether you try paper lanterns, a DIY chandelier, or something entirely your own, the possibilities are endless when creativity takes center stage. So gather your supplies, start crafting, and let your outdoor space shine with a little DIY flair.