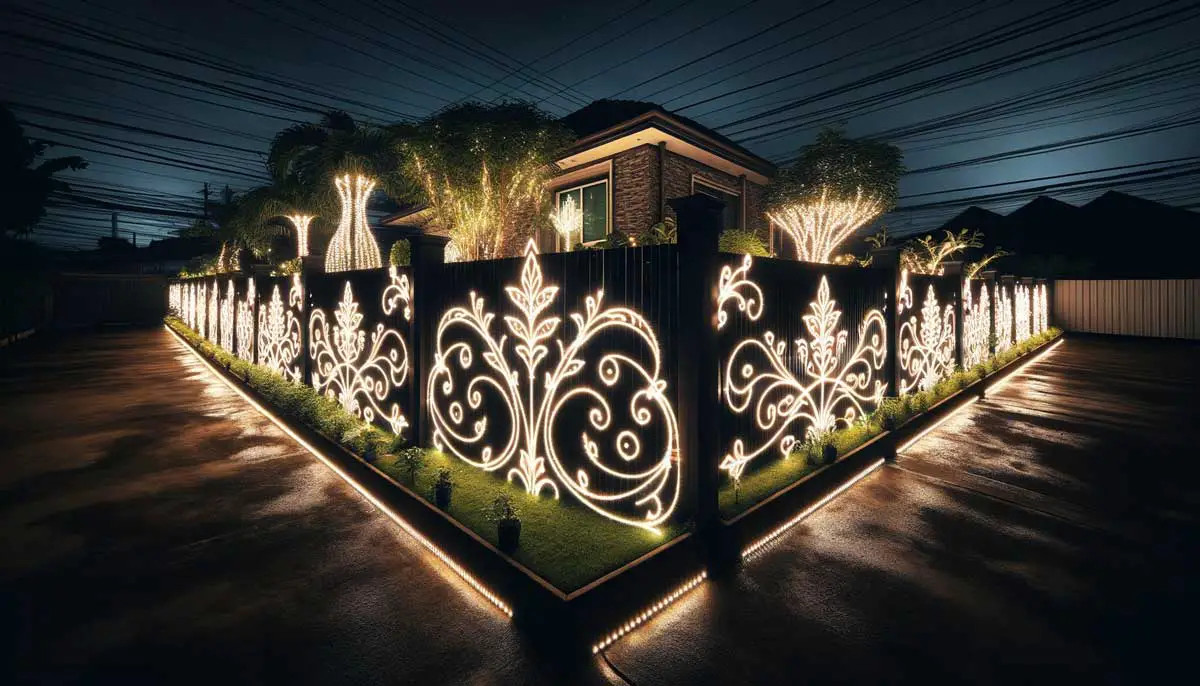
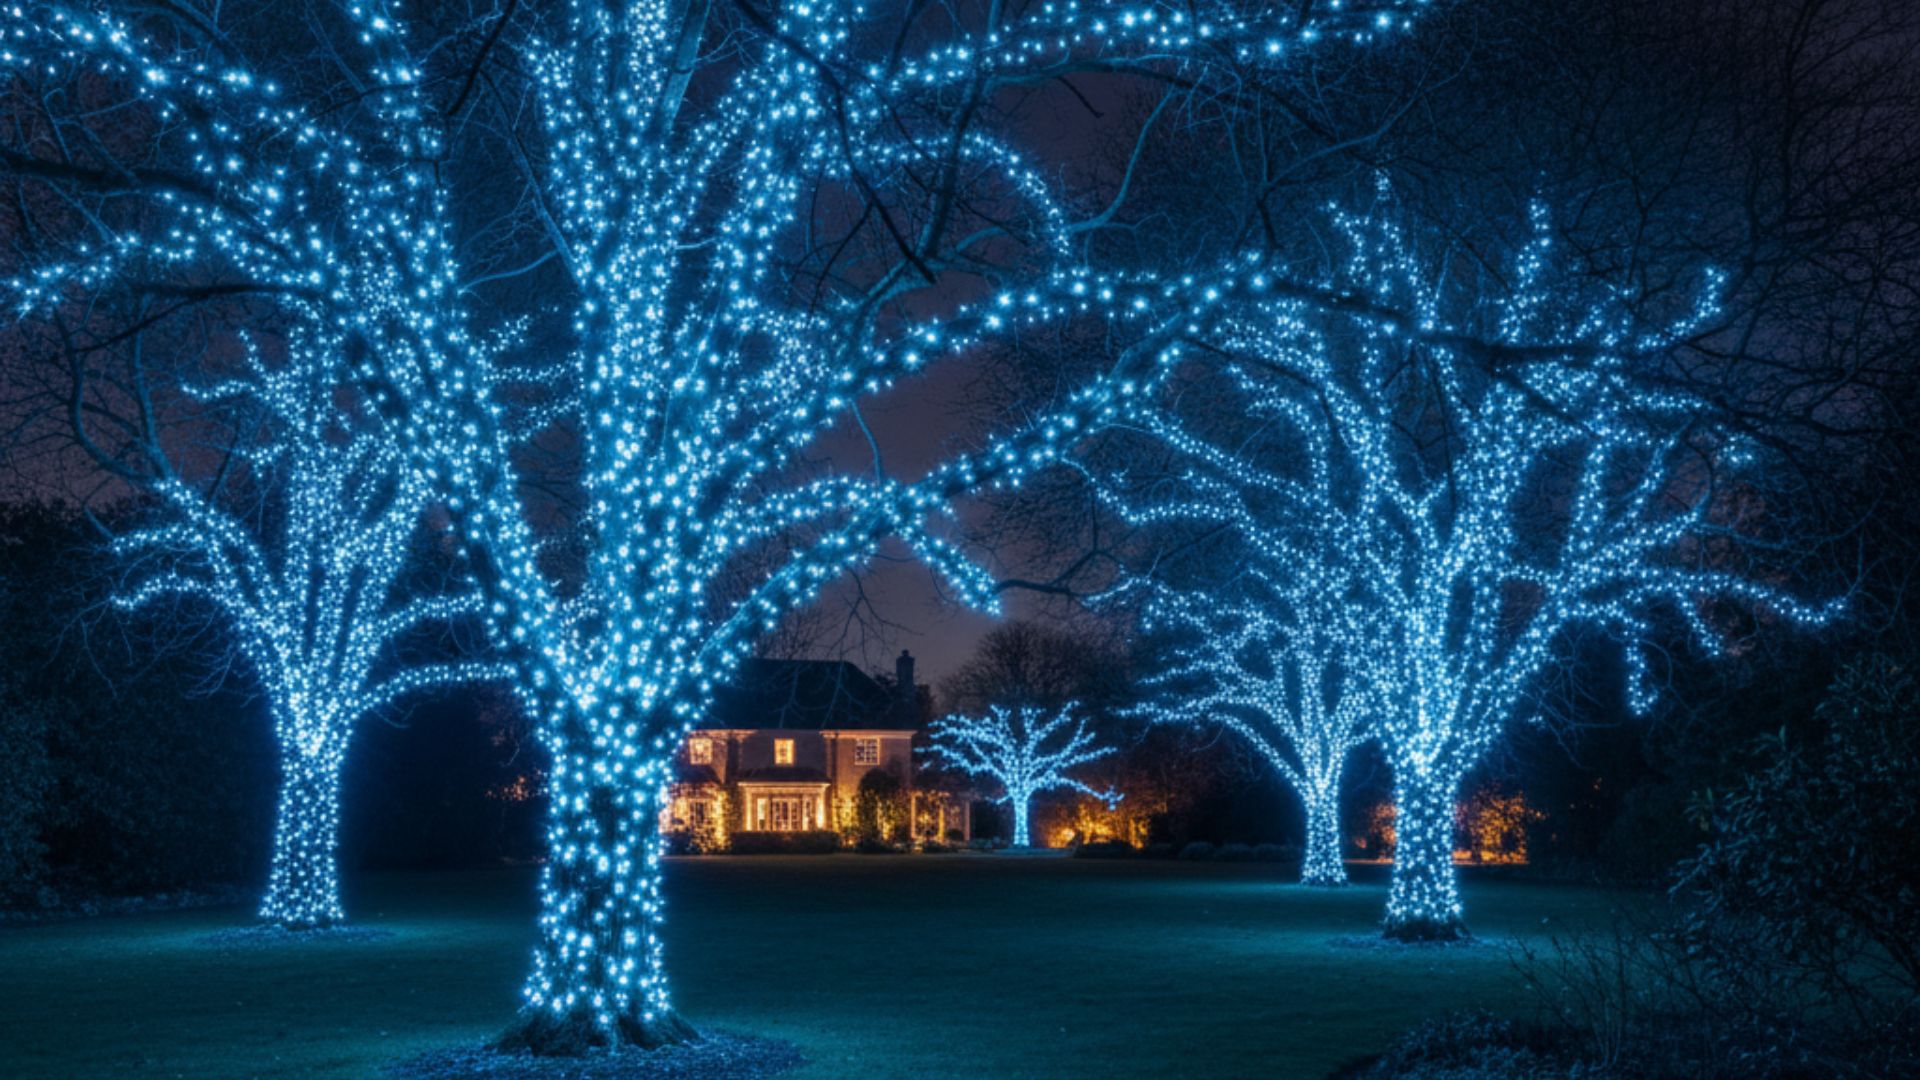
These often-overlooked areas offer prime real estate for adding some serious style with just the right lights. Whether you’re looking to boost your home’s curb appeal or simply create a cozier atmosphere, a well-lit exterior can work wonders.
In this article, we’ll explore six must-try ideas for illuminating your rooflines and eaves that are both practical and stylish. Consider it a simple yet impactful way to enhance your home’s exterior charm.
We’ll cover everything from modern, sleek designs to more rustic, cozy options, ensuring there’s something for every taste. So, if you’re ready to brighten up your home’s exterior, these ideas will light the way—literally.
Importance of Lighting Rooflines and Eaves

Before we look at the different outdoor lighting ideas for your rooflines and eaves, let’s chat about why these areas deserve some attention. Illuminating rooflines and eaves isn’t just about adding a touch of flair to your home’s exterior; it’s also a smart way to enhance both beauty and functionality.
Proper lighting in these spots can highlight architectural details, improve security, and create a warm, inviting atmosphere. Plus, it’s one of those simple upgrades that can make a big difference without breaking the bank.
Here are some key benefits:
Enhanced Curb Appeal
Lighting up your rooflines and eaves can instantly boost your home’s curb appeal. It draws attention to the architectural details that make your house unique, from the angles of the roof to the texture of the eaves.
This added illumination creates a polished look that stands out, especially in the evening. Your home will catch the eye of passersby and visitors, making it feel more welcoming and well-maintained.
Increased Security
A well-lit exterior can be a deterrent to potential intruders. Lighting the rooflines and eaves helps eliminate dark spots where someone could hide, making your home less of a target.
With the right lighting, you’re not just showcasing your home’s beauty—you’re also adding a layer of protection. It’s a win-win situation that gives you peace of mind.

Improved Safety
Lighting isn’t just about looks; it’s about safety too. Illuminating rooflines and eaves helps ensure that pathways and entry points are well-lit, reducing the risk of trips and falls.
This is especially important during those darker winter months or if your home has a lot of steps or uneven ground. A little extra light can go a long way in keeping everyone safe.
Energy Efficiency
Modern outdoor lighting options, especially LEDs, are energy-efficient and long-lasting. By lighting your rooflines and eaves with these technologies, you can create a beautiful nighttime aesthetic without worrying about high energy bills.
It’s an environmentally friendly choice that doesn’t sacrifice style or function. Plus, you’ll spend less time replacing bulbs and more time enjoying the glow.
6 Outdoor Lighting Ideas for Rooflines and Eaves
1. String Lights Draped Along the Roofline
Draping string lights along the edge of your roofline is a brilliant way to add a warm, welcoming glow to your home’s exterior. These small, twinkling lights create an inviting ambiance that makes your house feel cozy and festive, whether it’s during the holiday season or just a regular Tuesday night.
With LED bulbs, you get energy efficiency and long-lasting durability, so you can enjoy that lovely glow without worrying about your electricity bill.

What makes this outdoor lighting idea truly special is its versatility. You can keep things simple with a single strand of white lights for an elegant, understated look, or you can go bold with colorful bulbs that change with the seasons.
Either way, this lighting solution works year-round, giving your home a touch of charm that never goes out of style. Plus, it’s a relatively easy project that packs a big visual punch without a huge time investment.
If you’re looking for a quick way to enhance your roofline, this is definitely a must-try. The soft glow of the string lights not only highlights your roof’s structure but also adds depth and dimension to your home, making it stand out in the neighborhood. Here’s how you can easily achieve this effect:
- Choose the Right String Lights: Opt for LED string lights for their energy efficiency and longevity. You can choose from white, warm, or even color-changing bulbs depending on your desired effect.
- Measure Your Roofline: Use a tape measure to determine the length of your roofline so you know how many strands of lights you’ll need. It’s better to have a little extra than to run short.
- Attach Light Clips: Use outdoor light clips designed for rooflines. Space them evenly along the edge of your roof, making sure they’re secure but not too tight.
- Hang the Lights: Start at one end of the roofline and work your way to the other, attaching the string lights to the clips as you go. Be careful not to pull the lights too tightly—let them drape slightly for a more relaxed look.
- Check Your Work: Once all the lights are hung, plug them in to ensure everything is working properly and adjust any areas that need tweaking.
- Secure Loose Ends: If you have any extra length of lights, secure the ends neatly around a corner or tuck them under the eaves to keep things tidy.
- Set a Timer: Consider using a timer to automatically turn the lights on at dusk and off at dawn. This not only saves energy but also keeps your home looking consistently well-lit.
Want to give this idea a try? Take a look at this:

2. Icicle Lights for A Cascading Effect
Hanging icicle lights from your roofline creates a stunning cascading effect that beautifully mimics the natural look of winter icicles. These lights dangle elegantly from the edge of your roof, with varying lengths that add depth and texture to your home’s exterior. The soft, twinkling glow they produce is perfect for bringing a touch of magic to your home, especially when the evenings get longer and colder.
What makes this outdoor lighting idea stand out is its ability to transform your home into a winter wonderland, even if there’s no snow in sight. The cascading effect of the icicle lights creates a sense of movement and liveliness, making your house feel more dynamic and festive.

While these lights are a holiday favorite, they can also be used year-round to add a whimsical touch to your home’s aesthetic, offering a playful yet elegant charm.
This is a must-try if you want to add a bit of seasonal flair to your roofline or simply enjoy a unique lighting effect throughout the year. The icicle lights are not only visually striking but also versatile, allowing you to create a cozy and inviting atmosphere with minimal effort. To get this look just right, follow these simple steps:
- Select Your Icicle Lights: Choose LED icicle lights for their energy efficiency and long lifespan. You can opt for classic white or go for color-changing options to suit different occasions.
- Measure Your Roofline: Determine the length of your roofline to figure out how many strands of icicle lights you’ll need. It’s better to have a bit more than less, so consider adding a few extra feet.
- Install Light Clips: Use sturdy outdoor light clips that are designed to hang lights from gutters or shingles. Space them out evenly along your roofline, ensuring they’re securely attached.
- Hang the Icicle Lights: Start at one end of the roofline and carefully drape the icicle lights from the clips, allowing them to hang freely. Adjust the lengths as needed to create an even, cascading effect.
- Test and Adjust: Once the lights are up, plug them in to check for any uneven spots or gaps. Make any necessary adjustments to ensure the lights hang smoothly and look uniform.
- Tidy Up Loose Ends: If there’s any excess wiring, tuck it neatly behind the eaves or secure it with additional clips to keep everything looking clean.
- Set a Timer: Consider using a timer to have the lights automatically turn on at dusk and off at dawn. This keeps your home looking beautifully lit without any extra effort on your part.
3. LED Strip Lighting Along the Roofline
Installing LED strip lights along your roofline is a sleek way to give your home a modern, polished look. These lights fit seamlessly along the edge of your roof, creating a clean line of illumination that enhances the structure of your home.
Whether you choose a single color or opt for color-changing LEDs, this type of lighting offers a stylish and customizable way to light up your outdoor space.

What’s great about this idea is the flexibility it provides. You can easily change the mood of your home’s exterior by adjusting the color and brightness of the lights. Whether you’re setting the scene for a lively outdoor gathering or creating a peaceful, subdued atmosphere, LED strip lights give you control over the vibe.
This lighting solution is not only visually appealing but also highly practical. The energy-efficient LEDs are long-lasting, making them a smart choice for continuous use. To achieve this sleek and modern look, follow these steps:
- Choose Your LED Strip Lights: Select waterproof LED strips that are specifically designed for outdoor use. Consider whether you want a single-color option or a color-changing strip for added versatility.
- Measure Your Roofline: Measure the length of your roofline to determine how many strips you’ll need. Be sure to account for corners and any architectural features that may require additional lights.
- Prepare the Surface: Clean the area where the lights will be installed to ensure the adhesive backing on the LED strips will stick properly. Remove any dirt, debris, or moisture.
- Install the LED Strips: Peel off the backing and carefully apply the LED strips along the roofline, pressing them firmly into place. Follow the contours of your roof for a neat, seamless appearance.
- Connect to Power: Depending on your setup, you may need to connect the strips to an outdoor power source or a transformer. Make sure all connections are weatherproofed to avoid any issues.
- Set Up Controls: If you have color-changing LEDs, install the remote or app control to easily adjust the lighting. Set timers or schedules if your system allows for it, so your lights turn on and off automatically.
- Final Check: Once everything is in place, do a final check to ensure all the lights are functioning correctly and make any necessary adjustments.
4. Lanterns Suspended from Eaves
Suspending small lanterns from the eaves is a delightful way to add a touch of rustic charm to your home’s exterior. These lanterns, with their classic metal and glass design, offer a soft, ambient light that creates a warm and inviting atmosphere.
Whether you use candles for a traditional glow or opt for LED bulbs for convenience, the result is a cozy, intimate vibe that transforms your outdoor space.

One of the best things about this idea is its versatility. Lanterns can be arranged in various ways—clustered together for a bolder statement or spaced out evenly for a more subtle effect. They work beautifully with different architectural styles, from country cottages to modern homes, adding a bit of character and personality to your roofline.
If you’re looking to enhance your outdoor lighting with something both functional and decorative, this is a fantastic option to consider. The gentle flicker of the lanterns not only illuminates your space but also highlights the details of your home’s eaves, making them a focal point in the evening. To achieve this charming look, follow these steps:
- Select Your Lanterns: Choose lanterns that suit your home’s style—metal for a more rustic look, or sleek designs for a modern touch. Make sure they are weather-resistant if they will be exposed to the elements.
- Decide on Lighting: You can use LED bulbs for safety and convenience, or candles for a more traditional, flickering effect. LED candles can offer the best of both worlds.
- Determine Placement: Plan where you want to hang the lanterns. You can hang them evenly spaced for a classic look or at varying heights for added visual interest.
- Install Hooks or Brackets: Secure hooks or brackets under the eaves where you want each lantern to hang. Ensure they are strong enough to hold the weight of the lanterns, especially if you’re using metal ones.
- Hang the Lanterns: Attach the lanterns to the hooks or brackets, ensuring they are secure. If you’re using candles, place them inside after hanging, or install your LED bulbs and check they’re working properly.
- Check Stability: Make sure all lanterns are securely fastened and won’t sway too much in the wind. You may need to adjust the length of the chains or cords to ensure they hang straight.
- Enjoy the Ambiance: Once everything is in place, light the candles or turn on the LEDs and enjoy the soft, inviting glow that enhances your roofline and eaves.
5. Fairy Lights Woven Through Eave Beams
Weaving fairy lights through the beams or supports of your eaves creates a truly enchanting effect that’s hard to beat. These tiny, twinkling lights add a touch of magic to your outdoor space, casting a soft, gentle glow that dances across your roofline. The result is a cozy, intimate ambiance that makes your home feel like a warm, inviting retreat, perfect for relaxing evenings or casual gatherings.
What makes this idea so special is the way it highlights the architectural details of your eaves while adding a sense of whimsy and charm. The lights are delicate yet impactful, offering just the right amount of illumination without overwhelming the space.

This subtle lighting technique works particularly well in both small and large spaces, making it a versatile option for any home.
If you’re looking for an easy way to elevate your outdoor lighting and create a serene, fairy-tale atmosphere, this is definitely a must-try. The effect is not only beautiful but also functional, providing soft light that enhances the overall look and feel of your roofline. To achieve this magical effect, here’s what you need to do:
- Choose Your Fairy Lights: Opt for warm white or soft-colored fairy lights that are designed for outdoor use. Make sure they are weather-resistant to withstand the elements.
- Plan Your Layout: Decide how you want to weave the lights through the beams or supports. You can go for a uniform look or create a more random, organic pattern for added visual interest.
- Clean the Area: Before installing the lights, clean the beams and supports to ensure the lights adhere properly and to avoid any dirt or debris getting in the way.
- Weave the Lights: Start weaving the fairy lights through the beams, wrapping them around supports or draping them along the edges. Take your time to ensure the lights are evenly distributed and securely attached.
- Secure the Lights: Use small hooks, clips, or zip ties to keep the lights in place, especially in areas where they might sag or move. Be sure they are fastened securely to prevent any slipping.
- Check Your Work: Once the lights are in place, plug them in to make sure they are evenly spaced and functioning properly. Adjust any areas where the lights may be too tight or too loose.
- Enjoy the Atmosphere: With the lights set up, sit back and enjoy the cozy, twinkling glow they create. They’ll add a charming, inviting touch to your home that’s sure to impress.
6. Pendant Lights Hanging from the Eaves
Hanging pendant lights from the eaves is a fantastic way to add a touch of sophistication and style to your home’s exterior. These lights not only illuminate your space but also serve as a striking design element that draws the eye upward, highlighting the architectural features of your roofline.
The pendant lights cast a warm, inviting glow that can create a cozy and welcoming ambiance, perfect for evening relaxation or outdoor gatherings.

What’s particularly appealing about this idea is the variety of styles available, allowing you to choose pendant lights that match your home’s aesthetic. From sleek and modern to rustic and charming, there’s a pendant light to suit every taste.
They provide focused, downward lighting that enhances the visibility and safety of entryways, porches, and walkways, making your outdoor spaces both beautiful and functional.
If you’re looking to elevate your outdoor lighting with something a bit more distinctive, this idea is well worth considering. The hanging lights not only beautify your home but also add a layer of practicality by brightening up key areas around your house. Here’s how to achieve this stylish effect:
- Select Your Pendant Lights: Choose pendant lights that complement your home’s exterior. Consider the style, size, and material—metal for a modern look or lantern-style for a rustic charm.
- Plan the Placement: Decide where you want the lights to hang. Typically, placing them near entryways or over patios works best, but you can also get creative with other spots along the eaves.
- Install Secure Mounts: Use strong, weather-resistant hooks or brackets to mount the lights. Make sure they are securely fastened to support the weight of the pendants.
- Hang the Pendant Lights: Attach the lights to the mounts, ensuring they hang at the desired height. You might want to adjust the cord length to achieve a balanced look.
- Connect to Power: If the lights are wired, connect them to an outdoor power source, ensuring all connections are waterproof. For solar or battery-operated lights, ensure they are fully charged and ready to go.
- Test and Adjust: Once installed, turn on the lights to check the illumination. Adjust the height or angle as needed to ensure the lights provide the desired effect.
- Enjoy the Ambiance: With the lights in place, sit back and appreciate the warm, stylish glow they bring to your outdoor spaces.
Light Up Your Rooflines and Eaves with Style
Outdoor lighting for your rooflines and eaves isn’t just about adding a bit of sparkle—it’s about transforming your home’s look and feel. From the warmth of string lights to the bold statement of pendant fixtures, these ideas let you highlight your home’s best features with ease.
The beauty of it all is that you can mix and match styles to create something that’s uniquely yours. So go ahead, light up your rooflines, and watch your home take on a whole new level of charm. After all, a well-lit home is not only inviting but also a true reflection of your personal style.