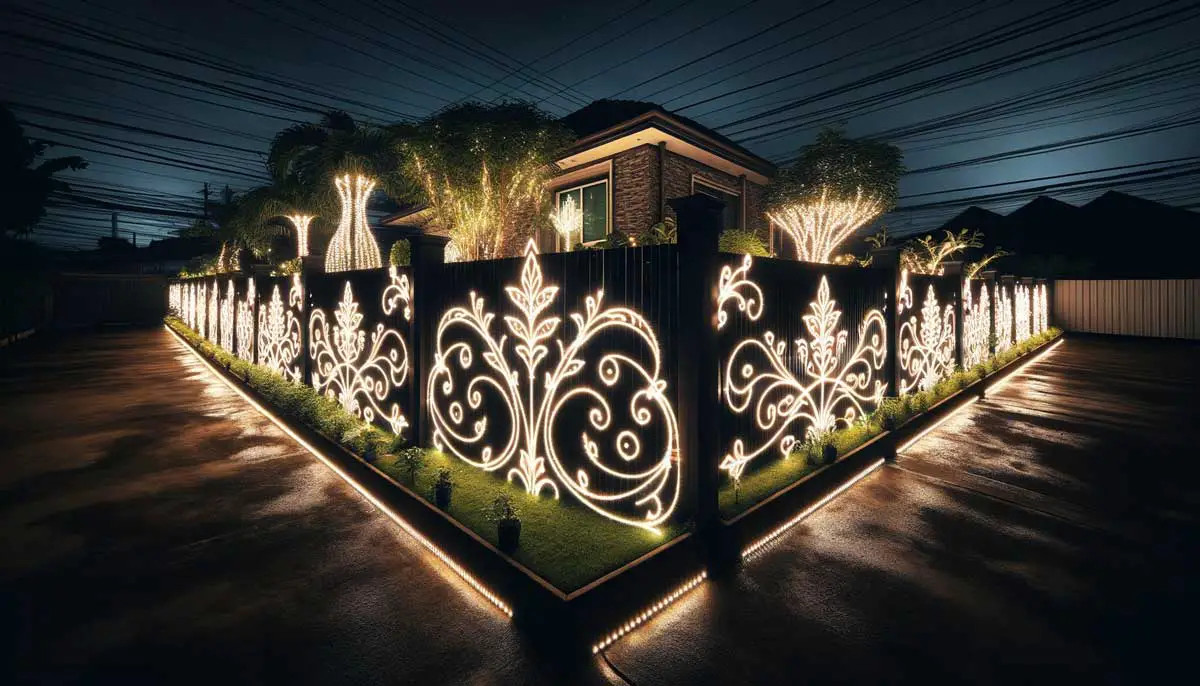
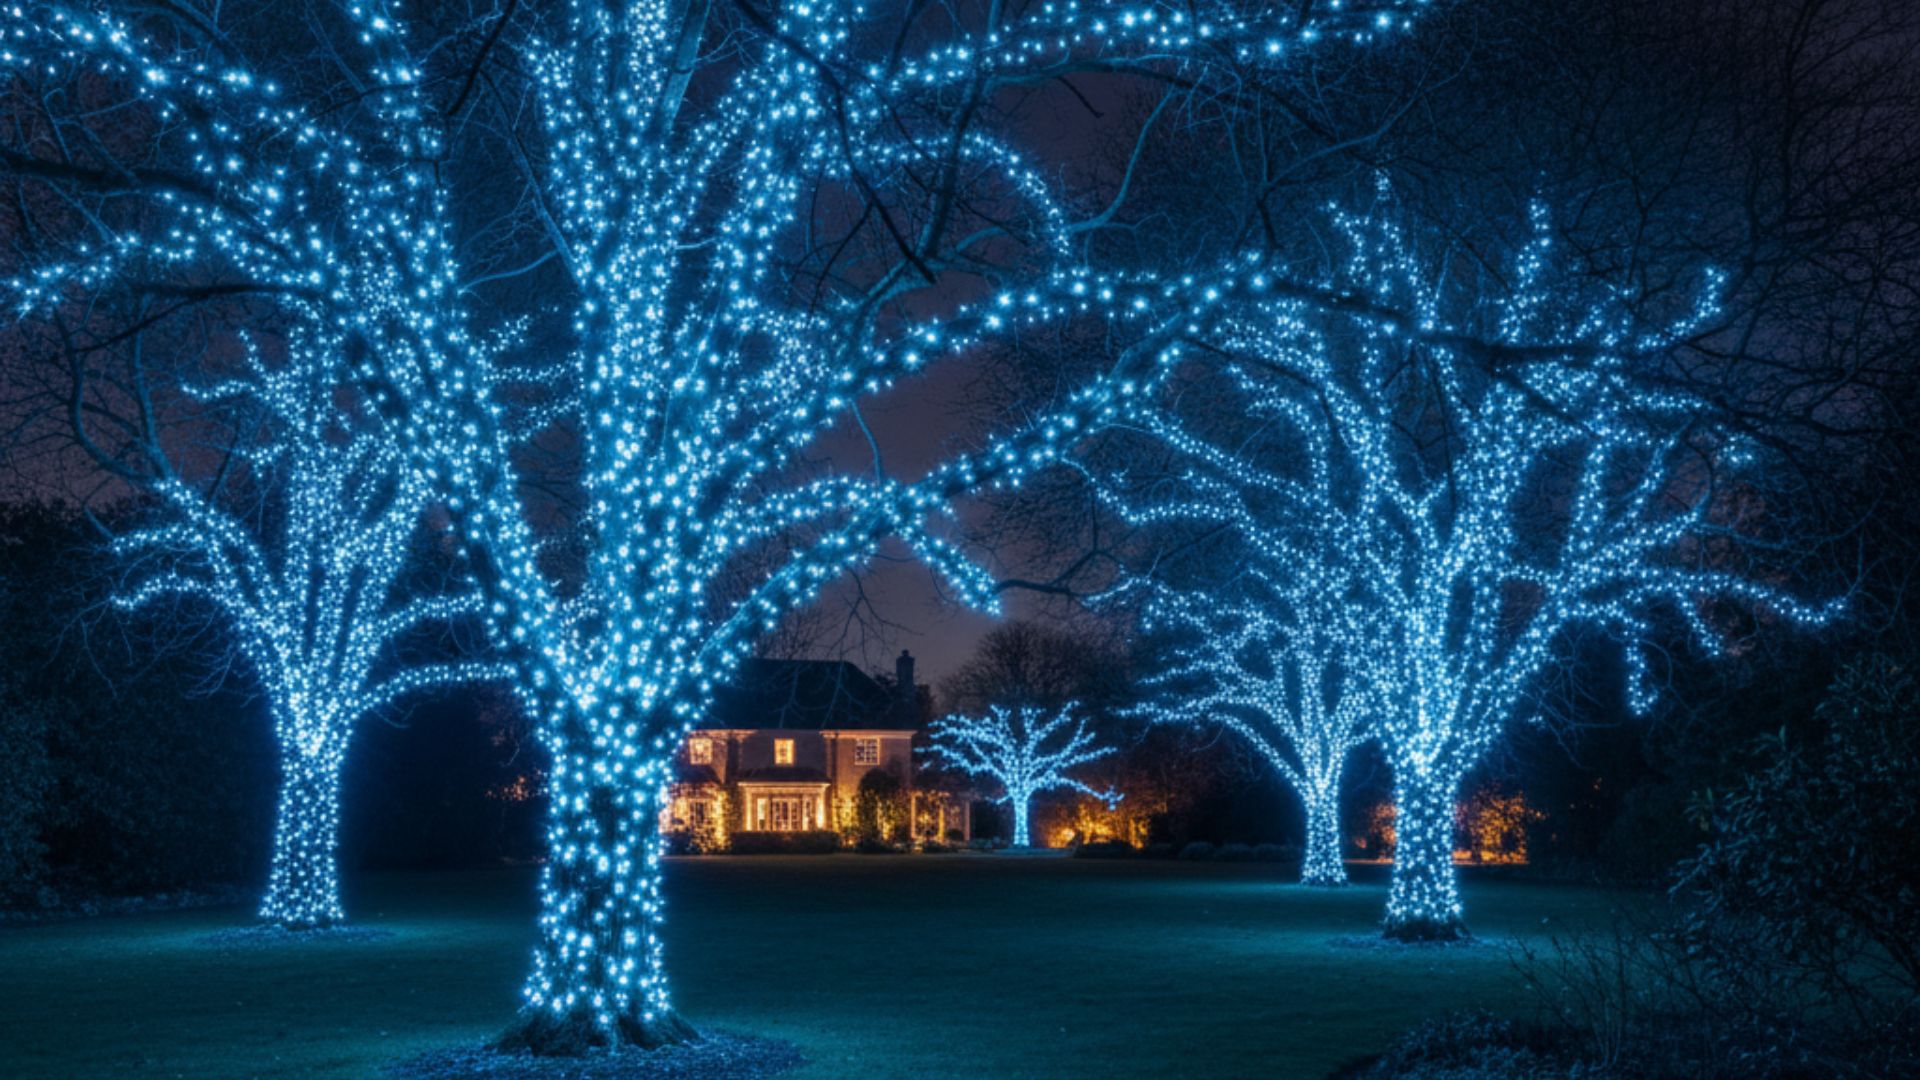
Outdoor lighting can completely change your property, though poor fixture placement can also trick the eye. Lights placed in the wrong spots often make outdoor spaces look smaller and more cramped than they really are.
Poor lighting layouts can create bright visual barriers that make your property lines seem much closer. Instead of a calm and open outdoor space, the area can end up feeling boxed in and uncomfortable.
Today, this article will cover seven common lighting mistakes that can visually shrink your property and share a few simple fixes that can help your outdoor space feel larger and more balanced.
So without further ado, let’s get started.
Mistake #1: Straight Row Pathway Lighting

Many homeowners place pathway lights in perfectly straight, matching rows along their walkways. It often comes from a good intention to keep the area balanced and safe. Sadly, this setup can make your yard look more like a glowing landing strip cutting through the lawn.
The problem becomes even more noticeable because the eye gets pulled straight ahead into a narrow center line. Large sections of the yard fade into the background, making the whole property seem smaller and closed in instead of open and relaxing.
To avoid this outdoor lighting mistake, here are some tips and solutions to keep in mind:
- Use a Staggered Pattern — Place path lights around 8 to 10 feet apart and alternate them from one side of the walkway to the other.
- Create Gentle Movement — Shifting the lights from left to right helps your eyes move across the lawn and notice more of the space.
- Blend Lights Into Plant Beds — Set fixtures slightly inside flower beds instead of lining them directly beside the concrete edge.
- Keep Light Pointed Downward — Pick shielded fixtures that aim light toward the ground to reduce harsh glare and keep the area comfortable to look at.
Mistake #2: Floodlighting Only the Perimeter of Your Yard

Another common mistake comes from mounting strong floodlights high on eaves and aiming them straight at the back fence. Homeowners often do this to improve security or brighten the far edges of their property. The issue is that the center of the lawn gets left in deep, heavy darkness.
This uneven lighting creates a bright frame around your yard that pulls attention straight to the boundaries. Your eyes lock onto the fence lines, which makes the whole space feel flatter and more confined. With the middle area left unlit, depth is lost, and even a wide yard can feel tight and boxed in.
To avoid this, here are some tips and solutions to consider:
- Soften the Boundaries — Use low-voltage wash lights to gently brighten fence lines instead of strong, direct floodlighting.
- Create a Midground Layer — Add low-lumen uplights at the base of trees or shrubs placed within the center zones of your yard.
- Incorporate Downlighting — Use soft downlighting from mature tree canopies to spread light more evenly across open grassy areas.
- Maintain Visual Balance — Keep the foreground, middle, and background lit at similar low levels so the space feels open and naturally connected.
Mistake #3: Single Angle Spotlighting

This problem shows up when a lone, high-powered spotlight is aimed straight at the base of a standout feature tree. Homeowners often use this to highlight a prized maple or an eye-catching architectural wall in a simple setup. The result is a harsh, overpowering beam of bright white light hitting the subject all at once.
A setup like this flattens the entire scene because it removes the soft shadows that usually bring out depth and shape. Attention gets locked onto one overexposed bright point while everything around it fades into a dark void. Strong contrast like this makes the landscape feel more like flat cardboard pieces placed side by side.
If you want to avoid this outdoor lighting mistake, here are some useful tips and solutions to follow:
- Utilize Dual Cross Lighting — Position two low-output fixtures on opposite sides of the trunk so the tree’s natural form feels more rounded and full.
- Angle Fixtures Slightly Off Center — Direct the light across the surface of the bark instead of pointing it straight on to bring out softer, more natural shadows.
- Select Appropriate Beam Spreads — Choose a tighter beam for tall, slim trunks and a broader spread for wide, leafy canopies to match the tree’s shape.
- Embrace Gentle Contrast — Opt for lower-wattage LEDs so brightness shifts feel smooth and the landscape keeps its natural sense of depth.
Mistake #4: Using and Placing Unshielded Bulbs

This issue shows up when homeowners use bare, unshielded bulbs that shine straight into people’s eyes. It often appears in cheap floodlights, exposed decorative bulbs, or spotlights not angled properly. Instead of highlighting features of your garden and landscape, these setups spread raw, direct light across the whole space.
Harsh brightness like this quickly affects comfort, making the yard feel smaller by tightening our pupils and weakening natural night vision. Once eyes adjust to the exposed bulb, surrounding details slip away into deep shadow. A wide, open yard can start to feel more like a closed, narrow space overall.
To help you avoid this outdoor lighting blunder, here are some helpful tips and solutions to keep in mind:
- Select Fully Shielded Fixtures — Choose landscape lights with deep hoods or covers that keep the bulb fully hidden from direct sight.
- Aim Light Output Downward — Set spotlights at a steeper angle so most of the beam lands on the ground instead of spilling outward.
- Utilize Frosted Diffusers — Use fixtures with frosted glass inside to soften brightness and smooth out harsh hot spots across the area.
- Incorporate Undercap Seating Lights — Install hidden strip lighting under retaining wall caps to cast a soft, even glow over stone surfaces.
Mistake #5: Placing Only One Light Type

Another outdoor lighting mistake that shrinks a yard is when homeowners rely on just one kind of fixture across the entire yard, like using only path lights or only tree uplights. It usually comes from trying to keep things simple or reduce design costs. The trouble is, this approach overlooks how much variety outdoor spaces really need.
Relying on a single lighting type flattens the whole yard because it removes contrast in height, purpose, and effect. A space lit only from the ground misses the upper layers, while lighting only trees can leave the lawn feeling disconnected and incomplete. The yard ends up losing its natural sense of depth and structure.
To help you solve this problem, here are some tips to consider:
- Implement a Structural Triad — Build your lighting plan using three layers that include ambient, task, and accent fixtures for a fuller look.
- Hang Gentle Moonlights — Install soft, low-voltage downlights high in mature trees to create a calm glow from above.
- Add Low Profile Step Lights — Place flush-mounted lights along stairs or stone steps to keep walkways safe and easy to follow.
- Incorporate Architectural Grazing — Set accent lights a short distance from brick or stone walls to bring out natural textures and surface details.
Mistake #6: Over Illumination

Another common mistake happens when homeowners use very bright, high-wattage lights all over the yard to remove every bit of darkness. It often comes from thinking brighter always means safer. Instead of a calm outdoor space, the yard can end up feeling harsh and overly exposed, almost like a parking lot.
Too much brightness takes away the soft contrast that gives a yard its depth and charm. Shadows are important because they help the space feel wider, calmer, and more natural to the eye. When every corner is lit the same, the yard starts to feel smaller, and the edges feel closer than they really are.
If you want to avoid this outdoor lighting blunder, here are some practical tips and solutions to guide you:
- Select Warm LED Bulbs — Choose soft white LEDs in the 2700K to 3000K range for a gentle, cozy feel.
- Embrace the Dark Spaces — Keep some areas lightly shaded so key spots in the yard stand out more clearly.
- Utilize Low Lumen Outputs — Use lower brightness levels, around 100 to 200 lumens, for paths and garden lights.
- Install Zoning Controls — Add dimmers or separate controls so different areas can be adjusted with ease.
Mistake #7: Creating Disconnected Pools of Light

Your yard can also appear smaller than it is when you place a few lights in random spots around your outdoor space, leaving large areas in complete darkness. One tree might be lit on the left side, while a garden statue glows on the right, and everything in between stays untouched. Instead of one smooth scene, the yard ends up with separate bright points that don’t work together.
This kind of setup can make the space feel smaller because the eye keeps stopping at each bright spot instead of moving through the yard naturally. Each lit area feels like its own small island, while the dark gaps break the flow and make the whole space feel split and tight.
To help you avoid this mistake, here are some useful tips to keep in mind:
- Establish Smooth Visual Bridges — Use soft path lights or gentle wash lighting to link important features across the lawn.
- Map a Clear Sightline — Arrange lights in a steady direction so the view moves across the yard without sudden breaks.
- Incorporate Low Lumen Washes — Add soft ambient light to lightly brighten empty spaces between key areas.
- Group Features Together — Light nearby plants or structures in small clusters so they feel like one shared space instead of separate points.
Illuminate Your Yard with the Right Outdoor Lighting Placement
Good outdoor lighting is not just about making things bright, it is about shaping how a space feels once everything is in place. A thoughtful setup can make a yard feel open, calm, and easy to enjoy.
Looking back at the common mistakes we covered, one idea keeps coming up: placement really changes everything. From straight pathway rows to harsh floodlights and scattered fixtures, small decisions can make a space feel tighter or disrupt its flow.
A bit of careful planning makes a real difference, and even small changes can turn a busy-looking yard into something more open and balanced.
At the end of the day, good lighting should help your yard breathe, not fight against it.