Getting your yard lighting right can be a little tricky. The wrong fixtures or poor placement can ruin that beautiful natural nighttime lighting and make your backyard look more like an overly bright parking lot instead.
The good news is that great outdoor lighting is usually simple. The best setups blend naturally into the landscape so the attention stays on your plants, pathways, and outdoor spaces instead of harsh brightness shining from every corner.
In this article, we’ll share easy lighting ideas that can help your yard look warm, cozy, and relaxing after dark while keeping the whole space calm, comfortable, and easy on the eyes.
So without further ado, let’s get started.
Embrace the Art of Moonlighting

Moonlighting is one of the best tricks for creating a calm and natural nighttime landscape. The idea is simple: mount light fixtures high up in large trees and aim them downward toward the ground. Instead of blasting light upward like a movie premiere outside a shopping mall, this technique copies the soft glow of real moonlight filtering through tree branches.
Because the light passes through leaves and branches before reaching the ground, it creates gentle shadows that move naturally across your lawn, patio, or driveway. The result looks softer, more relaxed, and far less harsh than traditional spotlights. Hiding the fixtures high in the canopy also keeps bright bulbs out of sight, which helps the whole yard look cleaner and more peaceful at night.
Another big advantage of moonlighting is the wider light coverage. Instead of creating small bright circles, the light spreads more evenly across larger areas, which helps pathways and outdoor spaces stay visible at night.
If you’d like to give this idea a try, here are some practical tips to keep in mind:
- Mount fixtures at least 25 feet high in mature trees so the light spreads evenly across the ground.
- Choose fixtures with a 50-degree beam spread to create softer and wider coverage instead of narrow bright spots.
- Use 3000K bulbs to create a crisp glow that closely resembles natural moonlight.
- Secure wiring along the back side of the tree trunk using stainless steel cable clamps that allow room for the bark to grow naturally.
Use Soft Uplighting

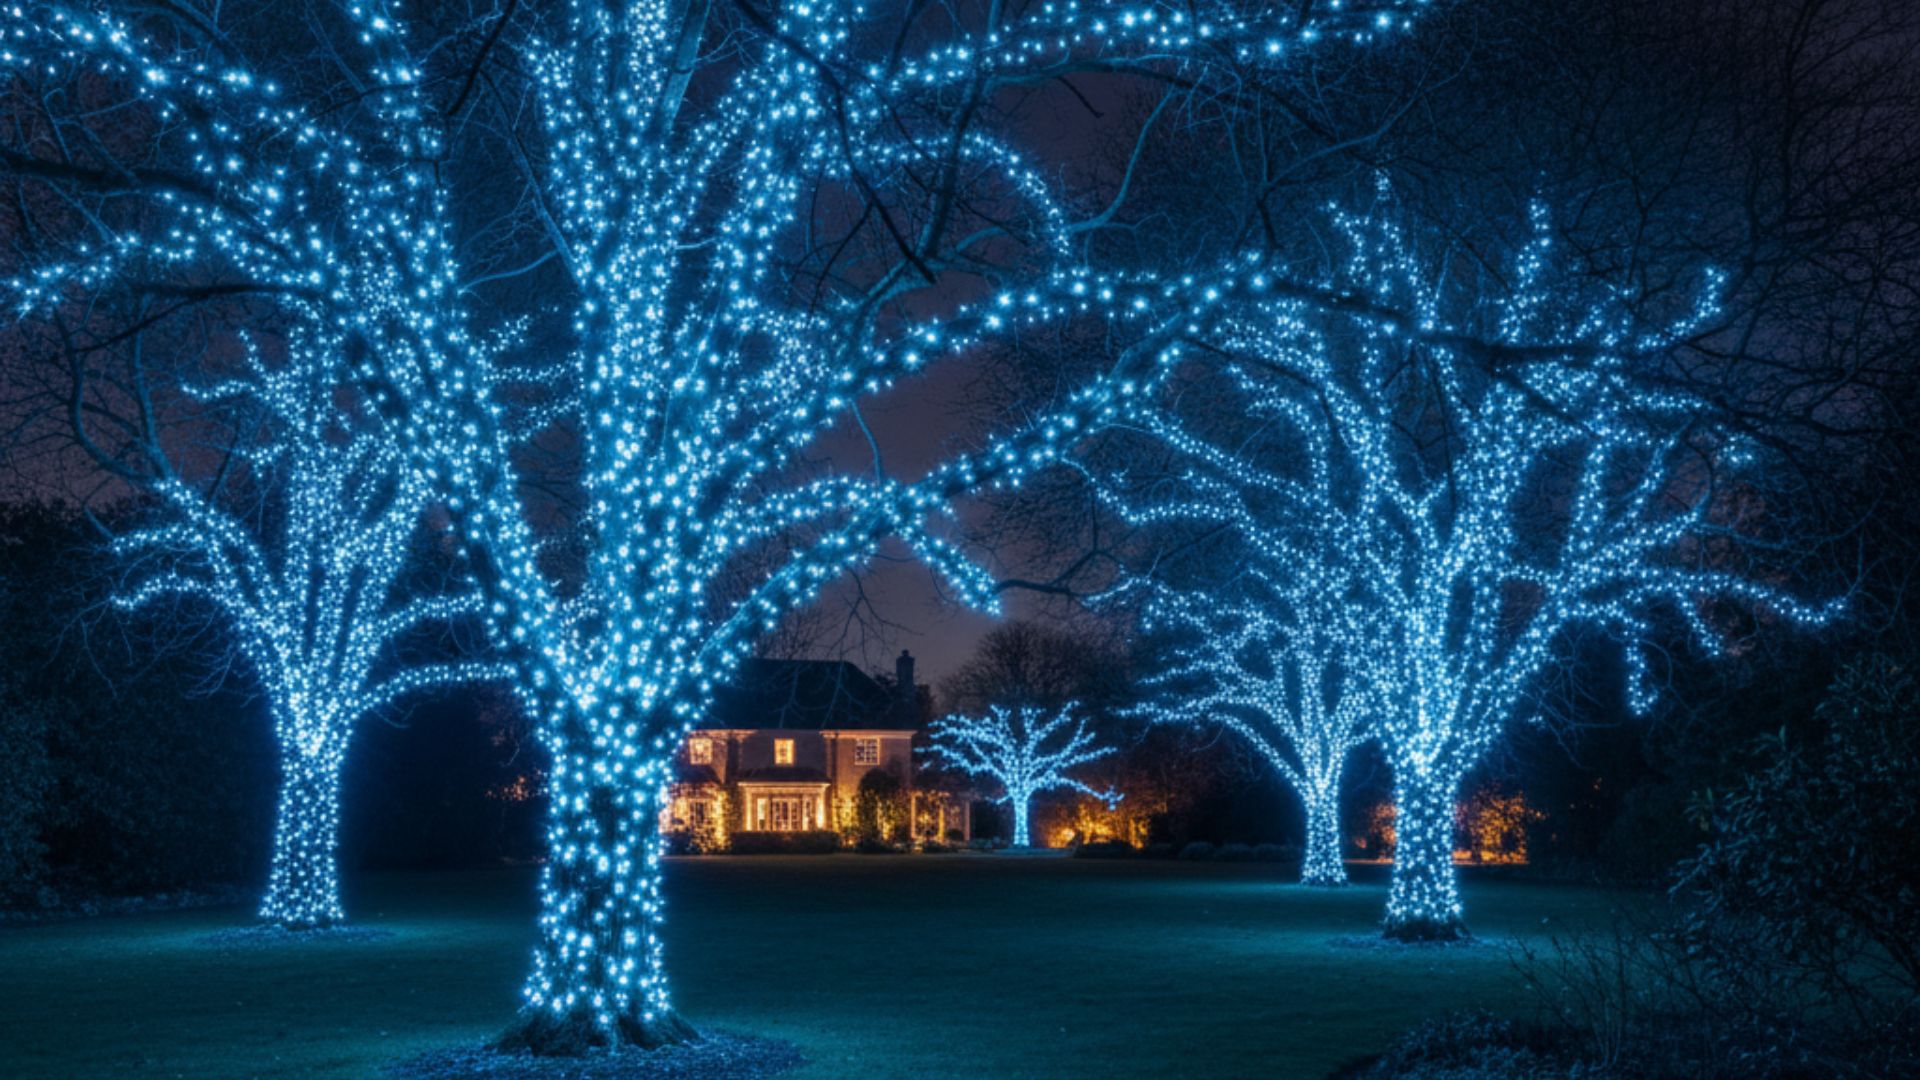
Soft uplighting is one of the easiest ways to make outdoor lights look dramatic in the best possible way. This technique uses spotlights placed near the ground and aimed upward toward trees, stone walls, columns, or other landscape features you want people to notice. Instead of flooding the whole yard with brightness, uplighting highlights shapes and textures that usually disappear at night.
The upward glow of the fixtures can reveal details that make the landscape look richer and more layered. Light also reflects softly off natural surfaces like bark and stone, creating a gentler glow across the yard.
Soft uplighting also helps guide the eye across your outdoor space while adding extra visibility around walkways and gathering areas. A simple tree can suddenly look like a giant sculpture standing proudly in the yard, which is a pretty impressive career upgrade for a plant.
Here are a few helpful tips to make the most of this idea:
- Position the fixture about six inches from the base of a textured tree trunk to highlight the bark’s natural ridges and patterns.
- Use a 2700K warm-white LED bulb to highlight the rich colors of wood, stone, and landscaping materials.
- Angle the fixture slightly instead of pointing it straight upward so the light spreads more naturally across branches and foliage.
Incorporate Path Lighting to Your Yard

Path lighting is one of the easiest ways to make your yard safer and more visually appealing at night. This technique uses small, low-profile fixtures placed along walkways, driveways, and garden paths to guide people where they need to walk.
When installed properly, path lights create a soft glow that stays close to the ground instead of blasting brightness in every direction. That gentle lighting helps pathways stand out clearly while still keeping the yard calm and natural-looking at night. The subtle glow from path lights also adds depth to the landscape by highlighting flowers and plants along the walkway.
Another benefit of path lighting is the structure it adds to the yard. The lights naturally outline pathways and garden borders, helping the entire landscape look cleaner and more organized after dark.
To make the most of this idea, here are some useful tips to guide you:
- Space the fixtures about 6 feet apart in a staggered pattern along opposite sides of the walkway for smoother and more even lighting.
- Select top-capped fixtures that direct the light downward toward the path instead of shining into people’s eyes.
- Push heavy-duty ground stakes firmly into the soil so the fixtures stay straight and secure over time.
- Connect the fixtures to a low-voltage 12-volt transformer to maintain steady brightness across the entire lighting line.
Create Soft Washes of Light on Textures and Walls

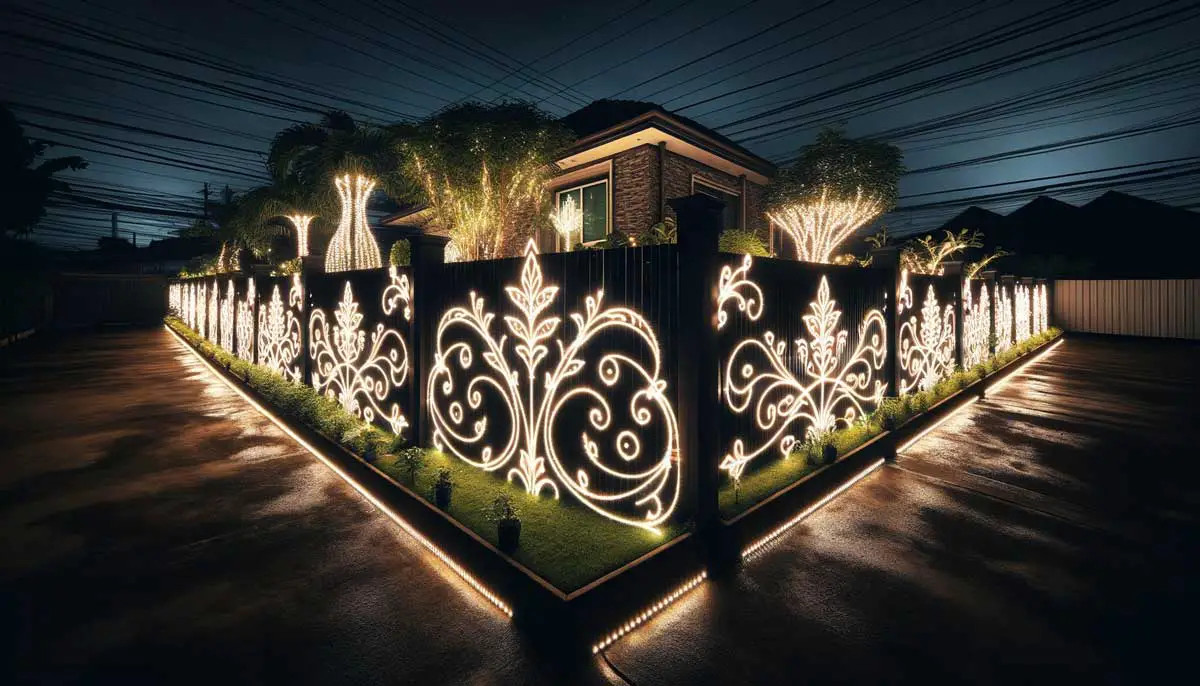
Wall wash lighting is a simple but powerful way to make plain surfaces look more interesting at night. This technique uses wide-angle fixtures to spread light across large vertical areas like stone facades, brick walls, or long wooden fences. Instead of leaving these surfaces in the background, wall washing turns them into part of the main design story.
When light is spread evenly across a wall, it creates a smooth glow that highlights natural textures in a subtle way. It works a bit like moonlight bouncing off cliffs, where everything looks soft but still detailed. Because the light is spread out, it avoids harsh bright spots that can make the wall look uneven or overly dramatic in a bad way.
Another benefit of wall washing is how it changes the overall presence of your yard. Dark edges become visible, which makes the space feel larger and more connected. It also helps reduce dark corners around patios and pathways, adding a steady layer of brightness that keeps everything easier to navigate.
Here are a few tips to help you with this idea:
- Position wide-beam fixtures about 3 feet away from the base of the wall so the light can spread upward evenly.
- Aim the adjustable fixture heads at roughly a 45-degree angle to cover more of the vertical surface.
- Use low-output LED fixtures with frosted lenses to soften the light and reduce harsh edges.
- Space fixtures around 8 feet apart so the light overlaps smoothly and creates a consistent wash across the entire wall.
Layer Your Lighting

Layering your lighting is the practice of combining different types of outdoor lights to build depth and dimension across your landscape. Instead of depending on a single bright source that tries to do all the work, this approach mixes ambient, task, and accent lighting so each one has a specific job.
When these layers work together, the result starts to resemble how natural light behaves in the real world. Nature never lights a space evenly or from just one direction, so mixing different intensities and angles helps create a more realistic flow between light and shadow.
This layered approach also improves how the entire space functions at night. Dark spots get reduced, overly bright areas are softened, and the yard feels more balanced overall. It also gives you more control over the atmosphere, so certain areas can stay brighter for activity while others remain calmer for downtime.
To make the most of this idea, here are some additional tips to help you:
- Connect different zones to separate dimming controls so you can adjust brightness levels between patios, pathways, and garden areas.
- Place the lowest-intensity fixtures toward the far edges of your landscape to naturally draw attention deeper into the space.
- Combine path lights, tree downlights, and well lights to distribute illumination across different layers of height and coverage.
Choose the Right Color Temperature

Color temperature is what determines whether your outdoor lights look warm and cozy or sharp and overly bright. Choosing the right range helps you avoid that harsh, almost office-like glare that can make even the nicest landscaping look a bit too serious for a backyard.
When you match light tones to natural materials, everything starts to look more intentional and grounded. Warm lighting on wood and stone brings out a soft, familiar glow that resembles the comfort of a campfire, while cooler tones can be used more selectively to highlight greenery. This balance helps your garden look more natural at night, as if the lighting belongs there instead of being dropped in as an afterthought.
Getting the color temperature right also keeps plants looking healthy and full of life instead of dull or oddly pale. It ties the whole property together, giving everything a more polished and cohesive appearance that naturally boosts curb appeal.
Here are a few tips to guide you:
- Use 2700K warm-white LED fixtures aimed at brick walls, wooden decks, and outdoor seating areas.
- Use 3000K pure-white bulbs for uplighting trees so the leaves keep their natural green tones.
- Choose fixtures with a Color Rendering Index (CRI) above 80 so colors appear more accurate and true to life.
- Always check the Kelvin rating printed on the bulb base before installation to make sure each fixture matches its intended effect.
Enhance Your Yard with Natural Nighttime Lighting
Bringing natural nighttime lighting into your yard is less about adding more lights and more about placing the right ones in the right spots. A thoughtful setup can shift your outdoor space from uneven brightness to something calmer and more visually comfortable.
All of the lighting techniques and ideas discussed in this article share the same purpose: creating depth, guiding the eye, and keeping the yard easy to navigate without overwhelming it.
At the end of the day, outdoor lights work best when they stay simple, steady, and well-planned. A few smart fixtures placed with intention will always outperform a scattered setup trying to do too much at once.