When the sun goes down, the right outdoor lighting can turn a plain yard into a space that feels warm, inviting, and lived-in. It highlights the charm of your home, guides guests safely along walkways, and sets the perfect mood for quiet evenings or lively get-togethers. But the difference between “just right” and “what happened here?” usually comes down to more than just picking a few lights and calling it a day.
Most lighting slip-ups don’t happen on purpose — they sneak in while you’re busy choosing fixtures that look good on the shelf or bulbs that promise to be bright enough. One wrong angle, one overpowered light, or one lonely path light can leave your yard feeling awkward or unfinished. The truth is, outdoor lighting isn’t about piling on the fixtures, it’s about knowing how each piece works together to shape the whole space.
The good news? Today, we’re breaking down the most common outdoor lighting design mistakes and showing you how a few simple tweaks can completely change the way your home shines after dark. Here are some common outdoor lighting design mistakes to avoid and how to fix them:
1. Overlighting Everything
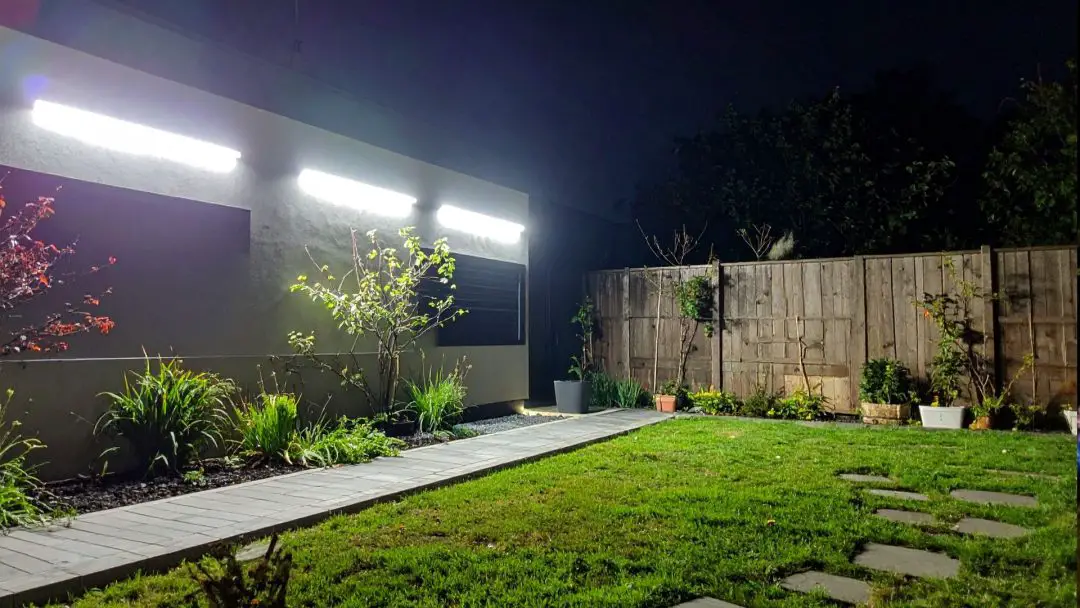
Sometimes, in the excitement of lighting up a yard, it’s easy to go overboard. You add a fixture here, a bright bulb there, and before long, your outdoor space feels less like a cozy retreat and more like an airport runway.
The trouble with too much light is that it doesn’t just overpower the space — it can completely erase the charm you were going for. Instead of enhancing your home’s best features, it flattens everything out, creates harsh shadows, and makes it hard for the eyes to relax.
Here’s how to tone things down and bring back balance without leaving anything in the dark:
- Choose softer bulbs with the right brightness: Aim for bulbs with moderate lumens — around 300 to 800, depending on the area. This keeps things bright enough for safety and function, without overwhelming the space.
- Be intentional about placement: Only light the areas that really need it — think steps, doorways, and walkways. Leaving some parts dim or in shadow actually makes the space feel more inviting and less chaotic.
- Use dimmable or adjustable fixtures: These let you control brightness depending on the mood, time of day, or activity. It’s a simple tweak that gives you way more flexibility and comfort.
- Break the yard into zones: Lighting everything equally isn’t the goal — focus on how you use each area. A dining space, for instance, needs a different vibe than a side path or a garden corner, and your lighting should reflect that.
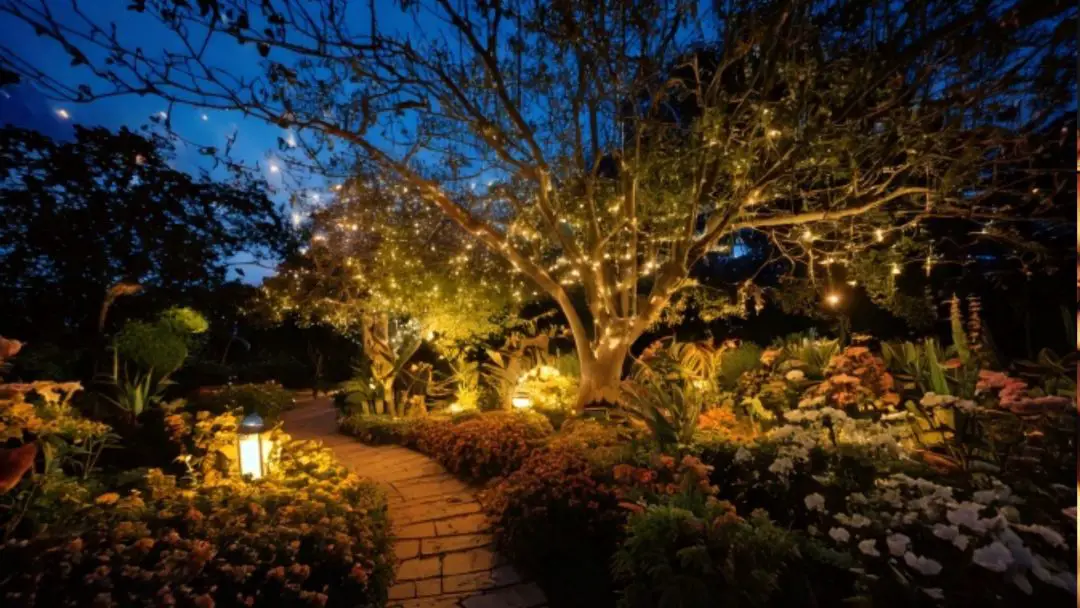
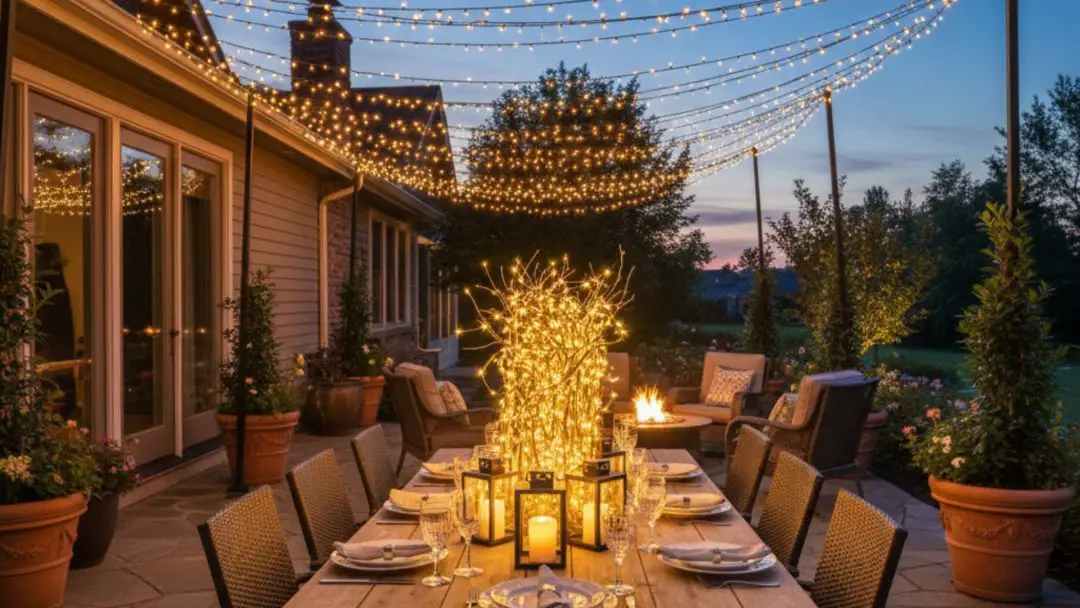
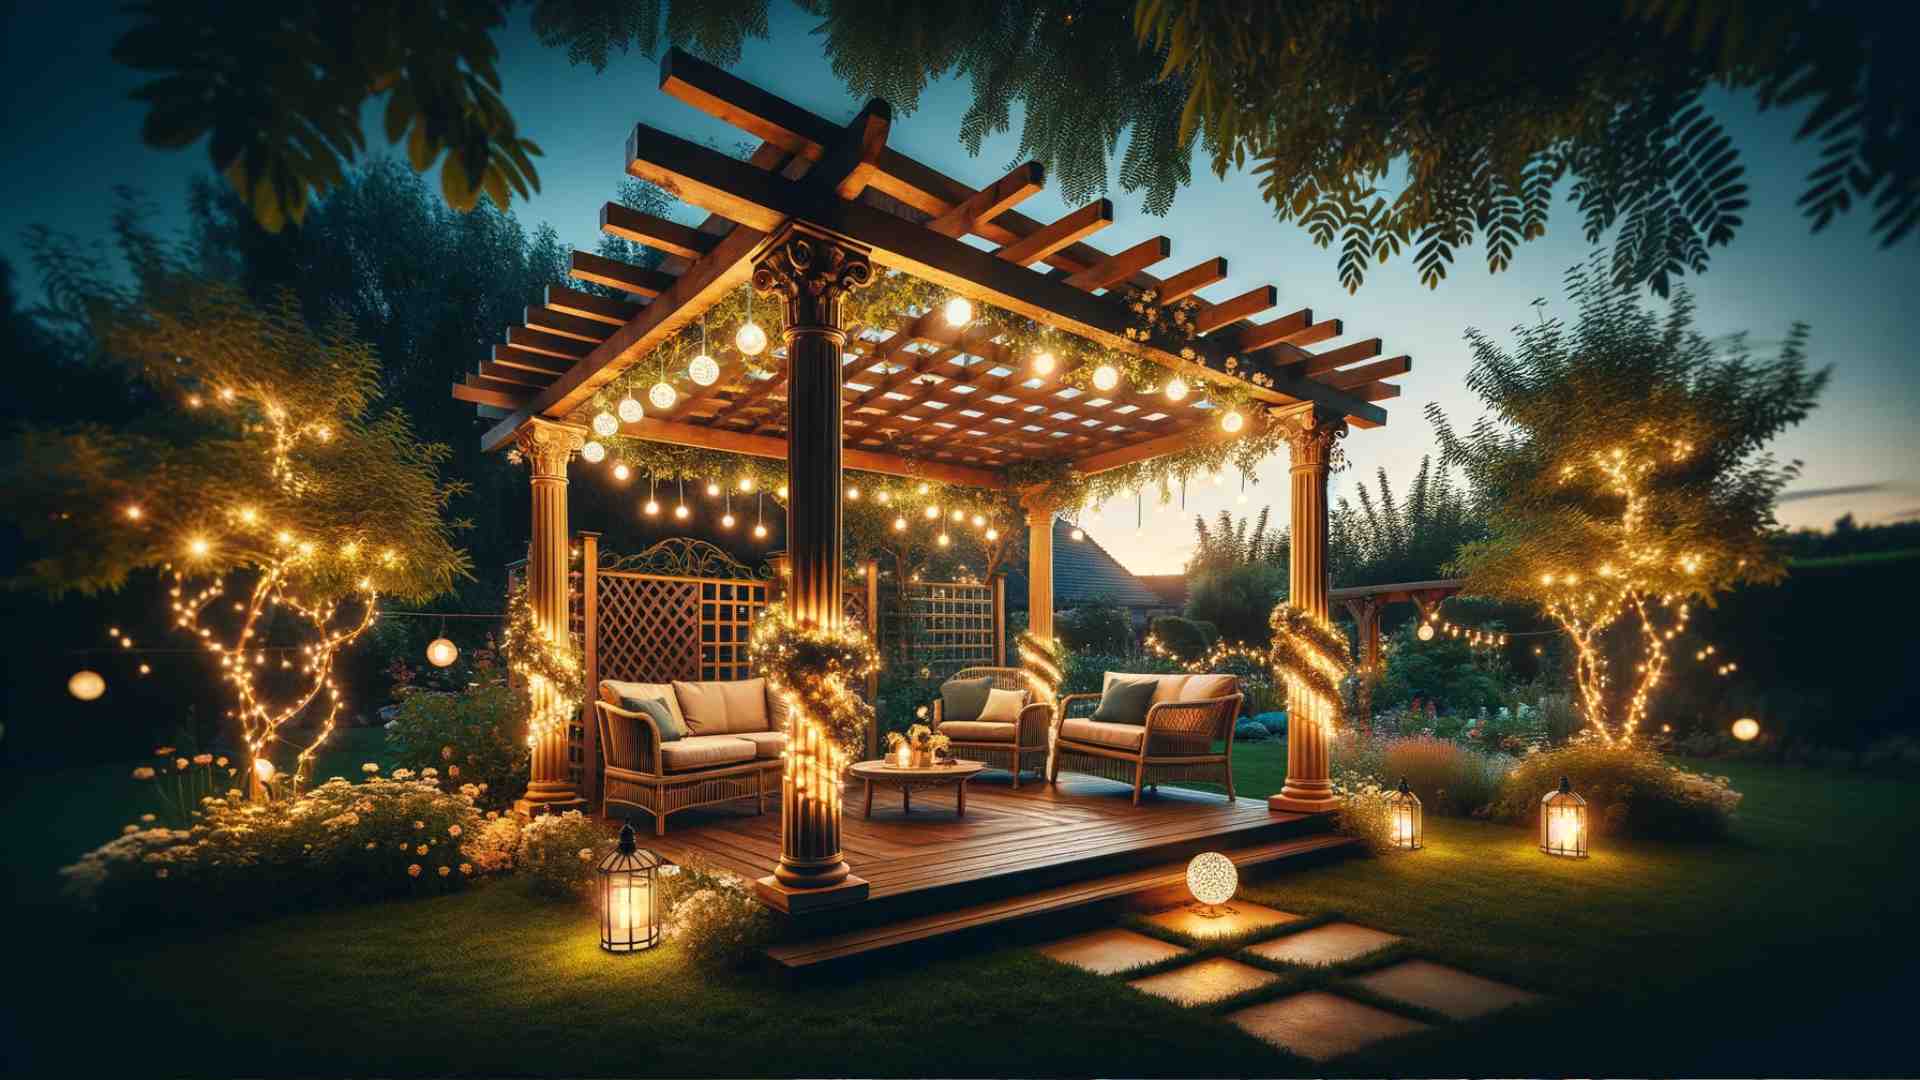
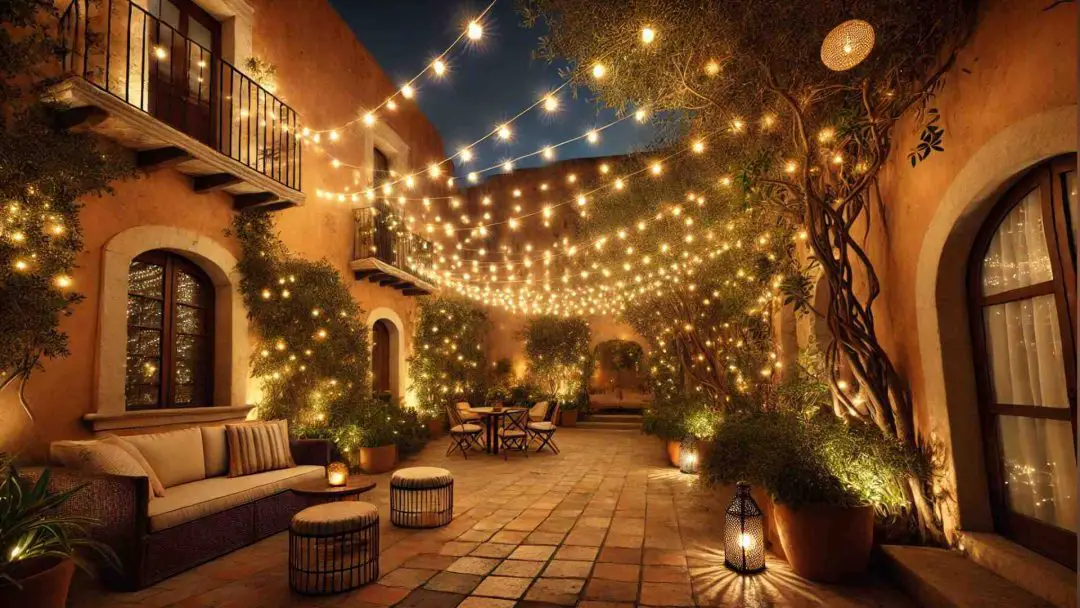
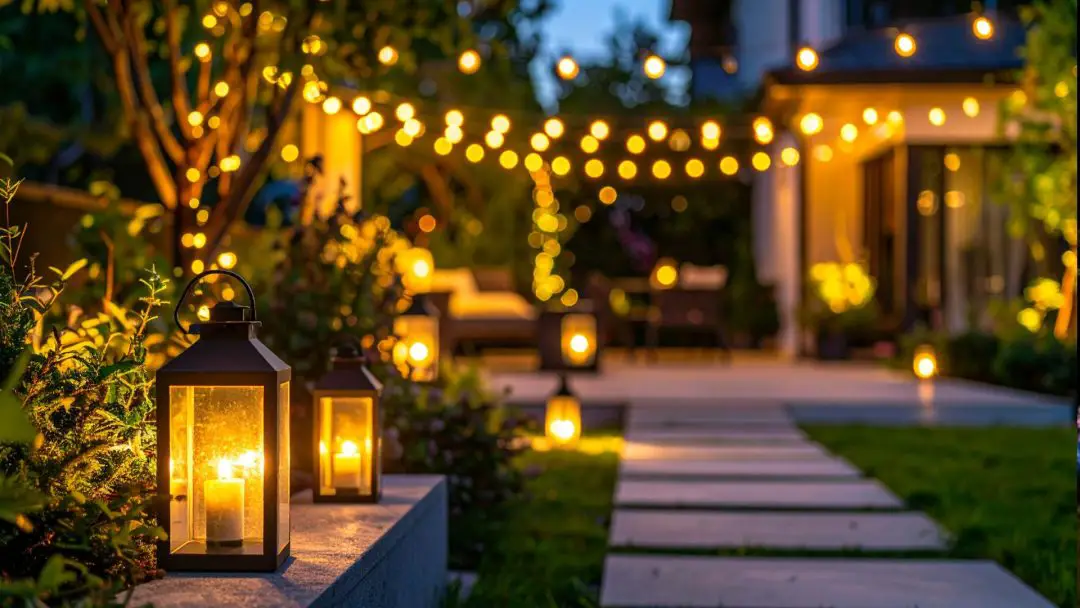
2. Neglecting Layering
When it comes to outdoor lighting, sticking to just one type — usually ambient lighting — can leave your space feeling flat. It’s like having a party with only one song on repeat; sure, it fills the silence, but it doesn’t offer the variety or depth you really want.
Without layering your lighting, you miss out on creating mood, highlighting features, or guiding people through your yard. This can make your outdoor space feel uninviting and lack the warmth or drama that makes a yard come alive at night.
Here’s how to layer your lighting and bring your outdoor space to life:
- Mix ambient, task, and accent lighting: Start with ambient lighting for overall brightness, then add task lighting where needed, like along walkways or over seating areas. Accent lighting can be used to draw attention to special features like trees, sculptures, or architectural elements.
- Use a variety of fixtures: Instead of just relying on one type of light, try combining lanterns, wall-mounted lights, and spotlights. This creates a layered, more dynamic look that adds interest and texture to your yard.
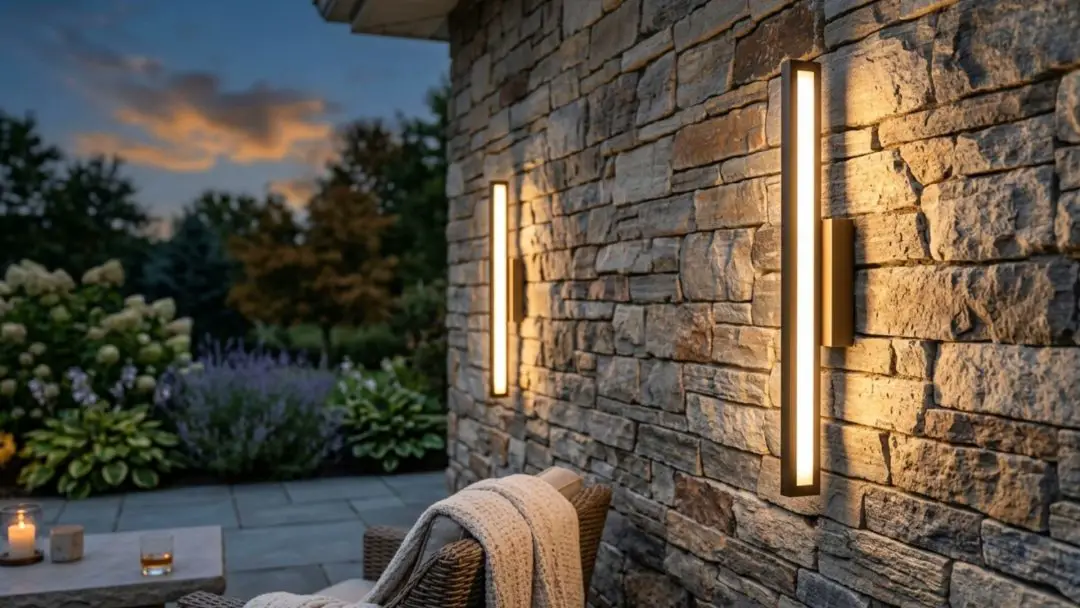
3. Ignoring Light Temperature
Light temperature refers to the color of the light your fixtures emit, and it plays a significant role in shaping the atmosphere of your outdoor space. If you don’t pay attention to this, you risk creating an environment where the lighting feels mismatched or jarring.
When the color temperatures of your lights clash, the mood of your yard can quickly feel off. It might be too bright and sterile in some areas or too cozy and dim in others, leaving you with an outdoor space that lacks harmony and a clear sense of style.
Here’s how to fix this mistake and get your lighting temperature just right:
- Match the light temperature to the space’s purpose: For areas that need clarity and focus, like walkways or security lighting, opt for cooler lights (around 4000K to 5000K). Warmer lights (2700K to 3000K) are better suited for relaxing spaces like patios or dining areas to create a welcoming, cozy vibe.
- Create a balanced lighting scheme: Mix both cool and warm lights strategically throughout your space. For example, you could use cooler tones for pathways and warmer lights for accent areas like gardens or sitting zones, helping each part of your yard feel cohesive.
- Take advantage of dimming options: Install dimmable lights to easily adjust the light temperature based on the time of day. You can go for brighter, cooler lights during the day for clarity, and switch to warmer, more relaxing tones as evening rolls in.
- Enhance your landscaping with the right temperature: Warm lights make flowers and plants pop, while cooler lights can bring out the details in your garden’s foliage. Using the right light temperature near landscaping features helps elevate their natural beauty.

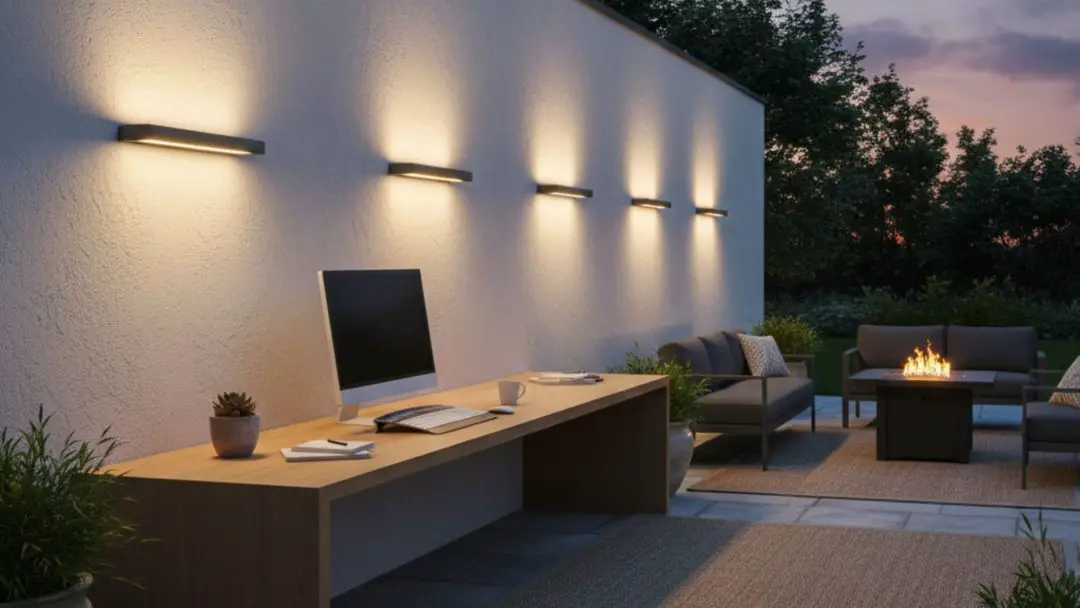
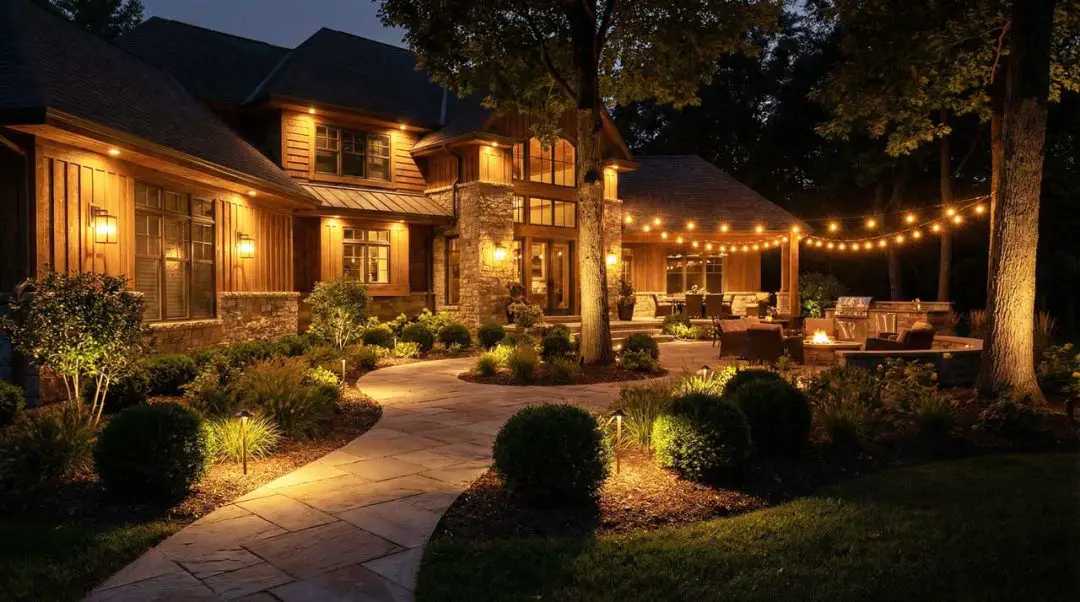
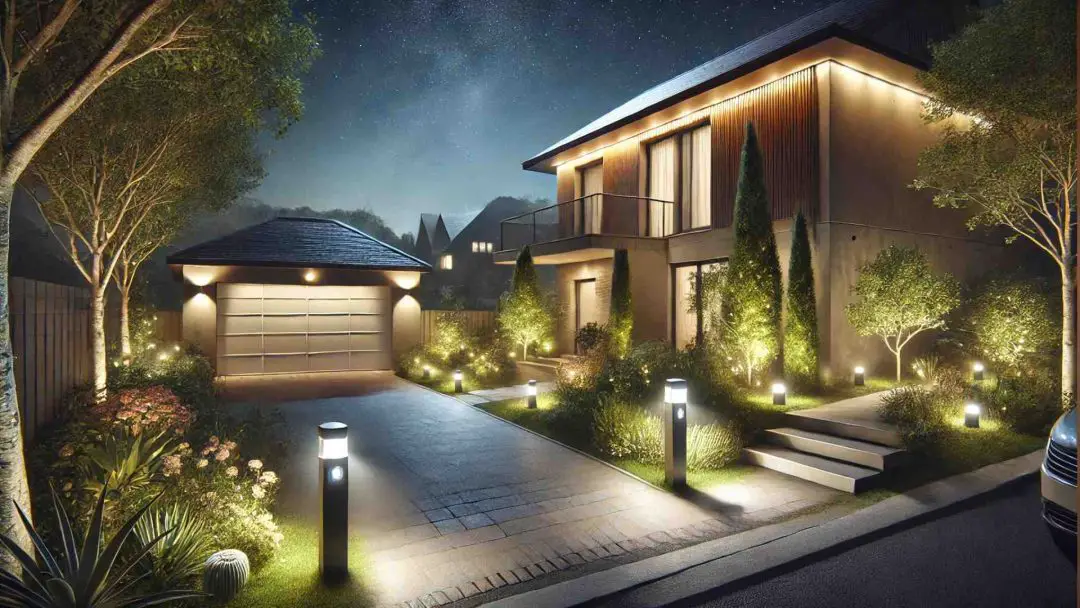
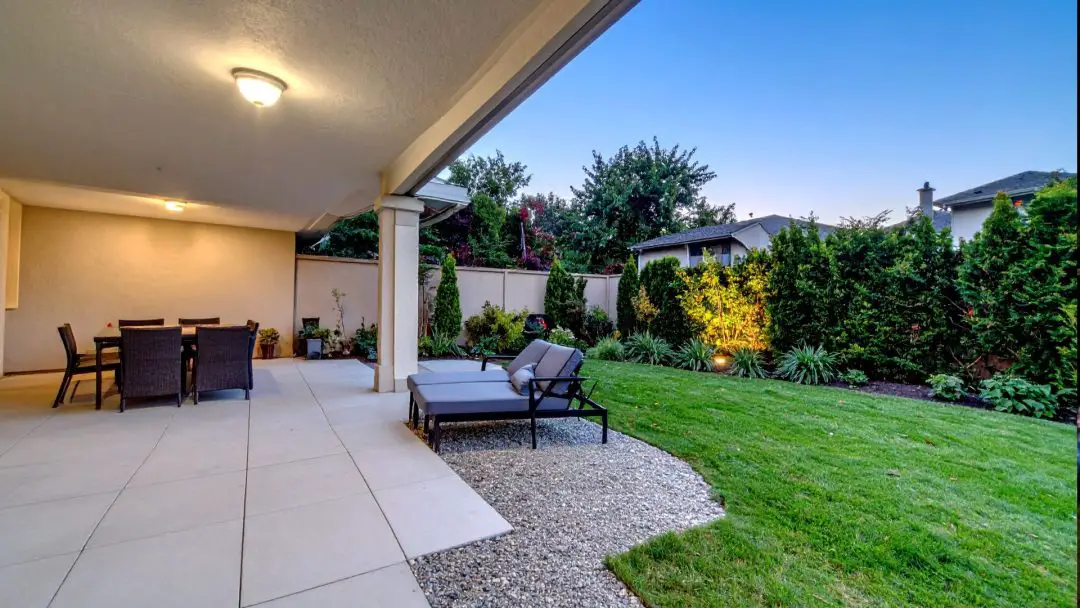
4. Bad Fixture Placement
Let’s face it—where you place your outdoor lights can either make your space feel warm and welcoming or awkward and confusing. When fixtures are installed without a plan, they often end up shining on the wrong things, hidden by plants, or unintentionally blinding your guests instead of guiding them.
Misplaced lighting isn’t just a missed opportunity—it can actually mess with the whole vibe and function of your yard. Instead of highlighting the good stuff and making the space feel safe, poor placement can create dark dead zones, harsh glare, or lighting that simply feels… off.
Here’s how to fix bad fixture placement and make your lights work with your landscape instead of against it:
- Start with a lighting map. Before installing anything, take a moment to identify the areas that need illumination—think about function first (paths, doors, stairs) and then add a little drama (trees, sculptures, or that favorite plant). This helps you place lights with a clear purpose rather than just scattering them around.
- Point fixtures where they’ll actually be useful. A light aimed at a wall for no reason, into a guest’s eyes, or straight into a window is doing more harm than good. Instead, angle them thoughtfully so they highlight textures, guide movement, or create soft ambient glow.
- Avoid future blockages. Fixtures hidden behind shrubs or under seasonal foliage may look fine now but will disappear in a month. Place them in open or elevated spots where they won’t be covered or obstructed as your garden grows.
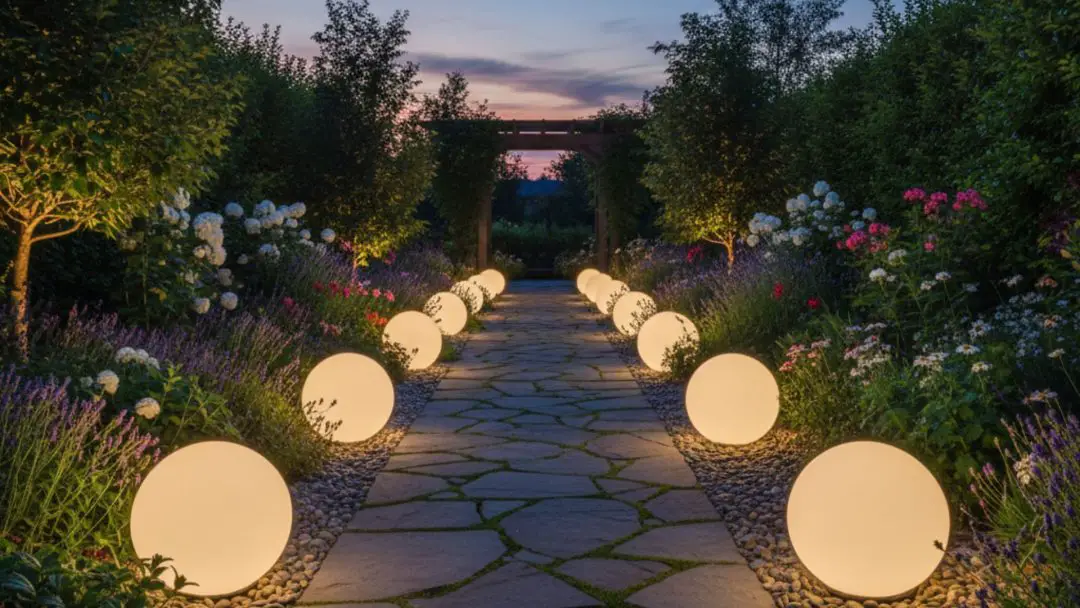
- Play with height and depth. Outdoor lighting gets more interesting when you mix things up—combine low path lights with mid-height lanterns or subtle uplighting to create dimension. Avoid placing all lights in a straight line or at the same level unless you want your yard to feel like an airport runway.
- Test at night before locking things in. Once you’ve got your layout, try a temporary setup and check it after dark—seeing your space lit up at night will quickly reveal what’s working and what needs adjusting. A little tweaking now saves you from major headaches (and re-digging) later.
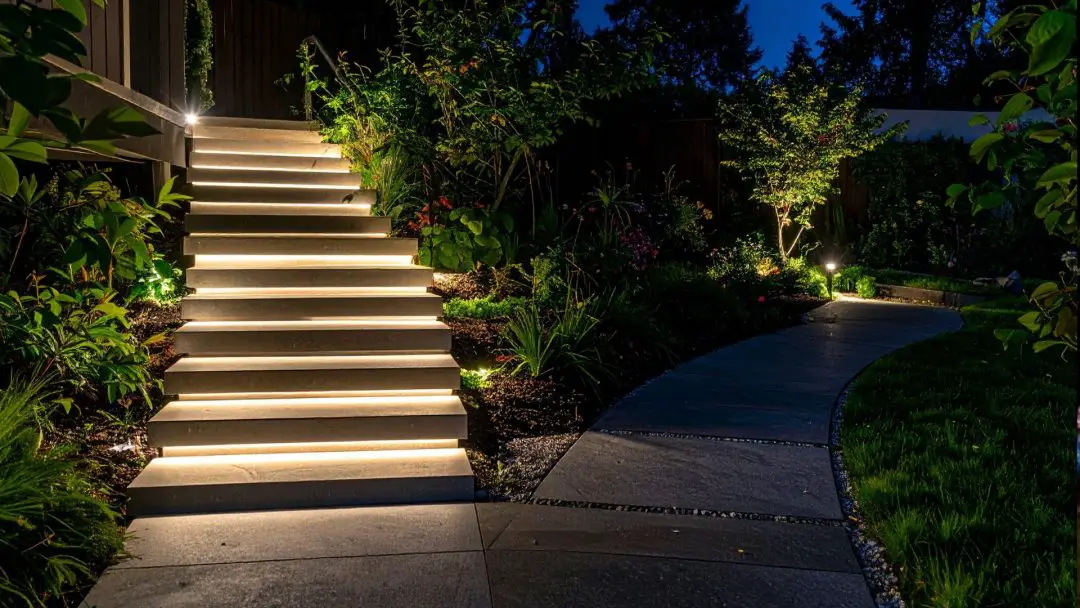
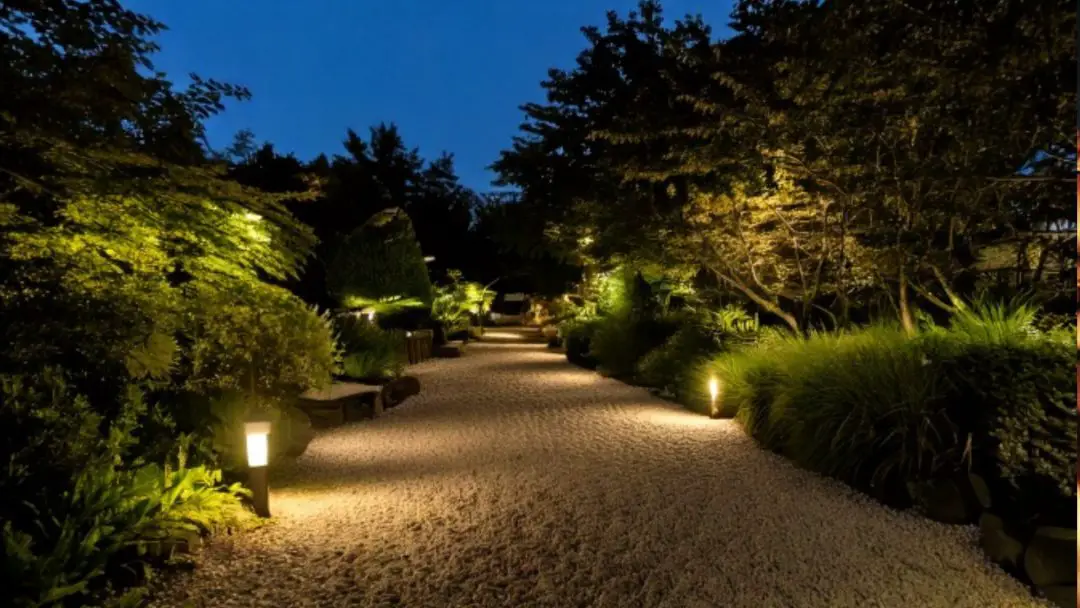
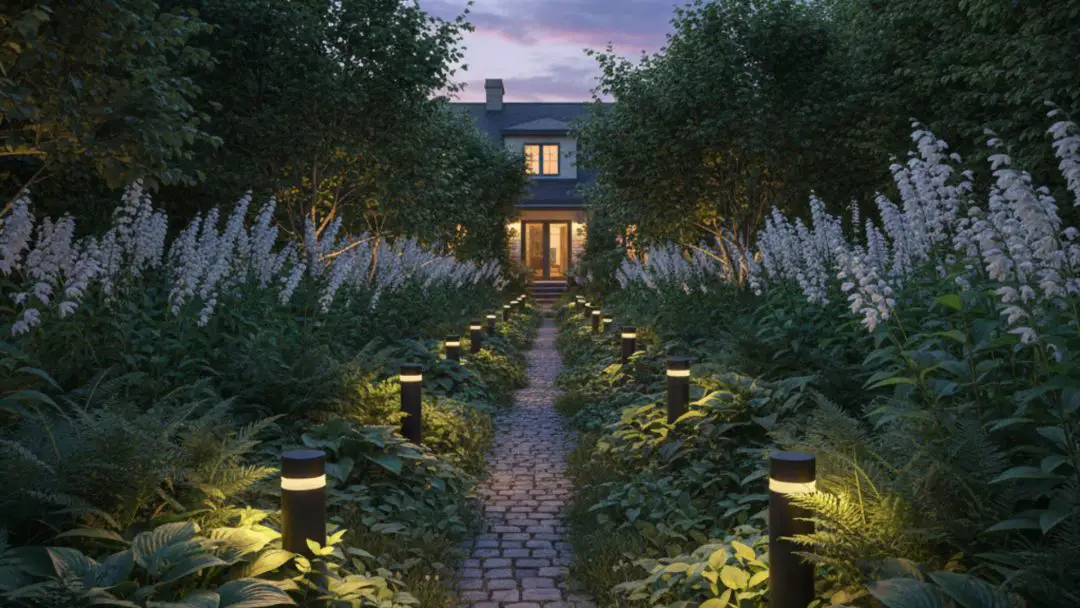
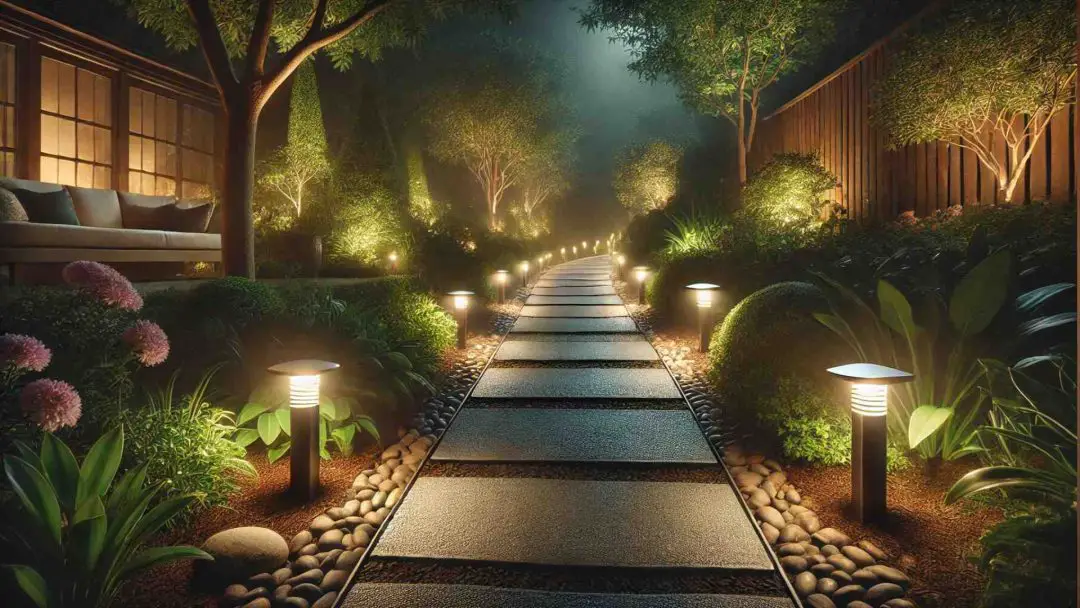
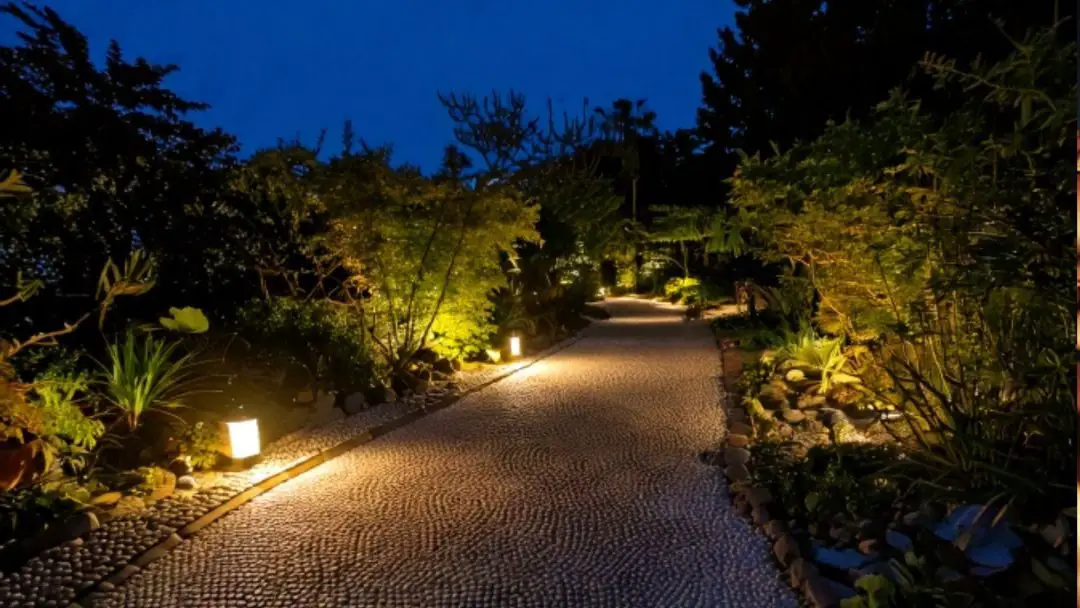
5. Skipping Path and Step Lighting
It’s easy to get caught up in the wow-factor of uplighting trees or casting dramatic shadows on a stone wall, but many people forget one of the most practical parts of outdoor lighting: the paths and steps. These are the places people actually walk on—so if they’re hidden in the dark, even the most beautiful lighting elsewhere starts to lose its shine.
When walkways and stairs aren’t properly lit, your outdoor space doesn’t just lose function—it starts to feel unwelcoming and, honestly, a bit risky. A poorly lit step can turn into a trip hazard, and dark garden paths make your yard feel less inviting, no matter how pretty your patio lights are.
To keep your landscape both stylish and safe, here’s how to give path and step lighting the attention it deserves:
- Line walkways with well-spaced path lights. These low fixtures don’t need to be flashy—just bright enough to guide the way and prevent stumbles. To avoid that runway look, stagger them slightly or mix up the placement for a more natural, relaxed feel.
- Add step lights for both safety and ambiance. A few recessed lights in the stair risers or along side walls can make a huge difference. They help prevent missteps and also bring a clean, finished look to your stairs.
- Blend form with function. Just because it’s a safety feature doesn’t mean it can’t look good. Go for lights that match your home’s style—whether that’s modern, rustic, or somewhere in between—and let them complement your space, not clash with it.
- Pick outdoor-grade materials that hold up. Since these lights are low to the ground, they’re going to face weather, dirt, and maybe even a soccer ball or two. Choose fixtures made of durable, outdoor-rated materials like brass or powder-coated aluminum to keep things glowing season after season.

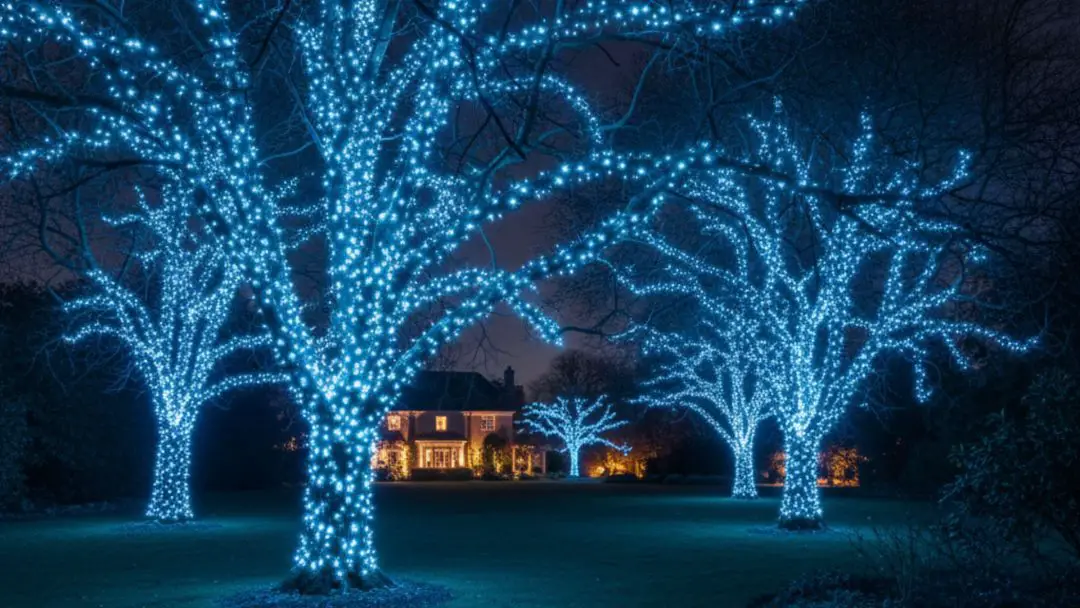
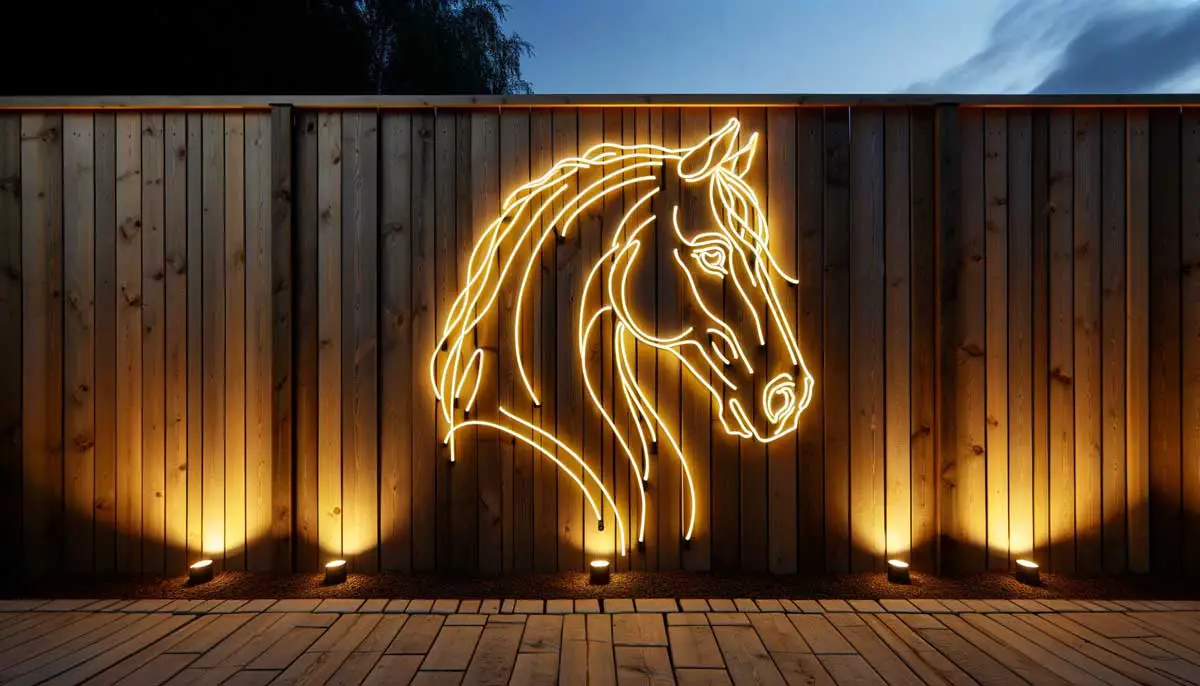
6. Forgetting to Highlight Focal Points
When designing outdoor lighting, it’s easy to focus on the basics—lighting the pathways, brightening the entrances, covering safety zones—and completely overlook the standout features that give your space character. Whether it’s a twisting old tree, a cozy garden bench, or an eye-catching sculpture, every yard has something worth turning the spotlight on—literally.
Neglecting these visual anchors doesn’t just waste their potential—it can leave your outdoor setup feeling a little bland and one-note. Focal points help shape the overall design, drawing attention to what’s special and adding depth and balance to the scene.
To avoid missing out on what could be the most beautiful part of your lighting design, here’s what you can do:
- Start by spotting your star features during the day and at night. Look for anything that naturally catches your eye—a textured wall, an elegant plant, or a unique architectural detail. Seeing these elements in different lighting conditions helps you understand how they interact with both shadow and glow.
- Use accent lighting like uplights or spotlights to make those features shine. Uplighting works wonders for taller structures or trees, while a narrow-beam spotlight can add drama to a statue or fountain. Angle and placement matter here—aim for just enough illumination to bring out textures without blinding anyone nearby.
- Keep it simple—one or two focal points per zone is all you need. Lighting too many things at once waters down the effect and makes the layout feel busy. Think of it like composing a photo: give your viewer a clear subject, not a cluttered frame.
- Create contrast to let focal points breathe. A lit object surrounded by darker space naturally stands out more, adding visual interest without needing higher wattage. Let the rest of the area gently fade into supporting roles with soft ambient or indirect light.
A Smarter Way to Think About Outdoor Lighting
Getting your outdoor lighting just right isn’t about chasing perfection—it’s about striking the right balance between function and flair. The goal is to create a space that’s both practical and inviting, where light not only serves a purpose but also adds to the atmosphere. By paying attention to details like the placement of fixtures, the layering of light, and the warmth of your bulbs, you can transform your outdoor area into a welcoming retreat.
It’s not about overdoing it either; a little subtlety goes a long way in outdoor lighting design. When done thoughtfully, the right lighting brings your space to life without making it feel overpowered or cluttered. With just a few tweaks here and there, you’ll create an outdoor space that’s not only well-lit but beautifully balanced, setting the perfect tone for any evening.