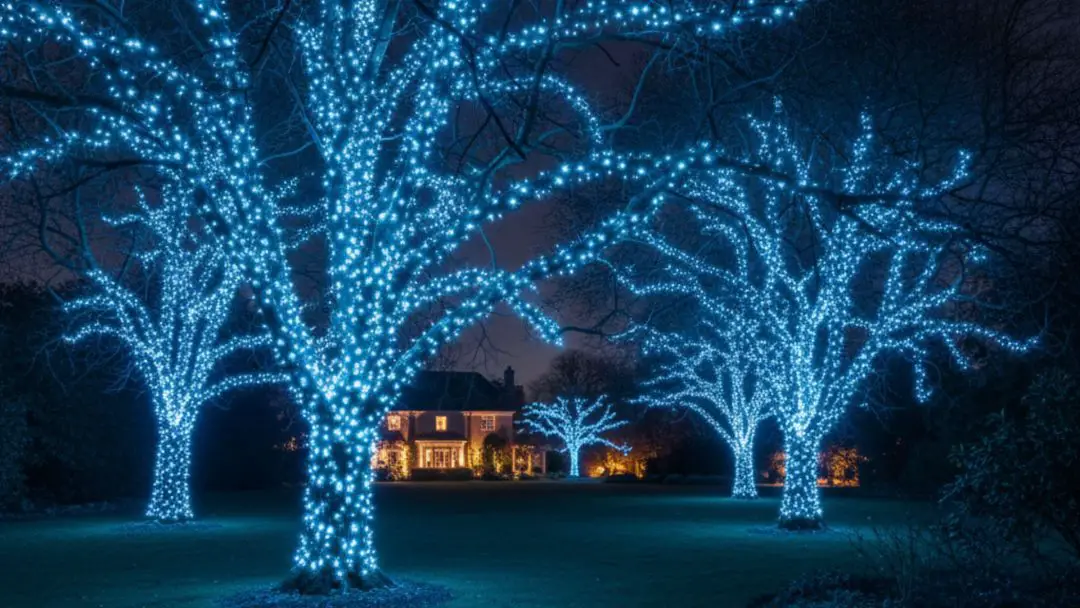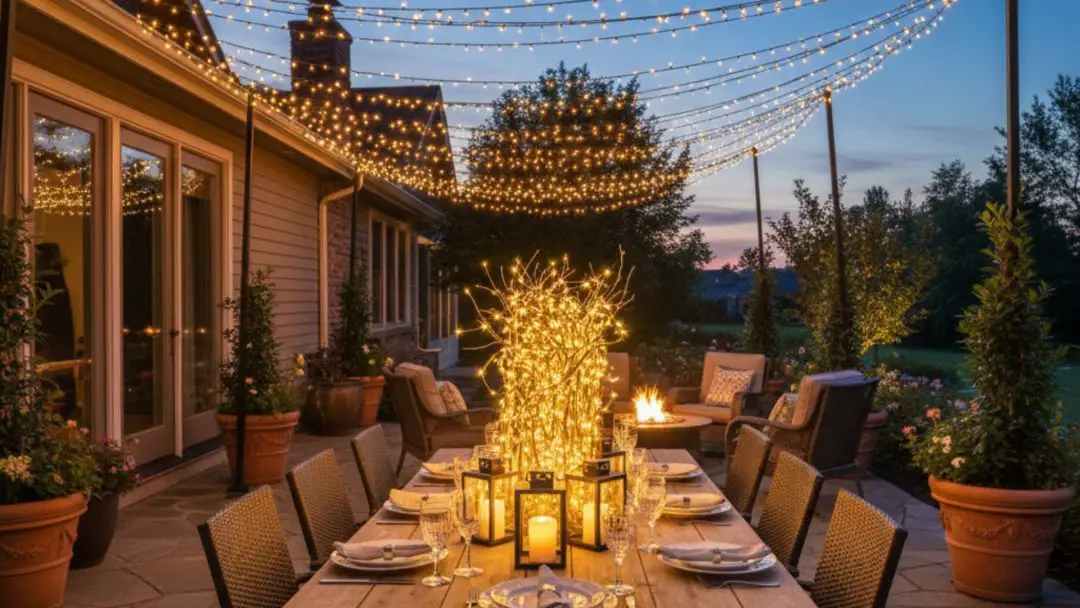
Trees are often underestimated when it comes to outdoor lighting, yet they’re one of the simplest ways to add a bit of magic to your backyard. With the right lights, they can go from being everyday greenery to glowing centerpieces that completely elevate your outdoor space.
DIY lighting isn’t just budget-friendly—it’s a chance to get creative and make something uniquely yours. There’s also a special kind of joy in stepping back to admire your own handiwork as it brightens up the night.
In this article, we’ll explore how you can turn your trees into beautiful, illuminated features with easy and fun DIY hanging light ideas. Whether you’re planning a backyard gathering or just want to enjoy a serene evening under the stars, these ideas will inspire you to get started.
Factors to Consider When Choosing DIY Lighting for Trees
Before jumping into your DIY lighting project, it’s a good idea to think through a few details to make sure everything works like a charm. The right choices can save you time, effort, and maybe even a bit of frustration later on.
Here are a few key factors to consider before you start:
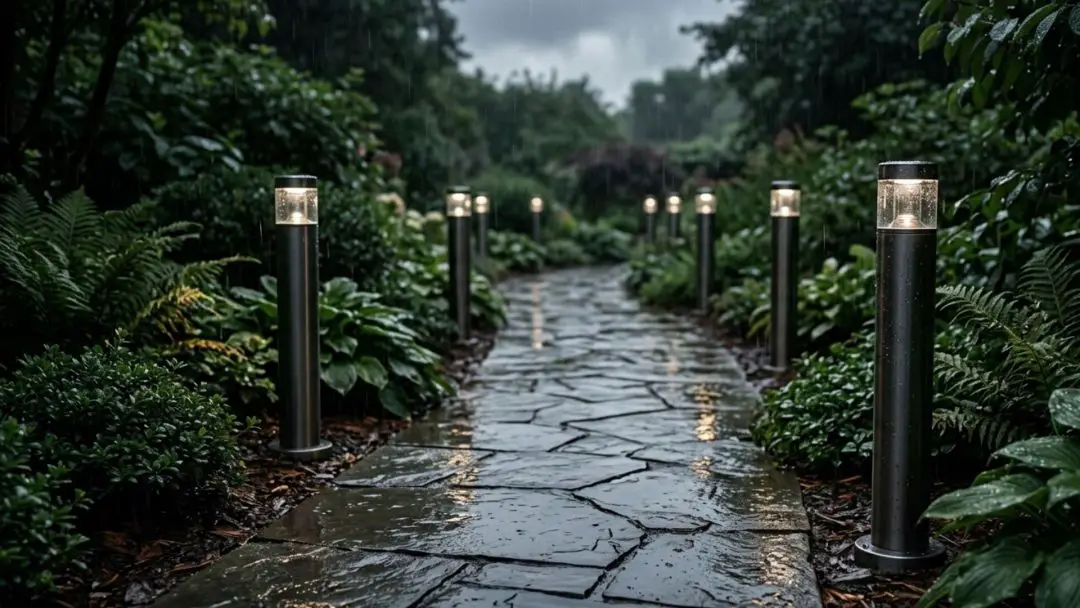
- Durability and Weather Resistance: Outdoor lighting has to handle more than just looking pretty—it needs to survive the elements too. Make sure to pick lights and materials that are weatherproof, so your hard work doesn’t short-circuit after the first drizzle.
- Tree Health and Safety: While lighting up your trees is fun, keeping them healthy is even more important. Opt for gentle hanging methods, like twine or padded hooks, to avoid scraping bark or snapping branches. Your trees will thank you.
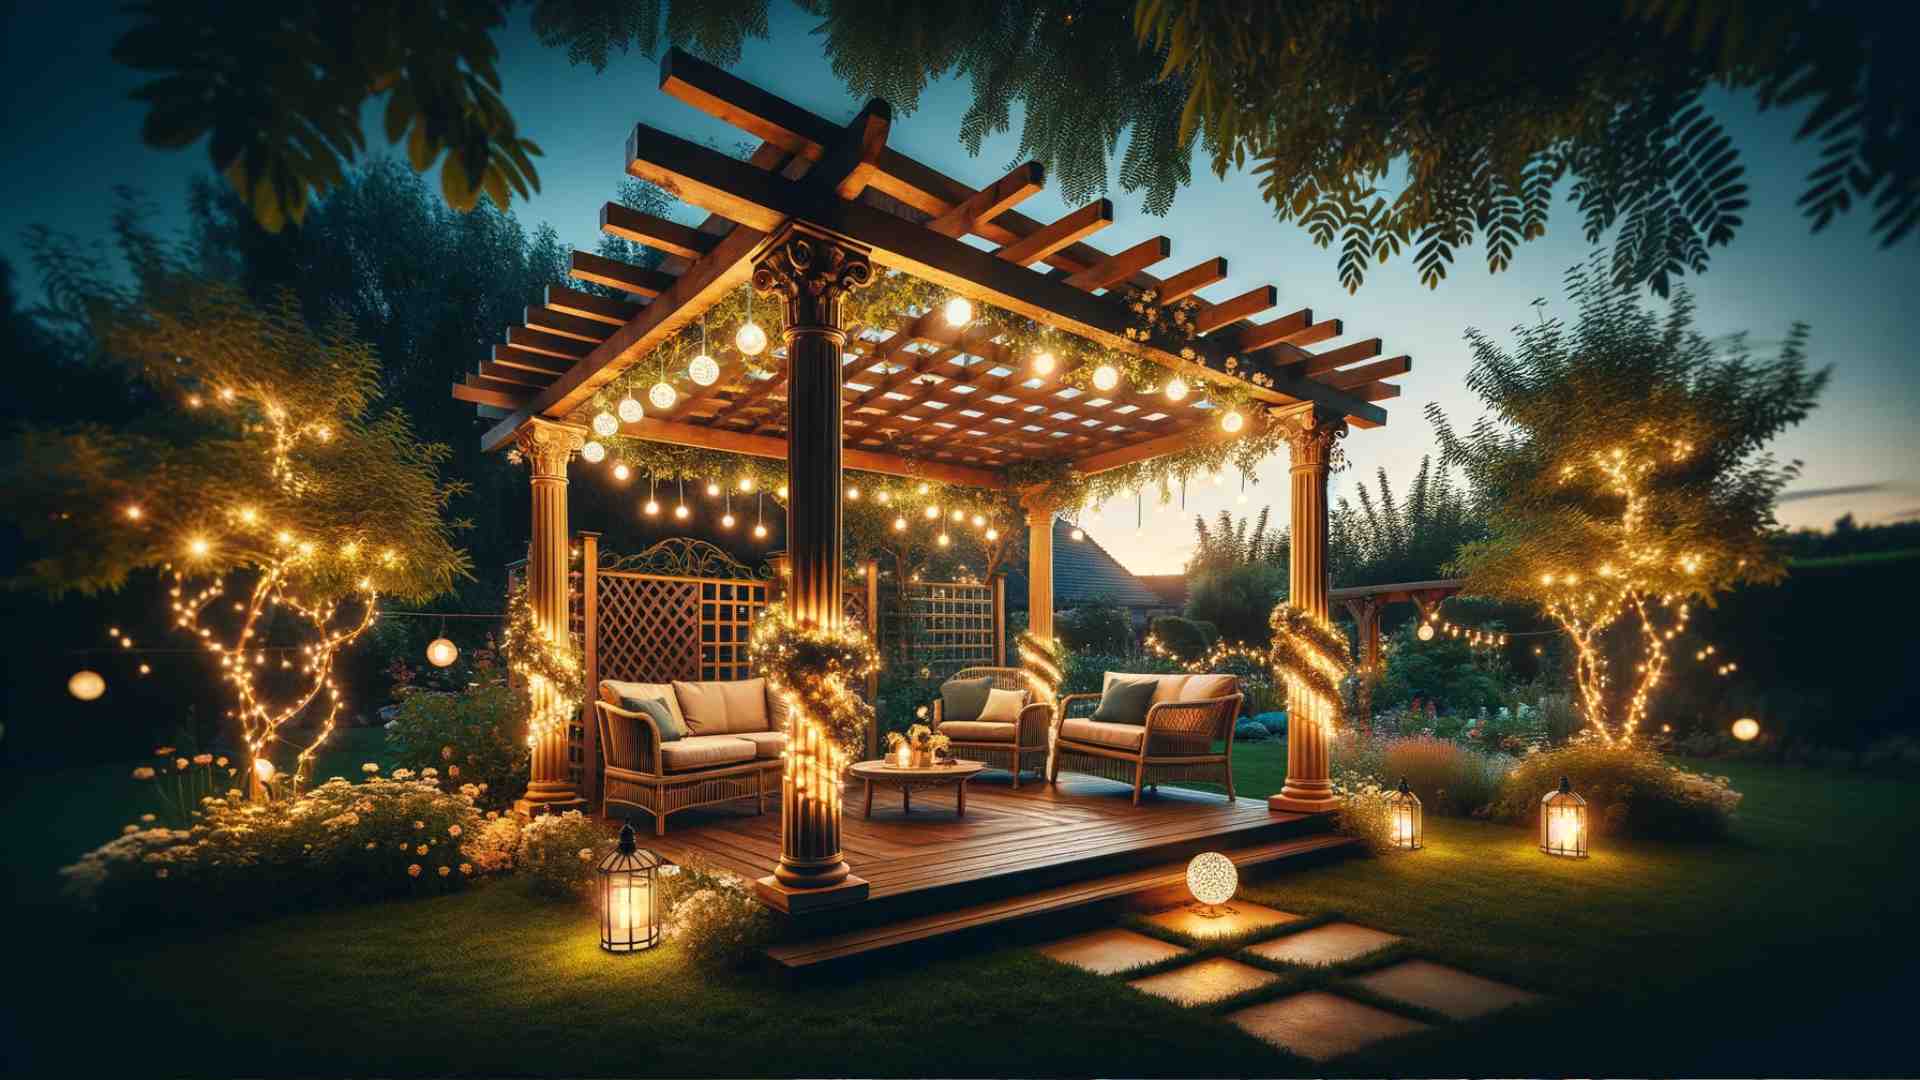
- Lighting Placement and Effect: Where you hang your lights makes all the difference in setting the mood. Experiment with different heights and arrangements to find a style that feels just right—whether that’s a soft, dreamy glow or a bold, festive vibe.
- Power Source: Deciding how to power your lights is key to keeping the setup hassle-free. Solar lights are great for a no-fuss approach, but if you want a bit more brightness, plug-in or battery-operated options might be the way to go.
- Ease of Assembly and Maintenance: DIY projects are supposed to be fun, not overwhelming. Choose designs that are simple to put together and easy to maintain, so you can spend more time enjoying the glow and less time fixing tangled lights.
Now that you’ve got the basics covered, let’s explore 5 creative DIY projects to transform your trees into stunning illuminated features.
1. Glowing Wicker Balls

Hanging lights made from natural materials bring a distinctive charm to outdoor spaces, and wicker balls are an excellent option for achieving that look. Their intricate design allows light to pass through in soft, textured patterns that add warmth to your surroundings. Suspended from tree branches, they create a striking visual feature that’s both practical and decorative.
This idea is simple to execute and works for any outdoor setting, whether you’re hosting guests or just enjoying a quiet evening outside. The wicker’s natural texture blends seamlessly with the environment, while the soft lighting enhances the space without feeling overwhelming.
Crafting these glowing ornaments is straightforward, making it a fun project that delivers impressive results. With a few easy steps, you’ll have a lighting setup that elevates your trees in no time.
Here’s how to make them:
- Step 1: Gather small wicker balls and battery-operated or solar-powered fairy lights.
- Step 2: Thread the fairy lights carefully through each wicker ball, ensuring the lights are evenly distributed for consistent glow.
- Step 3: Use clear tape or small zip ties to secure the lights inside the balls without damaging the frame.
- Step 4: Attach a strong string or fishing line to each ball, creating loops for easy hanging.
- Step 5: Hang the wicker balls from sturdy tree branches at various heights to add depth and dimension to the display.
2. Sparkling Star Decors
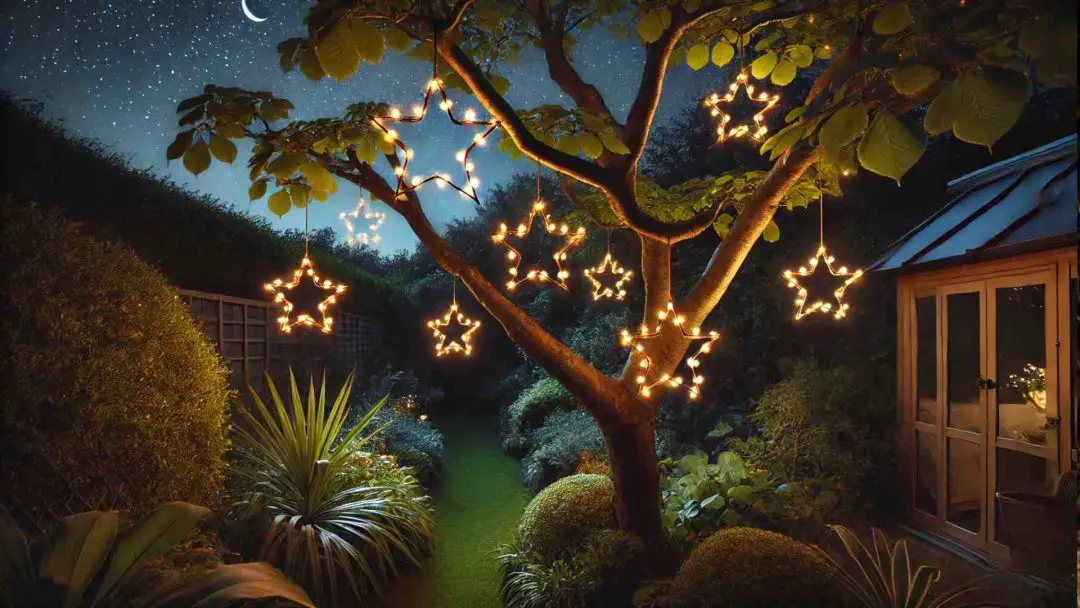
Stars never go out of style, and adding a little sparkle to your backyard trees is easier than you might think. These DIY star lanterns combine star-shaped frames with glowing lights, making your trees look both creative and elegant. They’re a simple yet eye-catching way to add personality to your outdoor space.
What’s great about these sparkling stars is how customizable they are. You can use fairy lights for a soft, subtle glow or LED strips if you want something bolder and brighter. The frames can be made from wire, wood, or even sturdy cardboard, so you can choose what fits your style and budget.
This project is as easy as it is fun, and the materials are things you can find at most craft stores. It’s straightforward enough for beginners but still leaves plenty of room for creativity. The result? A backyard setup that feels both handcrafted and unique.
Here are the steps to create your sparkling star decor:
- Step 1: Gather your materials—thin wire, wooden dowels, or sturdy cardboard for the frames, fairy lights or LED strip lights, and string or fishing line for hanging.
- Step 2: Shape the frames into stars by bending the wire, assembling the dowels with glue or small nails, or cutting star shapes from cardboard using scissors or a craft knife.
- Step 3: Wrap the lights around the edges of each star frame, securing them with clear tape or small zip ties as needed.
- Step 4: Attach string or fishing line to the top of each star for easy hanging.
- Step 5: Hang the sparkling stars from tree branches at varying heights to create a layered and dynamic display.
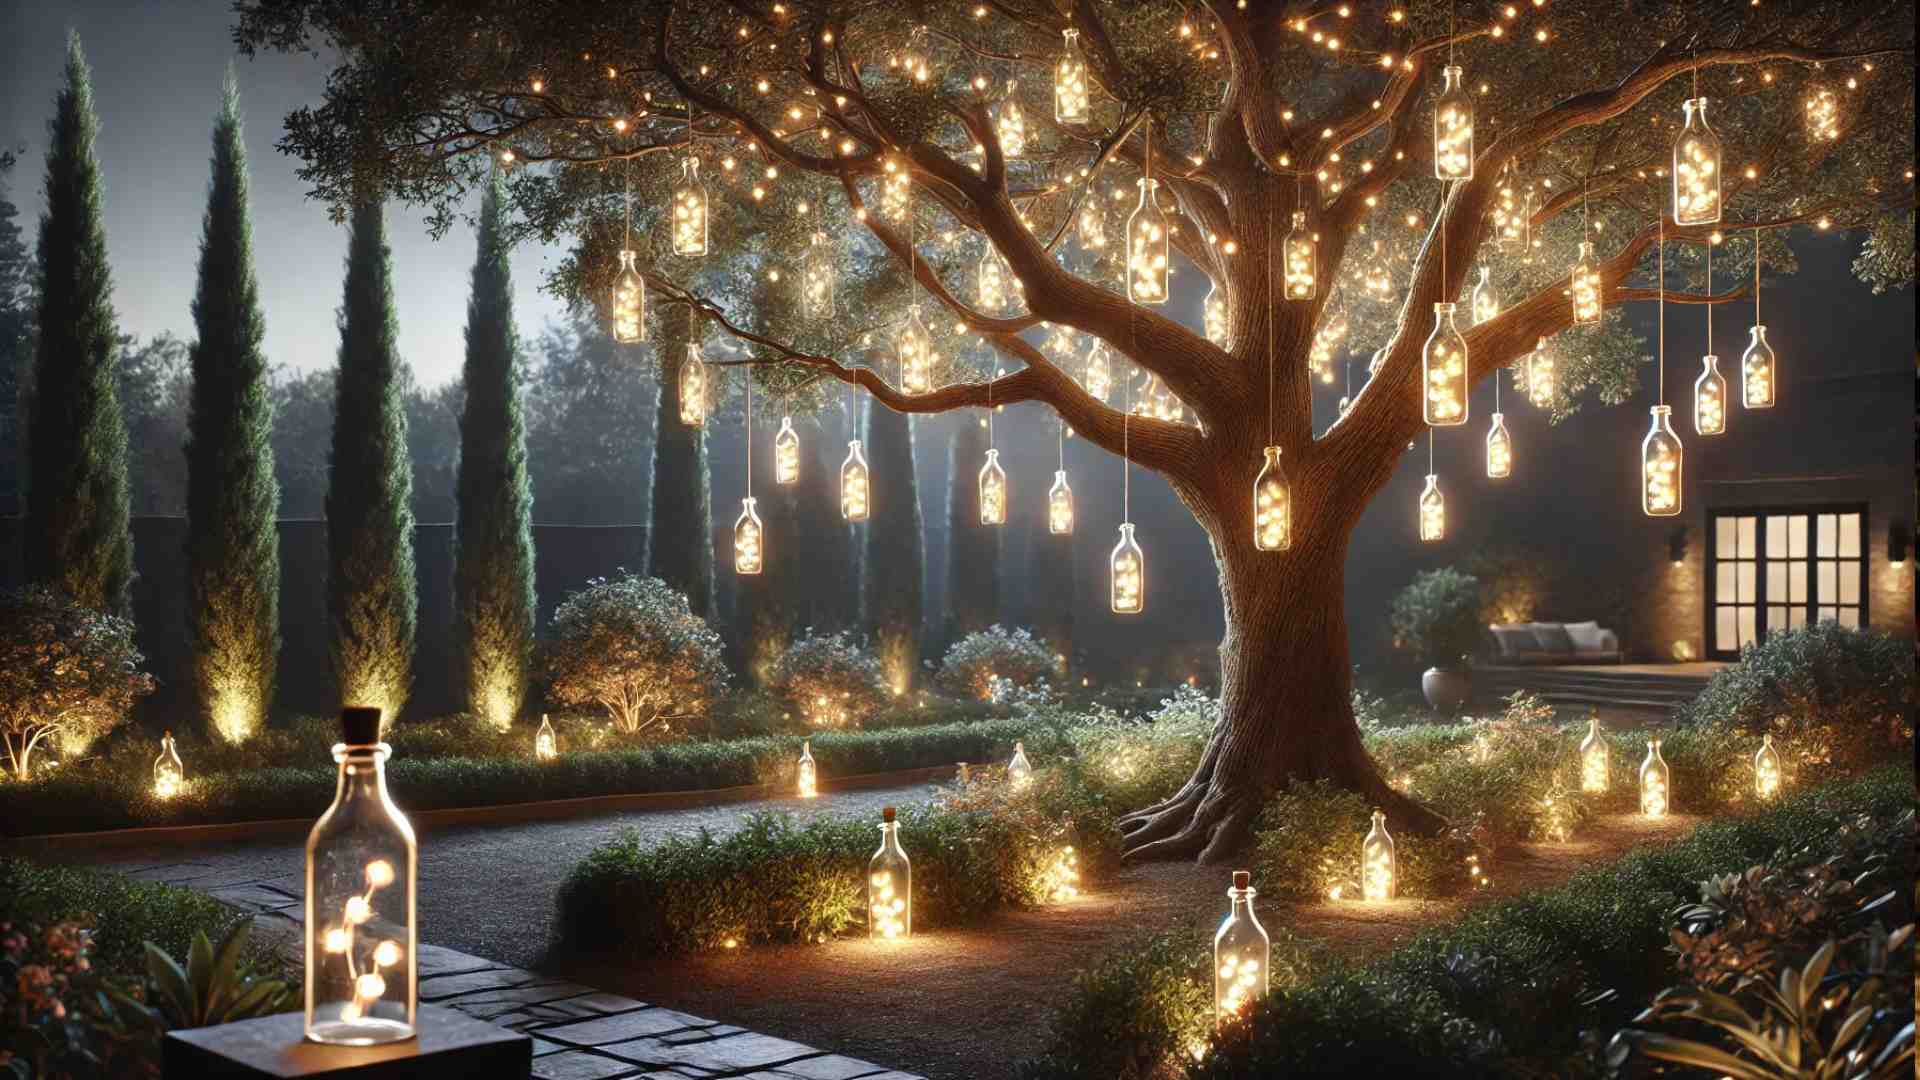
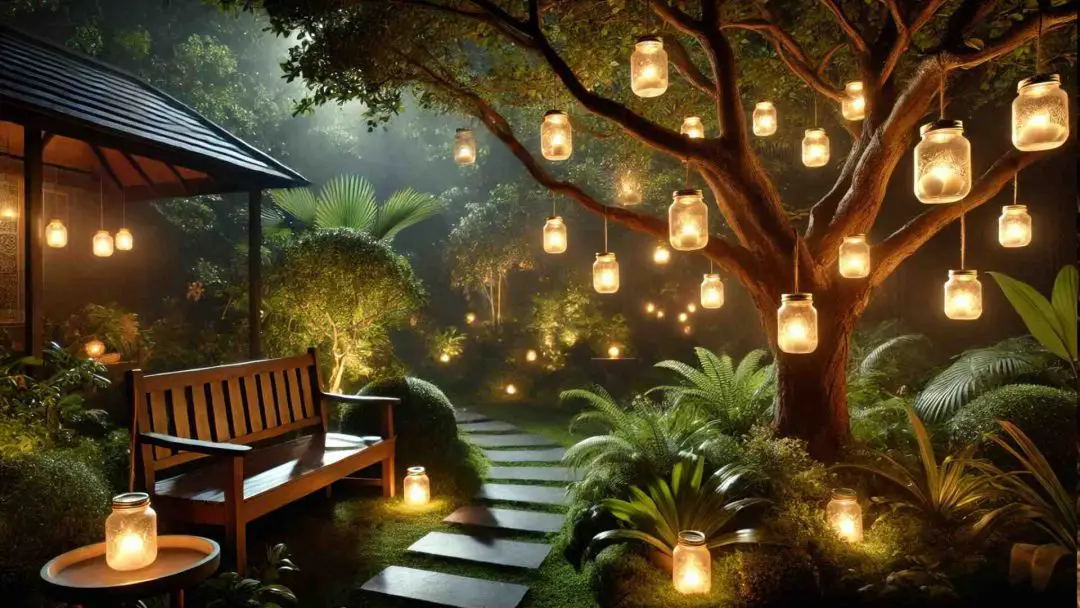
3. Bottle Lanterns

If you’ve got a few clear bottles sitting around, why not turn them into glowing lanterns for your trees? These DIY bottle lanterns are a fun and easy project that adds a handmade, creative touch to your outdoor space. With just a little effort and some fairy lights, those bottles can become the highlight of your backyard.
What’s great about this idea is how customizable it is. Clear bottles come in all shapes and sizes, giving you the chance to mix things up for a more dynamic look. When you fill them with tiny fairy lights and hang them from tree branches, they cast a soft, warm glow that’s both stylish and practical.
The process is simple, making it perfect even for those new to DIY. Not only are these bottle lanterns reusable, but they also offer a unique lighting solution that’s sure to draw attention. Plus, they’re a great way to repurpose bottles you already have at home.
Here are the steps to create your DIY bottle lanterns:
- Step 1: Gather clear bottles (glass or plastic), battery-operated fairy lights, and some strong string or fishing line.
- Step 2: Remove any labels from the bottles and give them a good wash to ensure they’re clean and ready for use.
- Step 3: Carefully insert a string of fairy lights into each bottle, leaving the battery pack or solar attachment accessible for easy switching.
- Step 4: Secure the lights inside by gently twisting the wire or using a small piece of tape if needed.
- Step 5: Tie string or fishing line around the neck of each bottle, then hang them from sturdy tree branches at varying heights for a layered effect.
4. Basket Lanterns
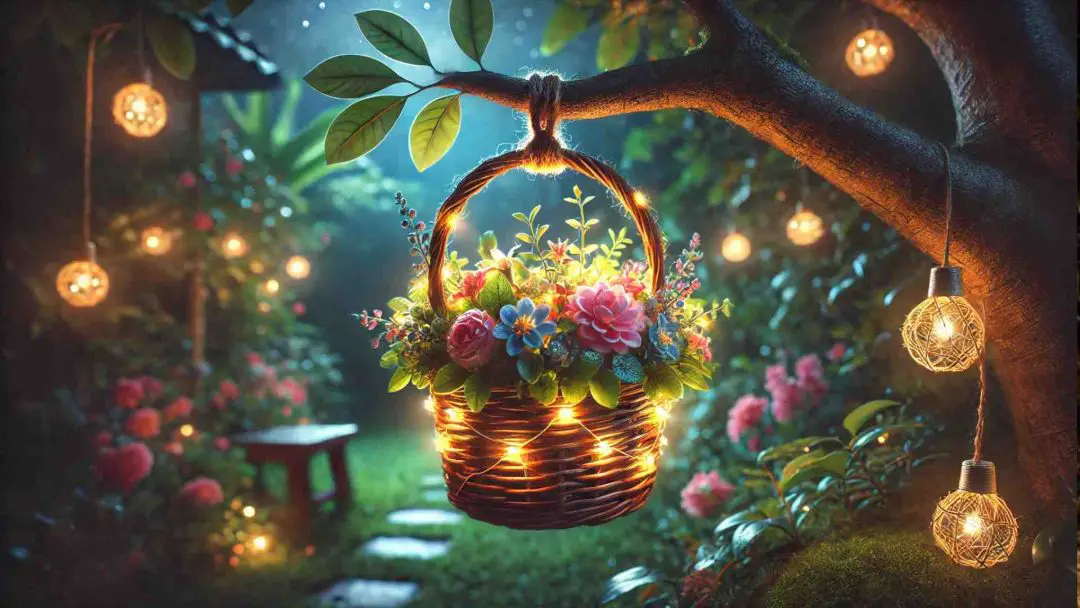
For a project that blends rustic charm with a soft, glowing touch, turning baskets into lanterns is a great idea. By filling an old basket with faux flowers and weaving fairy lights through them, you can create a beautiful hanging decoration. Suspended from tree branches, these lanterns bring a delightful mix of color, texture, and light to your outdoor space.
The best part of this idea is how versatile it is. You can experiment with baskets of different shapes and sizes to match your personal style or the vibe of your backyard. Adding faux flowers in vibrant or muted tones gives the design a splash of personality, while the lights add that subtle glow that ties it all together.
This project is also an excellent way to breathe new life into old baskets you might already have lying around. It’s simple, budget-friendly, and produces a result that feels unique and handmade. Plus, the combination of flowers and lights creates a cozy atmosphere that’s hard to resist.
Here are the steps to create your DIY basket lanterns:
- Step 1: Gather a used basket, faux flowers, fairy lights or small string lights, and strong string or fishing line for hanging.
- Step 2: Arrange the faux flowers inside the basket, securing them in place with floral foam or wire to keep everything steady.
- Step 3: Thread the fairy lights or string lights through the flowers, spreading them evenly to create a balanced, glowing effect.
- Step 4: Attach string or fishing line to the basket’s handle or rim to prepare it for hanging.
- Step 5: Hang the basket lanterns from tree branches at different heights to add depth and a layered look to your display.
5. Tin Can Lanterns
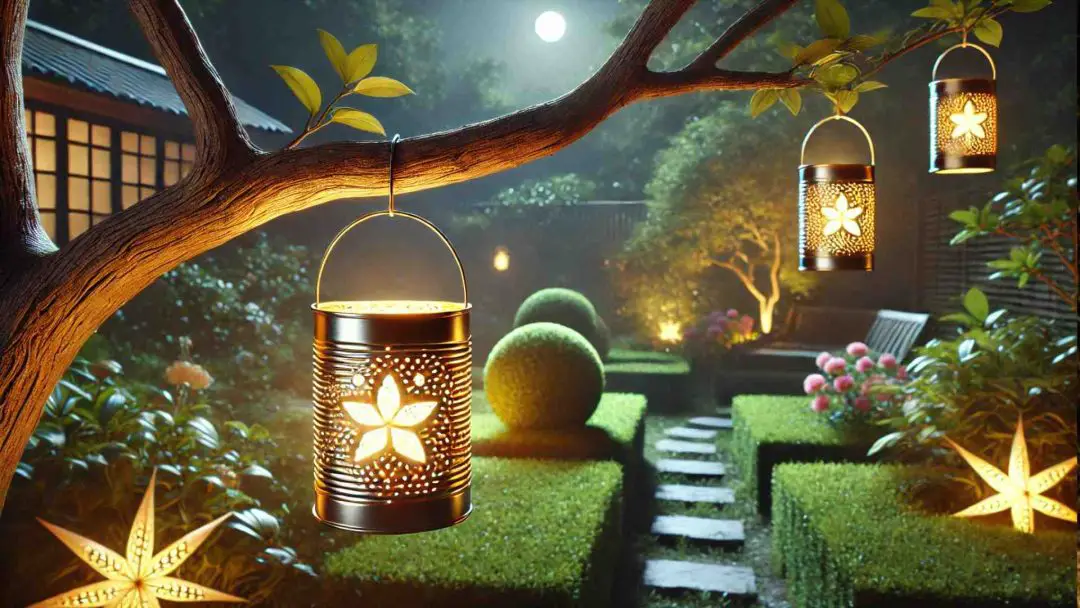
Ever wondered what you could do with those empty tin cans collecting dust in your kitchen? Why not transform them into glowing lanterns for your trees? By punching patterns into the cans and adding battery-operated lights, you’ll create unique decorations that light up your outdoor space with a personal touch.
The beauty of this idea is how creative you can get with it. You can punch simple designs for a minimalist vibe or go all out with intricate patterns—it’s entirely up to you. Plus, tin cans are durable and perfect for outdoor use, making them both functional and stylish.
This project is also super budget-friendly and a great way to recycle what you already have on hand. Once you hang these lanterns from tree branches, they’ll add both texture and a cozy glow to your yard. And the best part? They’re easy to make, so you don’t need to be a DIY pro to pull it off.
Here are the steps to create your DIY tin can lanterns:
- Step 1: Gather some used tin cans, a hammer, a nail or screwdriver for punching holes, battery-operated lights, and strong string or fishing line for hanging.
- Step 2: Clean the cans thoroughly, removing any labels or residue for a polished look.
- Step 3: Use a hammer and nail (or screwdriver) to punch holes in the cans, creating patterns like stars, hearts, or abstract shapes.
- Step 4: Place a battery-operated light inside each can, ensuring it’s securely positioned so the light shines through the holes.
- Step 5: Attach string or fishing line to the rims of the cans, then hang them from tree branches at different heights to create a layered, eye-catching display.
Lighting Up Your Trees in Style
Creating DIY hanging lights for your trees isn’t just about adding light—it’s about adding personality to your outdoor space. Each idea gives you the chance to work with materials you love and designs that feel uniquely yours. And let’s be honest, there’s a certain pride in seeing your own handiwork shining beautifully outside.
These projects go beyond simple lighting; they turn your trees into eye-catching features that draw attention for all the right reasons. From the subtle glow of wicker balls to the rustic charm of tin can lanterns, every design adds its own flavor to your yard. So, gather your supplies, unleash your creativity, and let your trees light up the night in a style that’s all yours.