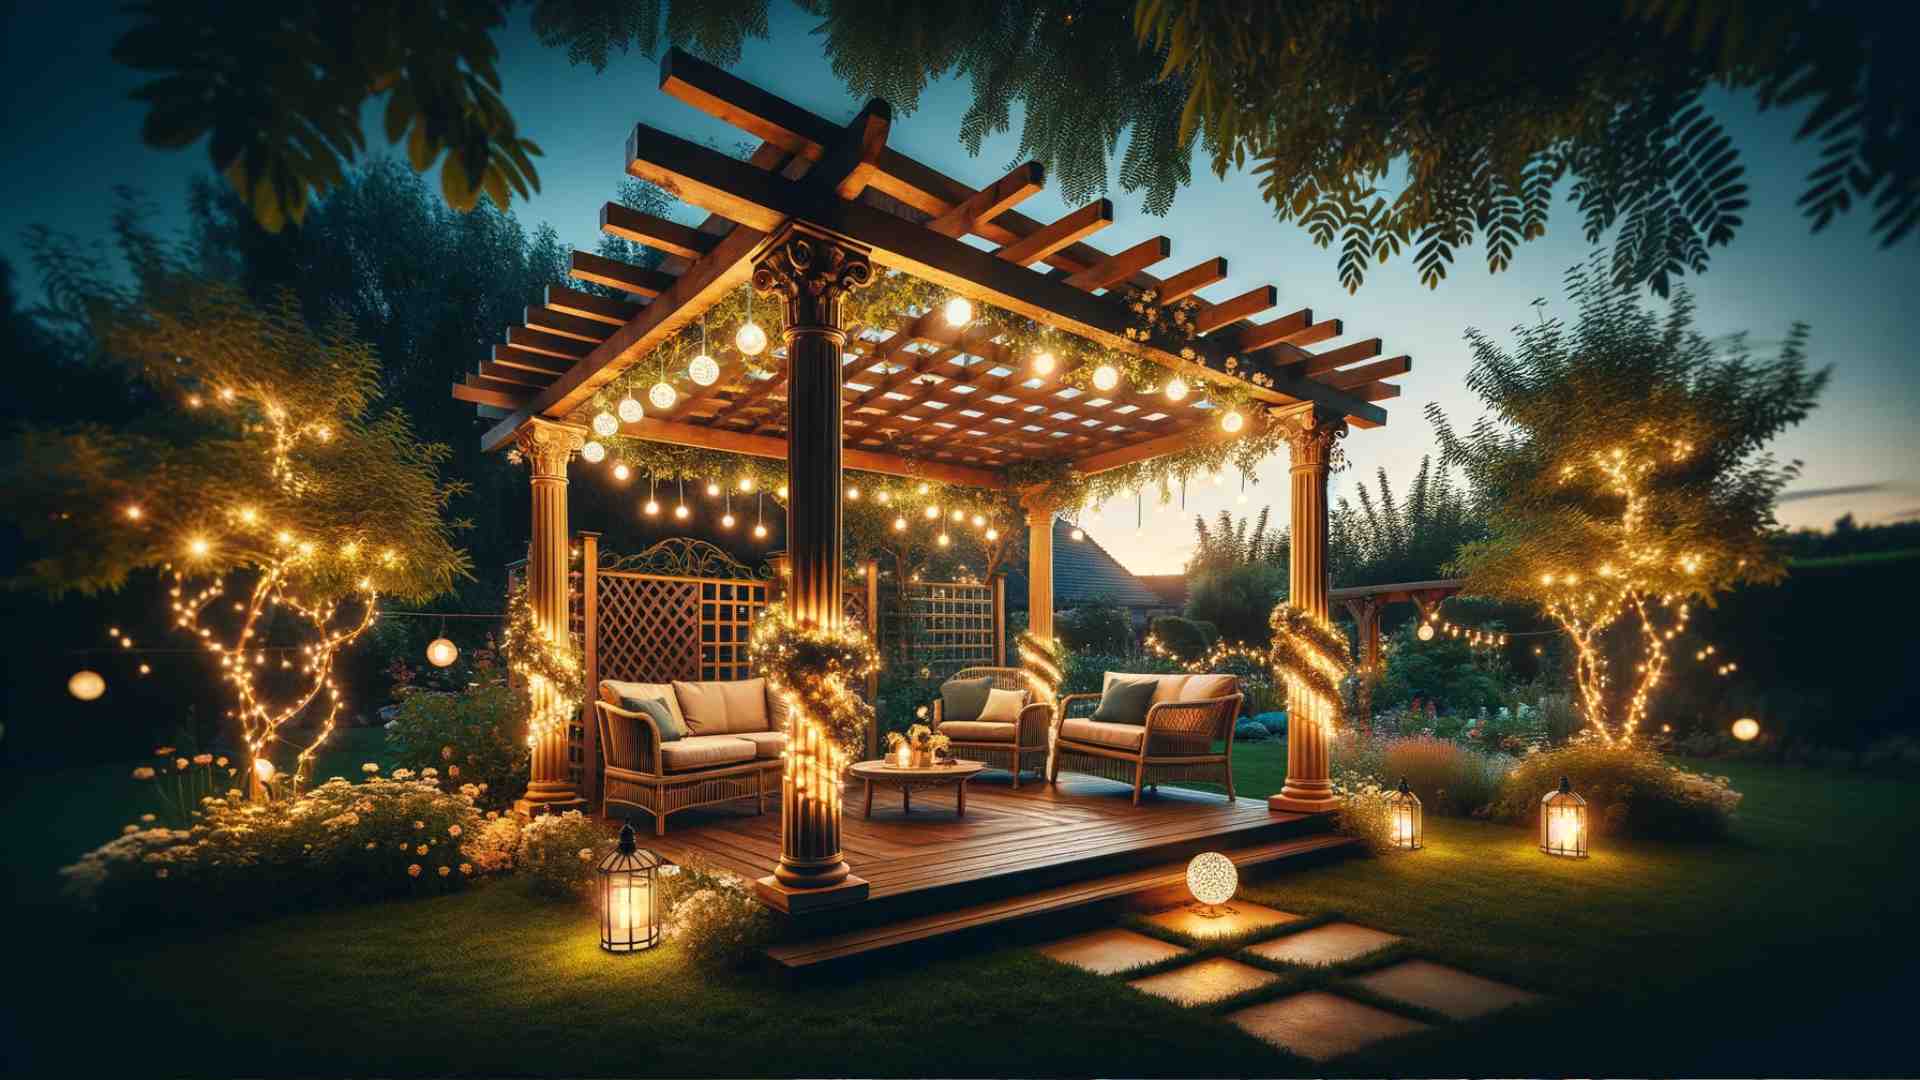
With a few clever DIY tricks, you can turn your rooftop into a cozy, well-lit haven, perfect for evening relaxation or small gatherings. Whether you’re a seasoned DIY enthusiast or just looking to add a personal touch, these outdoor lighting ideas are both fun to make and easy on the wallet.
Think of it as combining the beauty of nature with the charm of handmade décor. These ideas don’t require fancy tools or a big budget—just a bit of creativity and some basic materials you probably already have lying around. Plus, there’s something satisfying about lighting up your space with something you crafted yourself.
Ready to add a little sparkle to your rooftop garden? Let’s dive into these seven DIY outdoor lighting ideas that will not only brighten your space but also give it a unique, personal touch.
1. Sparkling Bottles
If you’re looking to add a touch of magic to your rooftop garden, empty glass bottles are a great way to start. With just a few simple steps, these bottles can be transformed into glowing accents by filling them with tiny fairy lights. Place them among your plants for a soft, enchanting glow, or line them along the edges of your garden to create a gentle, inviting border.
What makes this idea so special is its simplicity and charm. The glass naturally amplifies the light, casting a warm, welcoming glow that instantly turns your rooftop into a cozy retreat. Plus, it’s a clever way to repurpose bottles that might otherwise be discarded, adding a unique, personal touch to your space without much expense or effort.
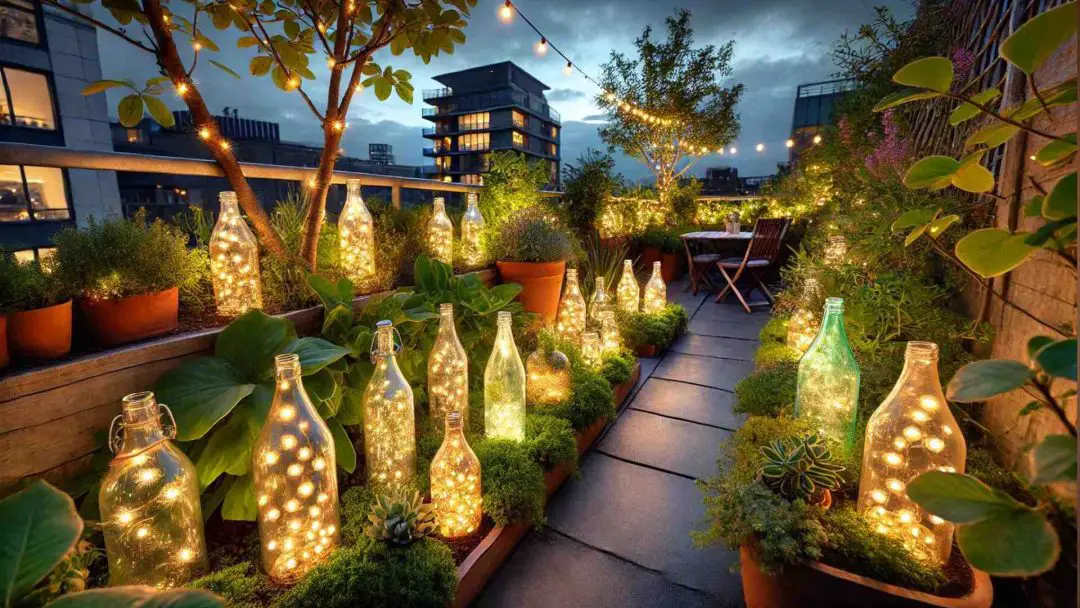
The versatility of this idea is another bonus. You can mix and match different bottle shapes and sizes to create a more eclectic look, or stick with a uniform style for a more polished effect. Either way, these glowing bottles will add a delightful ambiance to your garden, perfect for evening relaxation or hosting friends under the stars.
Ready to bring this idea to life? Here’s how:
- Collect Materials: Gather a mix of empty, transparent glass bottles in various shapes and sizes. Make sure they’re clean and dry.
- Choose Your Lights: Opt for warm-colored, battery-operated, or solar-powered fairy lights. Warm tones will give your garden that cozy, inviting feel.
- Insert the Lights: Gently place the fairy lights inside each bottle, ensuring the lights are evenly spread out. Leave the battery pack or solar panel outside the bottle for easy access and maintenance.
- Arrange Your Bottles: Place the glowing bottles throughout your garden. Tuck them among the plants for a magical, hidden glow, or use them to softly define the edges of your garden space.
2. Pixie Fairies
Crafting delicate fairy-like figures from twigs and small branches is a whimsical way to bring a touch of magic to your rooftop garden. These handmade fairies, wrapped in tiny fairy lights, create a soft, enchanting glow that flickers gently as the night falls. Whether placed around your garden or hung from small trees, these twinkling figures add a mystical ambiance that transforms your outdoor space into a cozy retreat.
What’s so wonderful about this idea is how it blends natural elements with a bit of creativity to create something truly unique. The organic shapes of the twigs give each fairy its own personality, and the tiny lights provide just the right amount of sparkle, turning your outdoor lighting into a charming and artistic display. Plus, it’s a budget-friendly and eco-conscious way to repurpose materials you already have, adding both beauty and sustainability to your garden.

The flexibility of these fairy figures is another reason to love this idea. You can create an entire community of fairies, each with its own character and style, or keep it simple with just a few scattered here and there for a subtle, magical effect. No matter how you choose to display them, these glowing fairies will captivate anyone who sees them, making your rooftop garden a truly special place.
To create these enchanting fairies, follow these easy steps:
- Gather Materials: Collect small, thin branches or twigs to shape into fairy-like figures. Look for branches with interesting contours to add character to each fairy.
- Assemble the Figures: Form basic humanoid shapes using the twigs, securing them with wire or twine at the joints. Keep the figures simple and abstract, letting the natural shapes of the twigs shine through.
- Wrap with Lights: Use tiny, battery-operated fairy lights and wrap them around the figures. Leave the battery pack accessible for easy operation and maintenance.
- Place in the Garden: Position your twinkling fairies around your rooftop garden, nestling them among plants or hanging them from small trees. These glowing figures will add a magical touch to your outdoor space, making it feel like a hidden fairy tale in the heart of the city.
3. Glowing Spheres
Crafting twigs into spherical shapes and wrapping them with tiny fairy lights is a fantastic way to add a touch of magic to your rooftop garden. These glowing orbs, when placed around your space, create a serene and whimsical ambiance that feels almost otherworldly. The gentle light contrasts beautifully with the natural greenery, casting an enchanting glow that transforms your garden into a peaceful haven as dusk settles in.
What makes this idea particularly appealing is its combination of natural textures with modern lighting. The rough, organic feel of the twigs paired with the delicate, twinkling lights creates a stunning visual that’s both calming and captivating. It’s an easy yet impactful way to introduce a handcrafted element to your outdoor lighting, making your garden not only more beautiful but also uniquely yours.
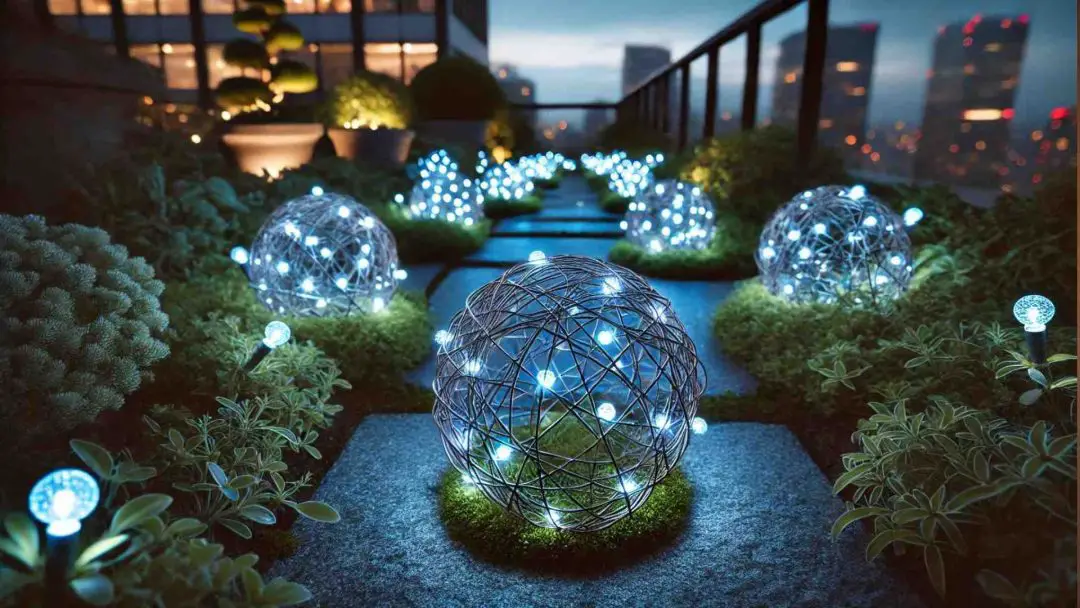
These glowing spheres are also incredibly versatile. You can place them on the ground to create a soft, scattered light effect, nestle them among plants for a hidden glow, or even hang them from small trees to add height and dimension to your lighting design. However you arrange them, these spheres will bring a magical, layered effect to your rooftop garden.
Here’s how to create these glowing spheres:
- Gather Materials: Collect flexible twigs or small branches that can be easily shaped into spheres. You’ll also need tiny fairy lights, ideally battery-operated for convenience.
- Shape the Spheres: Carefully bend the twigs into circular shapes and intertwine them to form a sphere. Secure the ends with wire or twine to maintain the shape.
- Wrap with Lights: Wrap the fairy lights around the twig spheres, distributing the lights evenly for a consistent glow. Ensure the battery pack is easily accessible for operation.
- Place in the Garden: Arrange your glowing spheres throughout your rooftop garden. You can place them on the ground, nestle them among plants, or hang them from small trees to create a magical, multi-layered lighting effect.
4. DIY Stake Lights
Elevate the ambiance of your rooftop garden with a simple yet enchanting DIY project using bamboo stakes, faux flowers, and tiny fairy lights. These stake lights effortlessly blend the natural beauty of bamboo with the playful twinkle of fairy lights, adding a warm and inviting glow to your space. Placing these illuminated stakes throughout your garden creates a serene, magical atmosphere, perfect for unwinding in the evening or hosting a cozy gathering.
The beauty of this idea lies in its simplicity and the ability to customize it to your taste. Bamboo poles are easy to work with and pair beautifully with vibrant faux flowers and leaves that require no upkeep. The addition of fairy lights adds just the right amount of sparkle, casting a gentle, soothing light that enhances the natural greenery and creates a tranquil mood.

What’s even better is how easily you can tailor these stake lights to suit your garden’s style. Choose flowers and lights that complement your garden’s theme or color scheme, and you’ll have a set of lights that blend seamlessly into your outdoor space. Whether you’re aiming for a romantic, serene setting or a lively, festive vibe, these DIY lights are a quick and impactful way to bring charm and character to your rooftop garden.
Here’s how to make your own:
- Gather Materials: Start with short bamboo poles, faux flowers and leaves of your choice, and a string of tiny fairy lights. Pick colors and designs that match your garden’s overall aesthetic.
- Decorate the Poles: Attach the faux flowers and leaves to the bamboo poles using glue or twine. Make sure everything is securely fastened and evenly spaced.
- Add the Lights: Wrap the fairy lights around each decorated pole, distributing the lights evenly for a balanced glow. Keep the battery pack or solar panel accessible for easy operation.
- Place in the Garden: Insert the bamboo stakes into the soil or planters around your rooftop garden. Arrange them thoughtfully to create a soft, ambient glow that highlights the natural beauty of your space.
5. Coffee Can Lanterns
Give your rooftop garden a charming, eco-friendly touch by transforming used coffee cans into decorative lanterns. By punching holes into the cans, you can create unique patterns that allow light to escape in interesting ways. When you place an LED light inside, these lanterns cast a soft, patterned glow that adds warmth and character to your garden space.
This idea is not only creative but also environmentally conscious, giving new life to materials that might otherwise be discarded. The beauty of these lanterns lies in their simplicity and the personal touch you can add through the patterns you choose to create. Whether you prefer stars, swirls, or something abstract, these lanterns become a reflection of your style, making your garden uniquely yours.
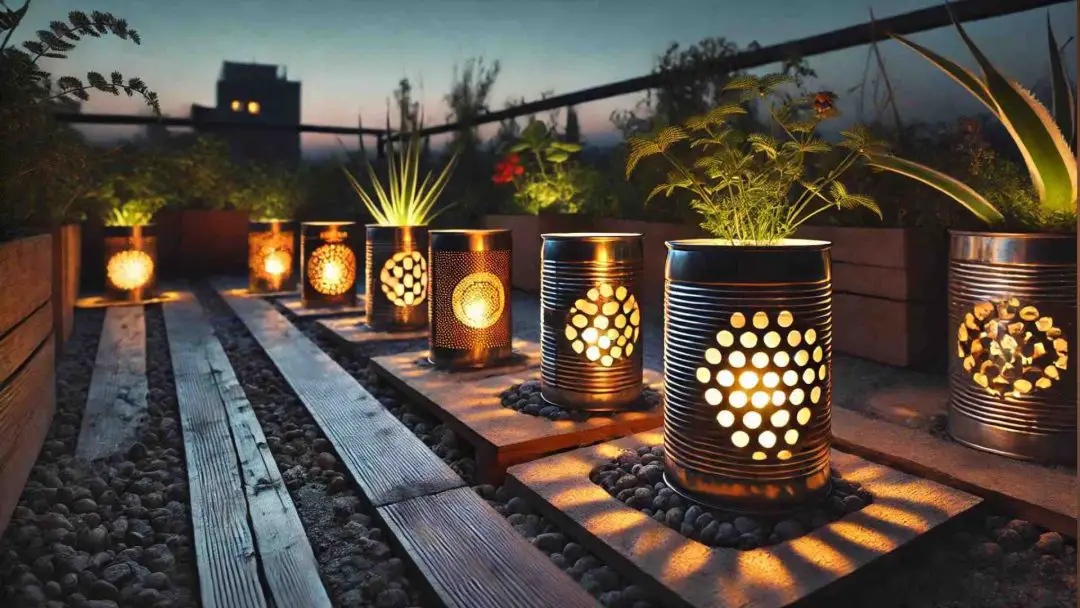
Plus, they’re incredibly versatile. Arrange them along the borders of your rooftop garden to define the space, or scatter them throughout for a more whimsical effect. Either way, these lanterns provide a soft, ambient light that enhances the overall atmosphere of your garden, making it a cozy spot to relax in the evening.
Here’s how to create these lanterns:
- Gather Materials: Start with empty, clean coffee cans, a hammer, a nail or punch, and an LED light for each can. You’ll also need a design in mind for the pattern of holes.
- Punch the Holes: Use the hammer and nail or punch to create holes in the coffee can, forming your desired pattern. Be creative—this is where you can really personalize your lanterns.
- Insert the Lights: Place an LED light inside each can. Choose warm-colored LEDs for a cozy effect, and make sure they’re securely positioned.
- Arrange in the Garden: Position your lanterns around your rooftop garden. Use them to create decorative borders or place them strategically to add a soft, ambient light throughout the space.
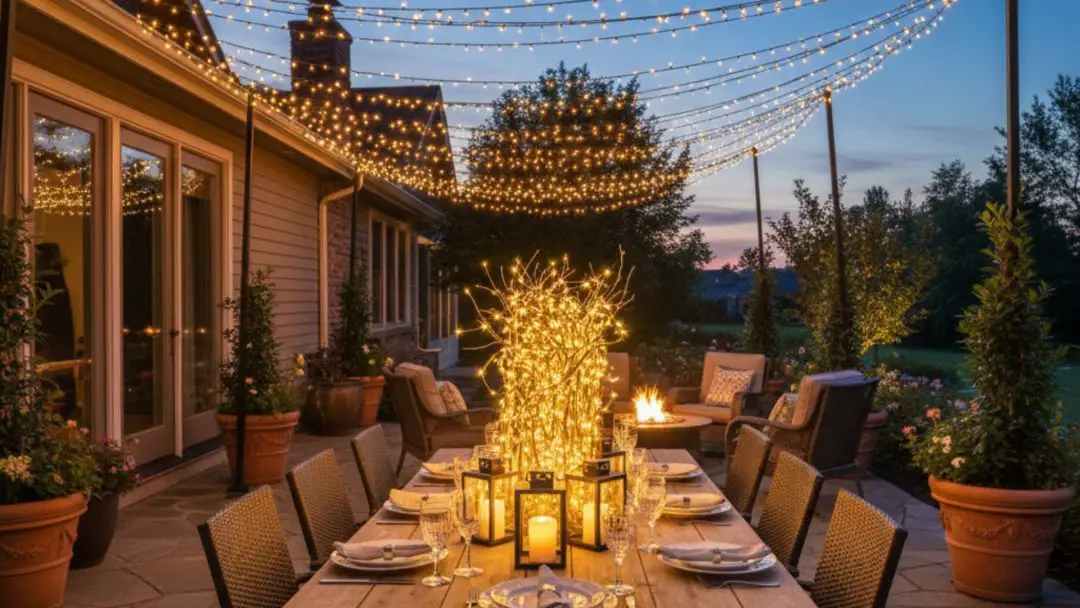
6. Fairy Lights Canopy
Turn your rooftop garden into a magical escape with a canopy of twinkling fairy lights. By stringing fairy lights overhead, you can create a stunning ceiling of soft, glowing lights that bathes your garden in a warm, inviting ambiance. This setup instantly transforms your outdoor space into a cozy, starlit retreat, perfect for unwinding after a long day or hosting intimate evening gatherings.
The beauty of this idea lies in its simplicity and impact. The gentle glow from the fairy lights creates a romantic, almost ethereal atmosphere, while the overhead arrangement adds both depth and dimension to your garden. It’s a quick and easy way to elevate your rooftop, making it feel like a personal sanctuary under the stars, without the need for major renovations or complex installations.
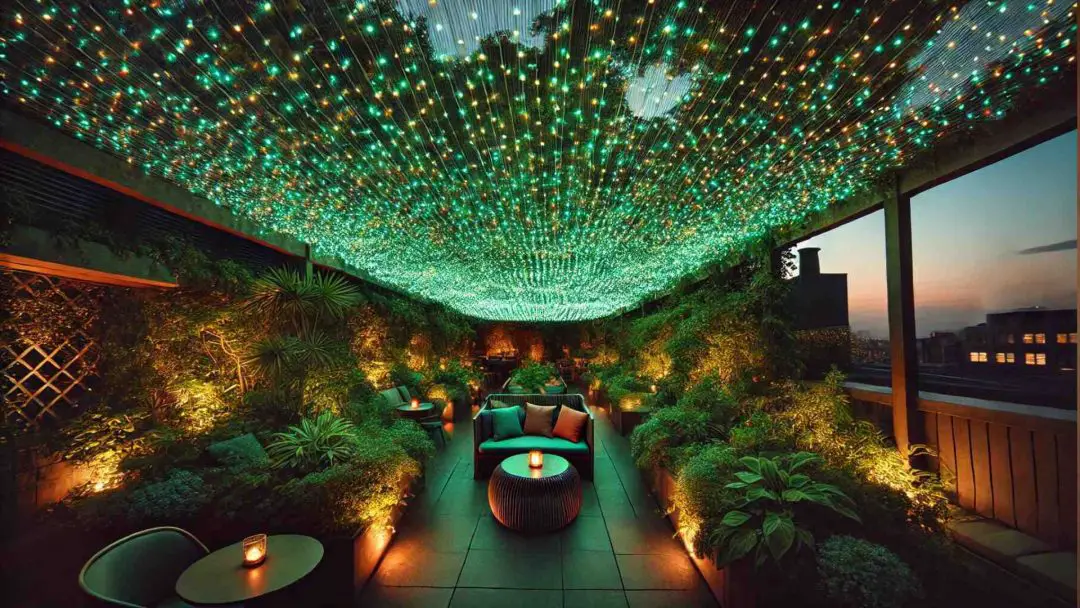
Another great thing about this idea is how easily it can be tailored to fit your style. You can go all out with a dense, sparkling canopy or keep it more minimalist with just a few strands of lights, depending on the mood you want to create. Either way, this enchanting lighting solution adds a touch of magic to your garden, making it a special place to relax and enjoy the night.
Here’s how to create your own:
- Gather Materials: You’ll need several strands of fairy lights, outdoor extension cords, and hooks or clips to secure the lights. Make sure the lights are weatherproof and designed for outdoor use.
- Plan Your Layout: Decide where you want the canopy to be and measure the space. Consider how dense or sparse you want the lights to be and plan your layout accordingly.
- Install the Hooks: Secure the hooks or clips at key points around your garden where you’ll drape the lights. Ensure they are strong enough to hold the lights and spaced evenly for a balanced look.
- Hang the Lights: Drape the fairy lights across the hooks, creating your canopy. Adjust the lights until you achieve the perfect look, then connect them to an outdoor power source.
- Enjoy the Atmosphere: Once everything is set up, plug in the lights and bask in the magical glow of your new rooftop retreat.
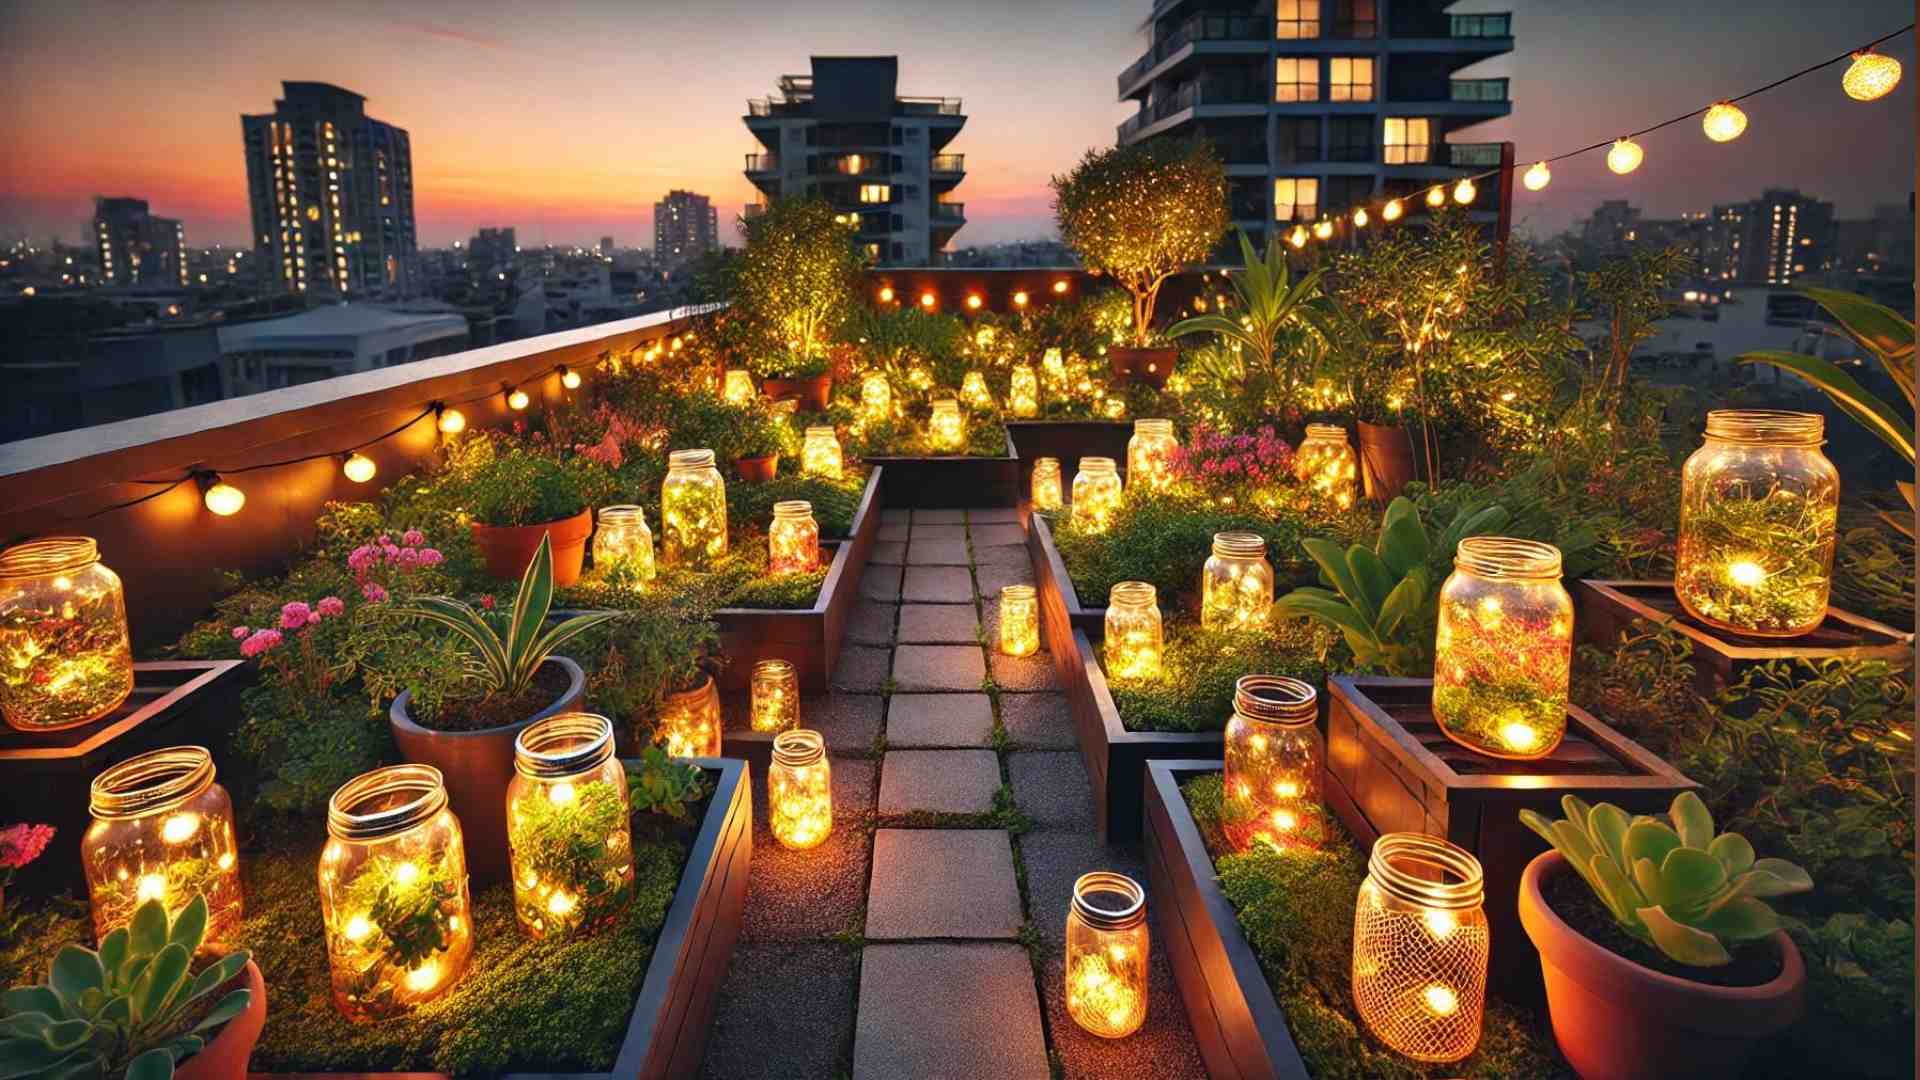
7. Mason Jar Marbles
Add a splash of color and warmth to your rooftop garden with a simple yet striking DIY project using mason jars, colorful marbles, and warm-colored fairy lights. When filled with vibrant marbles and tiny lights, these jars transform into charming lanterns that cast a soft, inviting glow. Nestled among the foliage, they create pockets of light that enhance the natural beauty of your garden, making it a cozy, magical retreat.
This idea is brilliant not just for its visual appeal, but also for how easy and fun it is to put together. The marbles add a playful burst of color, while the warm lights create a soothing, ambient effect that’s perfect for evening relaxation. Plus, using mason jars gives the project a rustic, handcrafted feel that blends seamlessly with any garden style, from modern to cottagecore.

Another reason to love this idea is how adaptable it is to any space or mood. You can group several jars together for a bold statement or scatter them throughout your garden for a more subtle, enchanting effect. Either way, these DIY lanterns are a simple and affordable way to bring a touch of warmth and color to your outdoor space, making your rooftop garden even more inviting.
Here’s how to make your own:
- Gather Materials: Start with a collection of used mason jars, colorful marbles, and warm-colored fairy lights. Make sure the jars are clean and the marbles are bright and vibrant.
- Fill the Jars: Fill each mason jar with colorful marbles, layering them to create a visually appealing mix. Leave enough space at the top for the fairy lights.
- Insert the Lights: Place the fairy lights inside the jar, carefully arranging them among the marbles. Keep the battery pack accessible for easy operation.
- Arrange in the Garden: Nestle the jars among the foliage in your rooftop garden, or place them along pathways for a gentle, ambient glow. Adjust the placement until you achieve the desired lighting effect.
Illuminating Your Rooftop Garden
And there you have it—seven fun and easy ways to bring your rooftop garden to life with lights. These DIY ideas aren’t just about lighting up your space; they’re about creating a cozy, personal retreat that reflects your style. With a little effort and creativity, you can transform your garden into a magical oasis that’s perfect for relaxing or entertaining.
So, gather your supplies, let your imagination run wild, and start adding that special glow to your rooftop garden. After all, it’s the little touches that turn a good garden into a great one.