These lighting positions are not just a matter of fixture placement; they are a craft finely tuned to enhance aesthetics, ensure safety, and create inviting atmospheres. As we delve into this guide, we will shed light on the art and science behind these critical positions, providing clarity and insights on how to best illuminate the front of any house, be it for grandeur or subtlety. Join us as we explore the nuances of front of house lighting, where precision meets creativity.
The Dual Luminous Functions: Orientation and Decoration
Lighting for Orientation
When we talk about front of house lighting, one of the fundamental uses is for orientation. This aspect of lighting serves a practical purpose, guiding guests and residents alike from the street to the doorstep. It’s about crafting a visual pathway that is both intuitive and safe. We strategically place lights to illuminate walkways, steps, and entrances, ensuring that the transition from the public walkway to the private abode is seamless and hazard-free.
Orientation lighting is not just about placing a bulb over the door; it’s about the careful consideration of lumens, beam angles, and color temperature to create a guiding light that is inviting and purposeful.
Lighting for Decoration
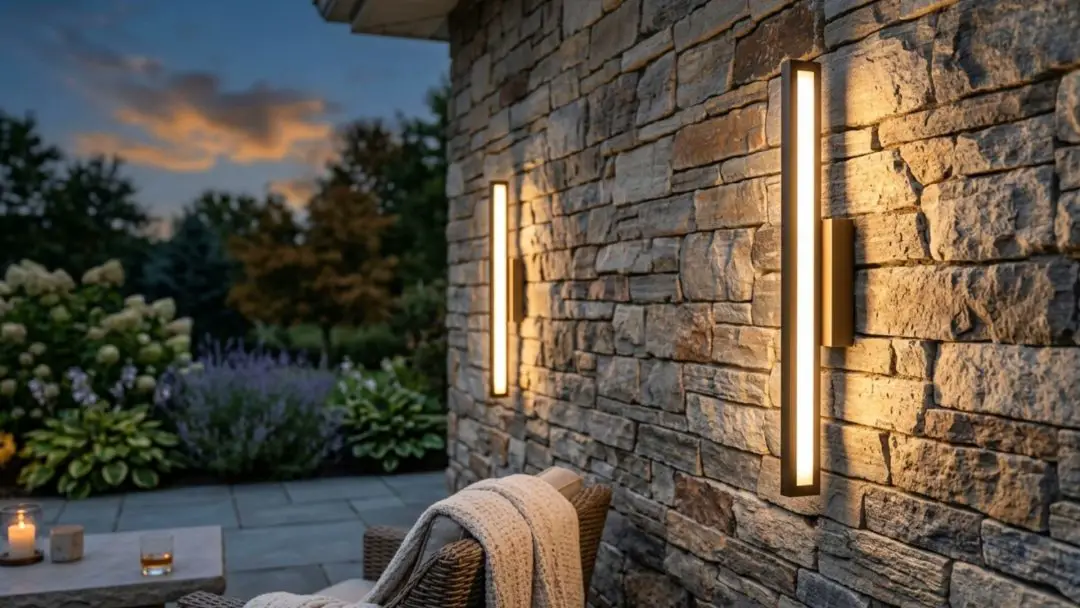
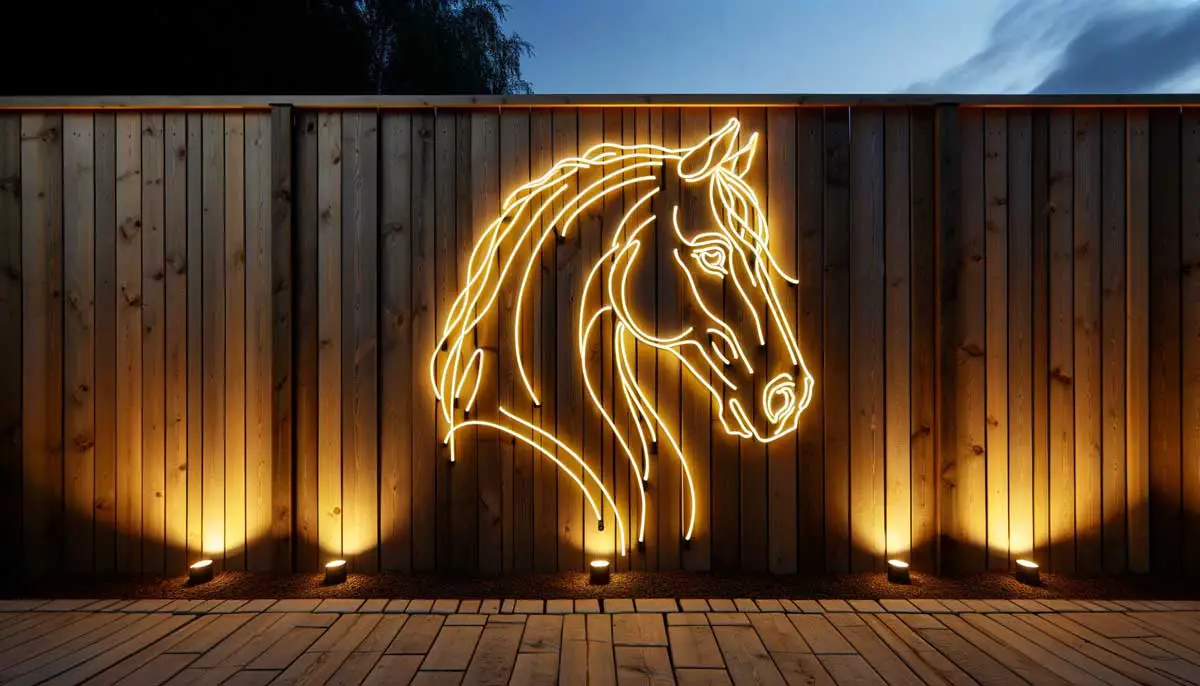
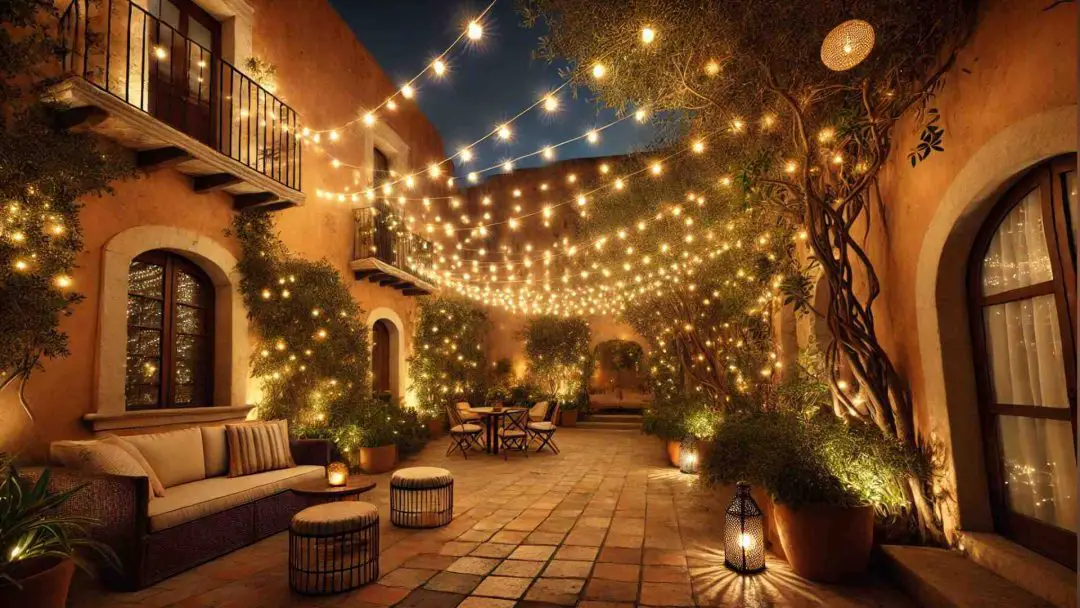
Beyond the practicalities, front of house lighting positions also serve an aesthetic function: decoration. Here, lighting transcends its utilitarian roots and becomes an artistic statement. We use lights to accentuate architectural features, landscape elements, and to set a mood.
Decorative lighting is about selecting the right fixtures that complement the house’s style, whether it’s highlighting a beautiful façade, a majestic tree, or a quaint garden statue. It’s about creating an ambiance that says something about the inhabitants and their taste. With decorative lighting, a home can make a striking impression at first sight, making it stand out in the neighborhood not just as a structure, but as a canvas of luminosity.

Five Pillars of Front of House Lighting Design
In orchestrating the ideal front of house lighting scheme, there are five key principles that we must adhere to for efficiency, safety, and aesthetics. These principles are foundational to creating a lighting plan that not only looks good but performs exceptionally.
Fixture Height: Tailored to Purpose
When considering the height of lighting fixtures, it’s not just about the practicality of illumination but also about the subtleties of interaction with space. Task lighting, such as sconces by the door, should be placed at eye level to minimize shadows and create a welcoming beacon. This usually means a range of 5.5 to 6.5 feet off the ground.
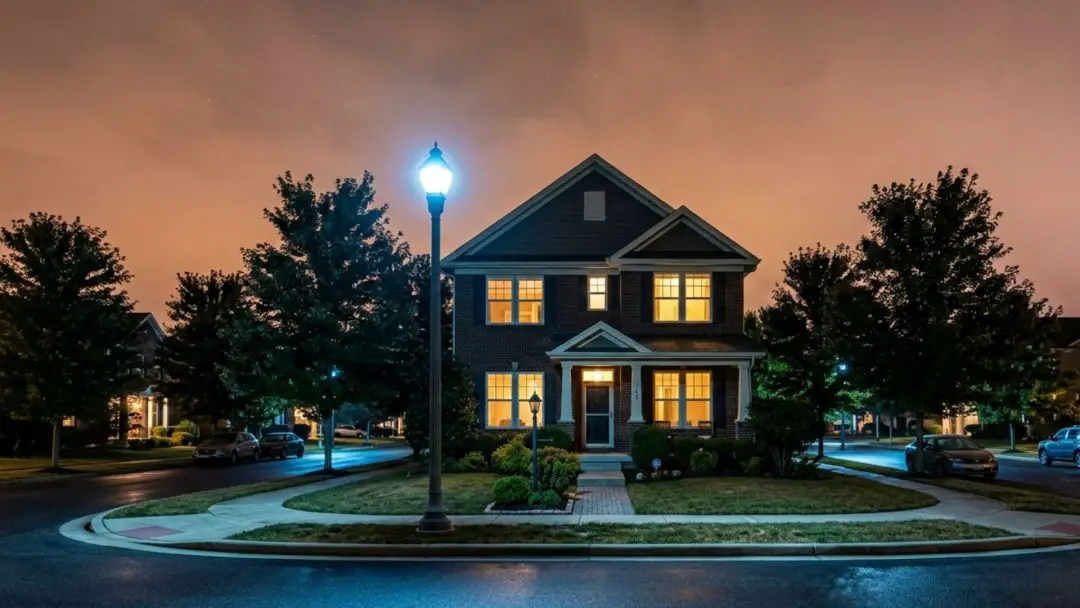
Conversely, ambient lighting like lampposts or tree-hung lanterns should be positioned higher, sometimes at over 10 feet, to cast a soft, diffused light across the property. The precise height is calculated to prevent glare, which can be as much a nuisance as it is a hazard, and to ensure the fixture’s light reaches where it is most needed, thus achieving its functional and aesthetic goals.
Glare Prevention: Comfort and Visibility
Glare prevention is a crucial factor in creating a comfortable and safe lighting environment. Beyond strategic placement and the use of shields, choosing matte finishes and frosted glass can help diffuse light, reducing direct glare. Positioning is key; for instance, placing lights at a lower angle can illuminate a path without shining directly into the eyes.
Moreover, incorporating trees or architecture to cast shadows can soften the light’s impact. Smart use of dimmers and choosing bulbs with appropriate lumen output are additional tools that we wield in our quest to reduce glare and ensure the front of house lighting is enhancing the property without overwhelming it.
Low Working Voltage: Safety and Efficiency
Opting for a low-voltage lighting system, typically around 12 to 24 volts, brings a myriad of benefits. It’s particularly suitable for residential outdoor lighting due to its easier installation, requiring less invasive wiring and offering a safer alternative to standard voltage systems. This lower voltage is ideal for path lights, step lights, and under-eave lighting, where high brightness is not necessary.
Energy efficiency is another benefit; low-voltage lights consume less power and can be just as effective with LED options, which also extend the lifespan of the fixtures, adding to the cost-effectiveness of the installation over time.

Weather and Water Resistance: Durability in Design
Our choices in materials and design for outdoor lighting fixtures prioritize longevity and performance. Fixtures with high IP ratings, such as IP65 or above, are deemed suitable for most outdoor conditions, protected against the ingress of dust and moisture.
Stainless steel, aluminum, and heavy-duty plastic are commonly chosen for their resistance to rust and corrosion. The sealing of fixtures is meticulously done to ensure no water can penetrate, which is crucial in areas prone to heavy rain or snow.
Additionally, the design of the fixture itself can aid in protection, with overhanging tops and sloped shapes that encourage water runoff and reduce the likelihood of moisture-related damage.
Lighting Control: Mastery Over Illumination
Control systems for outdoor lighting are as diverse as they are crucial. Traditional switches offer simplicity, but for those seeking efficiency and security, options like timers and photocell switches provide an automated approach to lighting control. Timers can be set to align with typical hours of use, while photocell switches adjust to the natural light levels, turning on as dusk falls and off at dawn.
These systems can also be integrated into smart home systems, allowing control from a smartphone or voice-activated device. The placement of these controls should be considered for ease of use, typically near entry points or in a garage, but should be discreet enough to blend with the home’s exterior design.
How to Position Lights in Front of the House
The art of positioning lights in front of the house is akin to that of a conductor with an orchestra; every element must be in its place for the composition to resonate. The location of each fixture is dictated by the intended result, its functional use, and the overarching design concept we wish to achieve.
For Orientation Lighting: A Tactical Approach
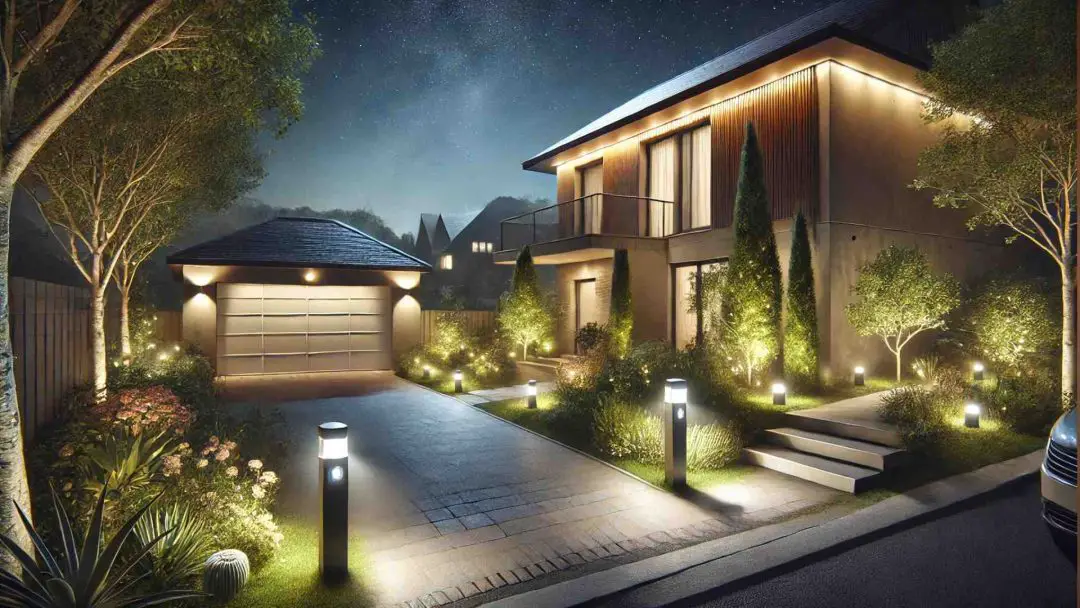
When the goal is to guide and orient, our approach becomes tactical. Flood type lighting fixtures are ideal for this purpose due to their wide beam spread. Positioned high above the area they’re meant to illuminate, such as driveways or walkways, they cast a broad and even light that delineates space and directs movement.
These fixtures should be placed at a height that lights the intended area without encroaching on adjacent spaces or causing light pollution. For example, a floodlight placed at the corner of a house can wash a driveway with light, while angled correctly to avoid shining into a neighbor’s window.
Accenting Architecture: The Decorative Dimension
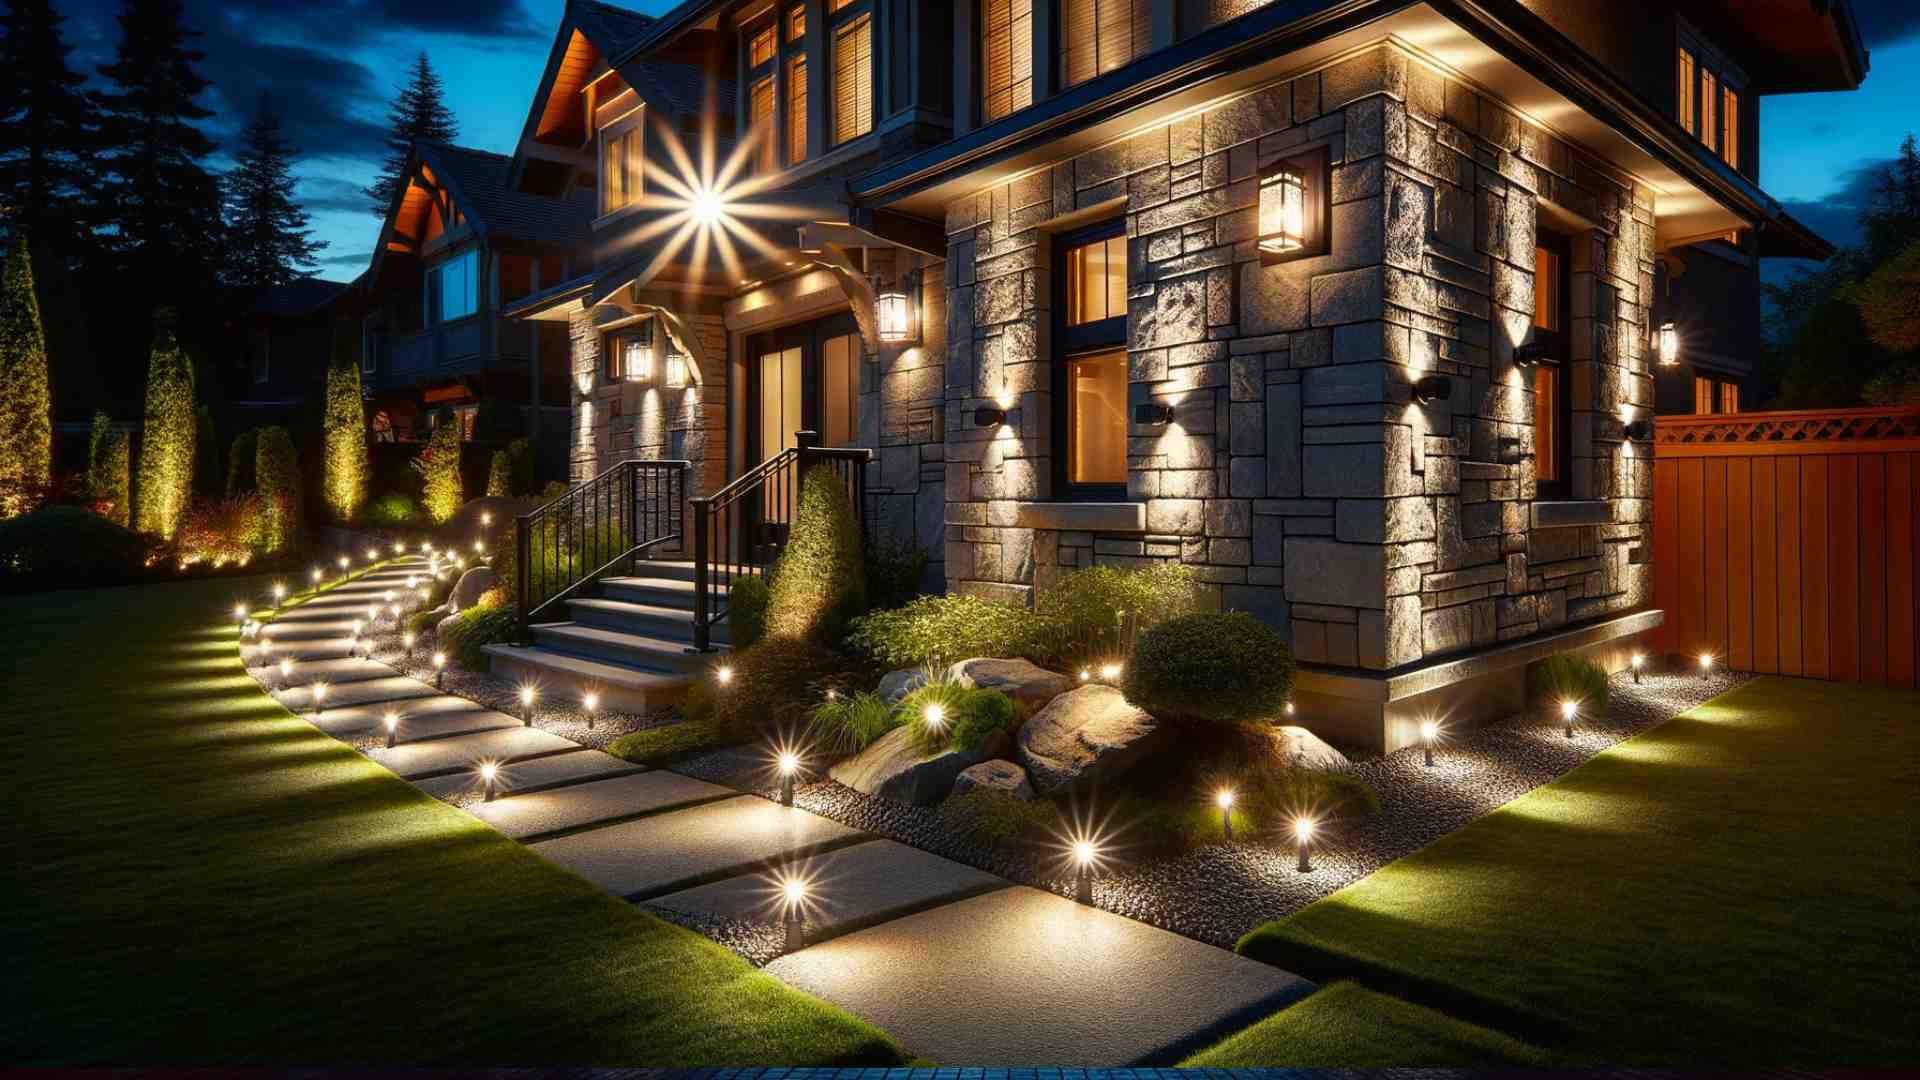
Moving beyond pure utility, decorative lighting aims to celebrate the home’s architecture and its surrounding landscape. Here, the placement is all about precision. Small spotlights might be aimed at stonework or unique architectural elements, casting shadows that highlight texture and form. Path lights can be staggered along a walkway not just for visibility but also to draw attention to bordering garden features.
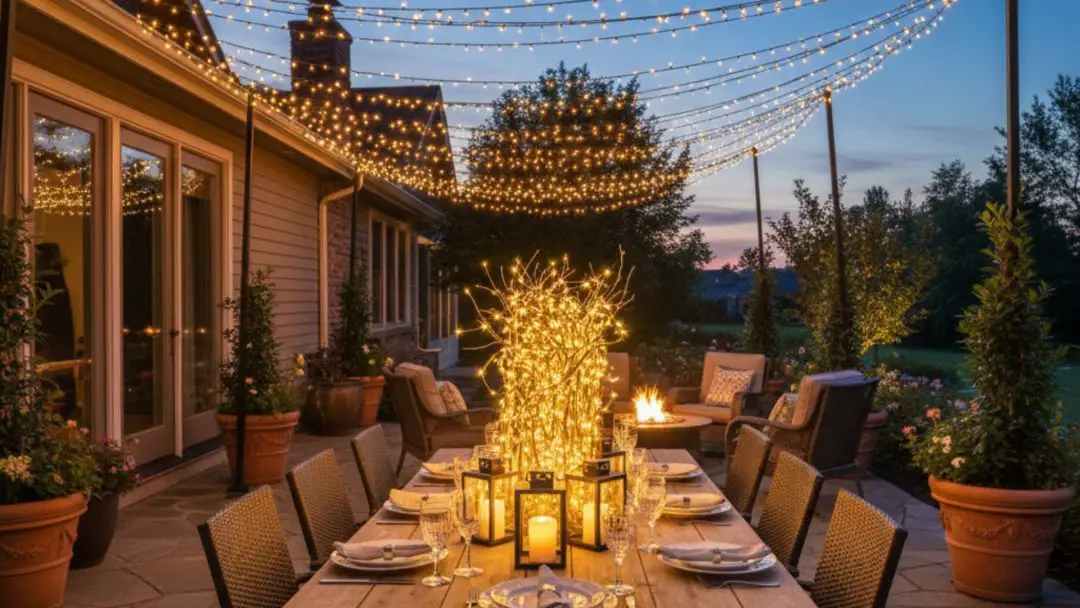
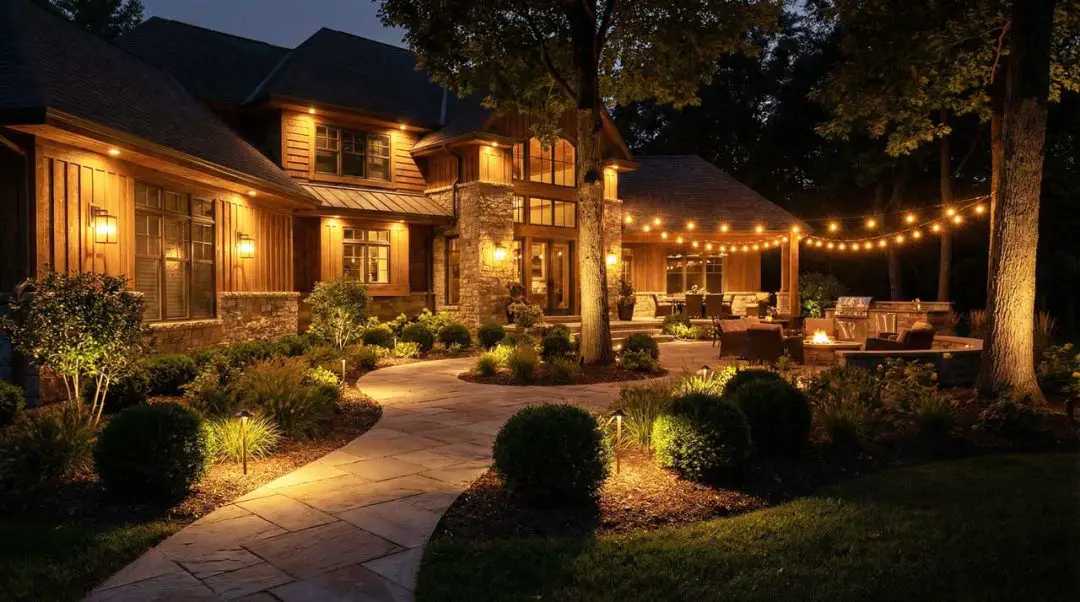
Layering Light for Depth and Drama
In the decorative realm, we also think in layers. The foundational layer might be the ambient glow from porch lights or lamp posts, which provides a base level of illumination. We then add task lighting where needed, such as by entryways or around seating areas.
Finally, we incorporate accent lights to spotlight focal points and create visual interest. This layering technique adds depth and drama, making the front of the house dynamic and inviting.
Tips for a Cohesive Design
- Ensure that the style of fixtures complements the architectural character of the home.
- Use a mix of lighting types (e.g., spotlights, path lights, wall sconces) to create a balanced and functional lighting scheme.
- Consider the color temperature of the lighting. Warmer lights (2700K – 3000K) often enhance the welcoming ambiance of a home.
- Experiment with angles and distances from the focal point to achieve the desired highlighting effect without overpowering the feature.
Should Lighting Be in Front or Behind You?
When orchestrating the front of house lighting, the directionality of light plays a crucial role in achieving the desired outcome, be it for design, orientation, or guidance.
Design-Focused Lighting: The Frontal Approach
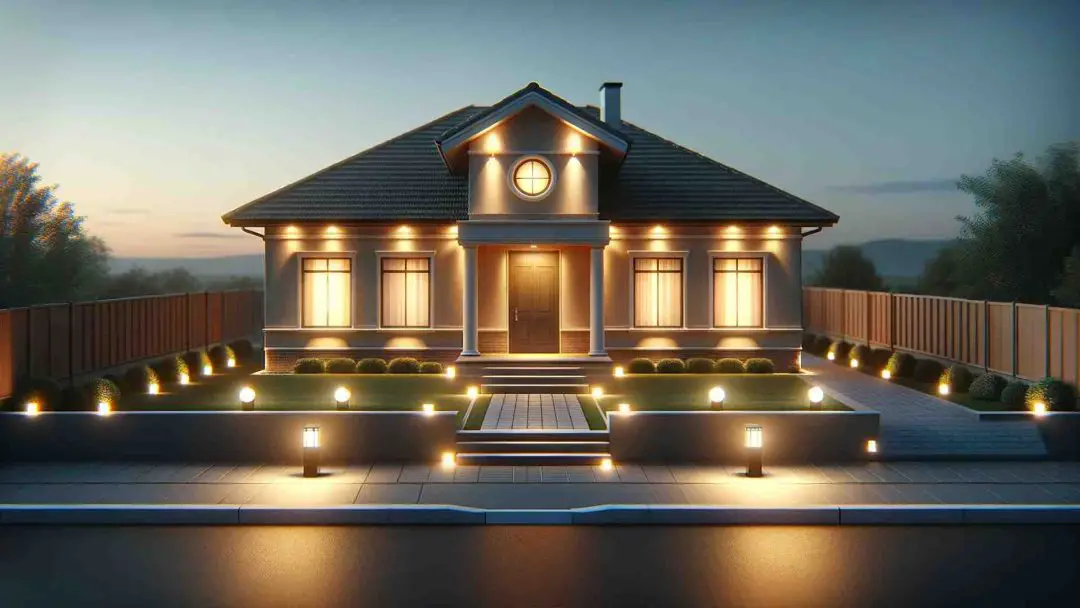
For lighting that accentuates design elements, positioning fixtures at the front is often the go-to strategy. Frontal lighting is designed to showcase the house’s facade and its architectural nuances.
When placed at the front, lighting can create dramatic contrasts and highlight textures, such as the interplay of light and shadow on brickwork or siding. It’s important to ensure that these lights are placed to wash the facade evenly, avoiding harsh shadows unless they are part of the aesthetic intention.
Orientation Lighting: The Elevated Perspective
Lighting intended for orientation purposes, such as flood lights for driveways or entryways, is most effective when placed above the area it’s meant to illuminate. This elevated position allows for a wide, unobstructed spread of light, ensuring the entire area is visible and navigable.
It’s essential to angle these lights carefully to prevent glare and to direct the illumination to where it is most needed, without bleeding into indoor spaces or the night sky.
Guidance Lighting: The Lateral Directive
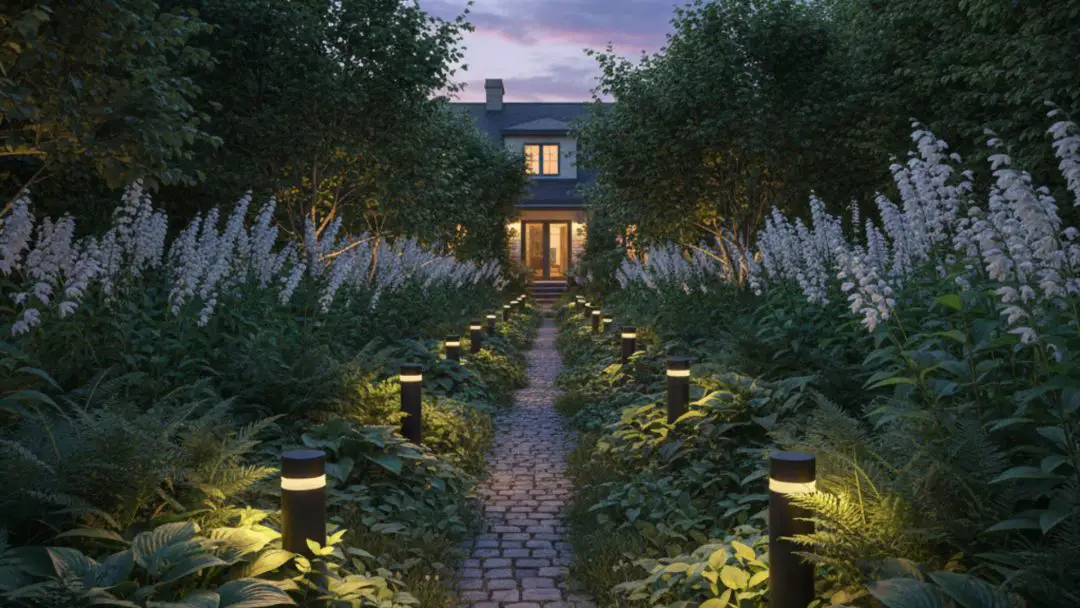
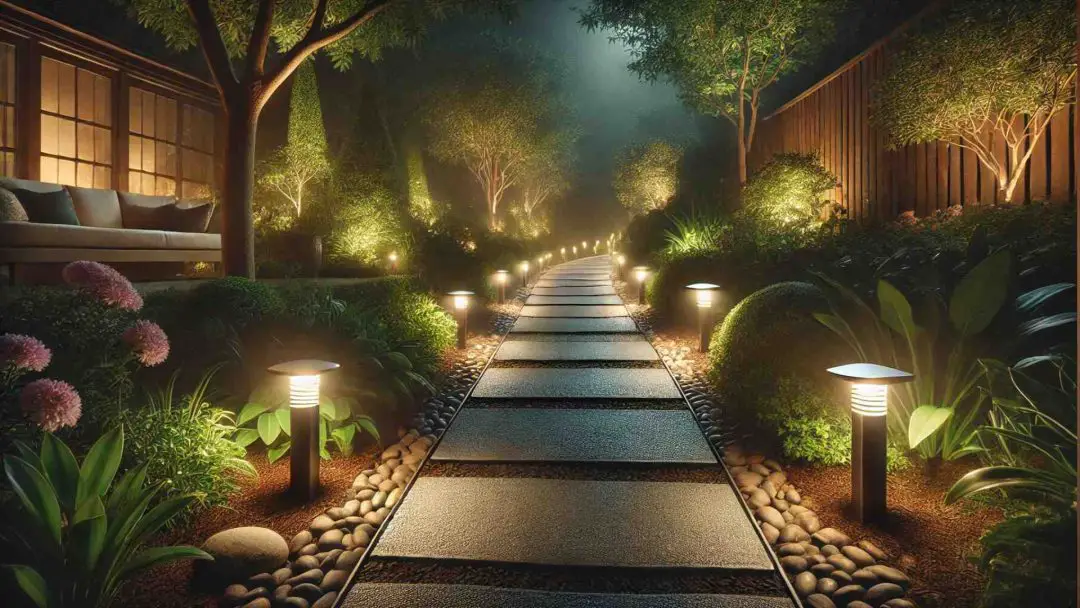
When it comes to lighting for guidance, such as path or stair lighting, it should come from the side and be positioned at or near eye level or along the line of sight.
On stairs, for example, lighting is most effective when placed close to the feet because that is where one tends to look while ascending or descending. This not only provides a clear view of each step but also enhances safety by reducing the risk of trips and falls.
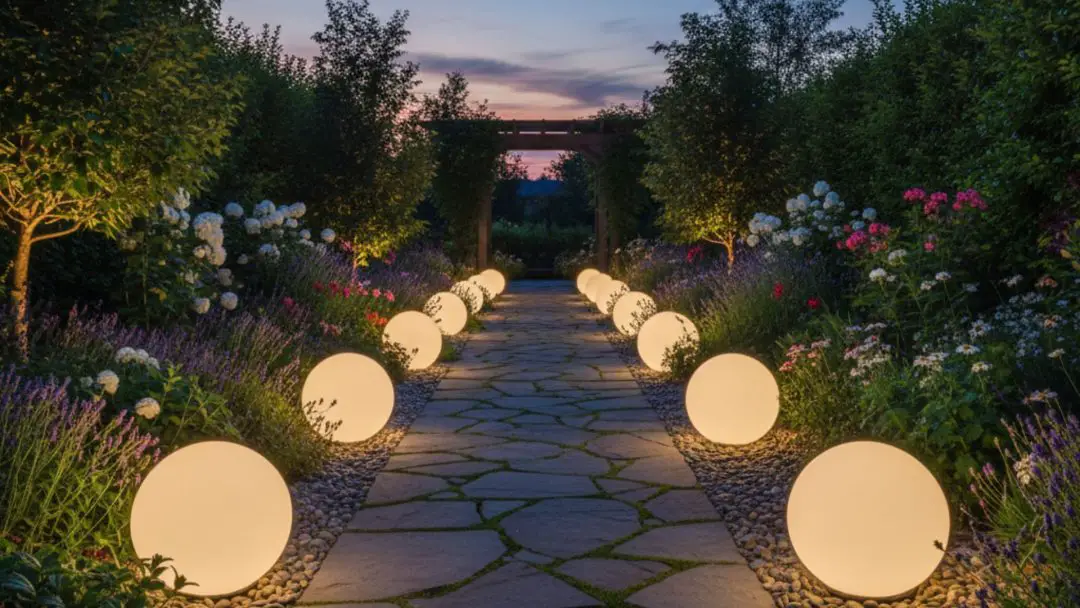
For path lighting, bollards or short posts can evenly light the way, casting light downward and slightly to the sides, delineating the path while creating a visually pleasing guide.
Tips for Effective Light Placement
- For design-focused lighting, consider using a mix of wash and bullet lights to create layers and depth.
- When installing orientation lighting, choose fixtures with adjustable angles to fine-tune the coverage area.
- For guidance lighting, use shielded lights to direct illumination downward and reduce light spill into the surrounding areas.
- Always keep in mind the color rendering index (CRI) of the bulbs to ensure that the light accurately displays the true colors of the home and landscape.

Where Should You Position Up and Down Lights?
Casting Light: Mastering the Placement of Up and Down Lights
The strategic placement of up and down lights is essential in outdoor lighting to achieve the desired ambiance and functionality while maintaining a glare-free environment. Whether you’re looking to create a dramatic effect on a building’s facade or accentuate the natural beauty of a landscape, understanding where and how to position these lights is key.
The General Rule: Above Eye Level for Glare Prevention
As a rule of thumb, down lights should be positioned a little above eye level. This practice helps in minimizing direct glare which can be uncomfortable to the eyes and diminish the visual impact of the lighting.
By placing downlights higher, you create a soft wash of light that illuminates the space without the harshness of direct light exposure.
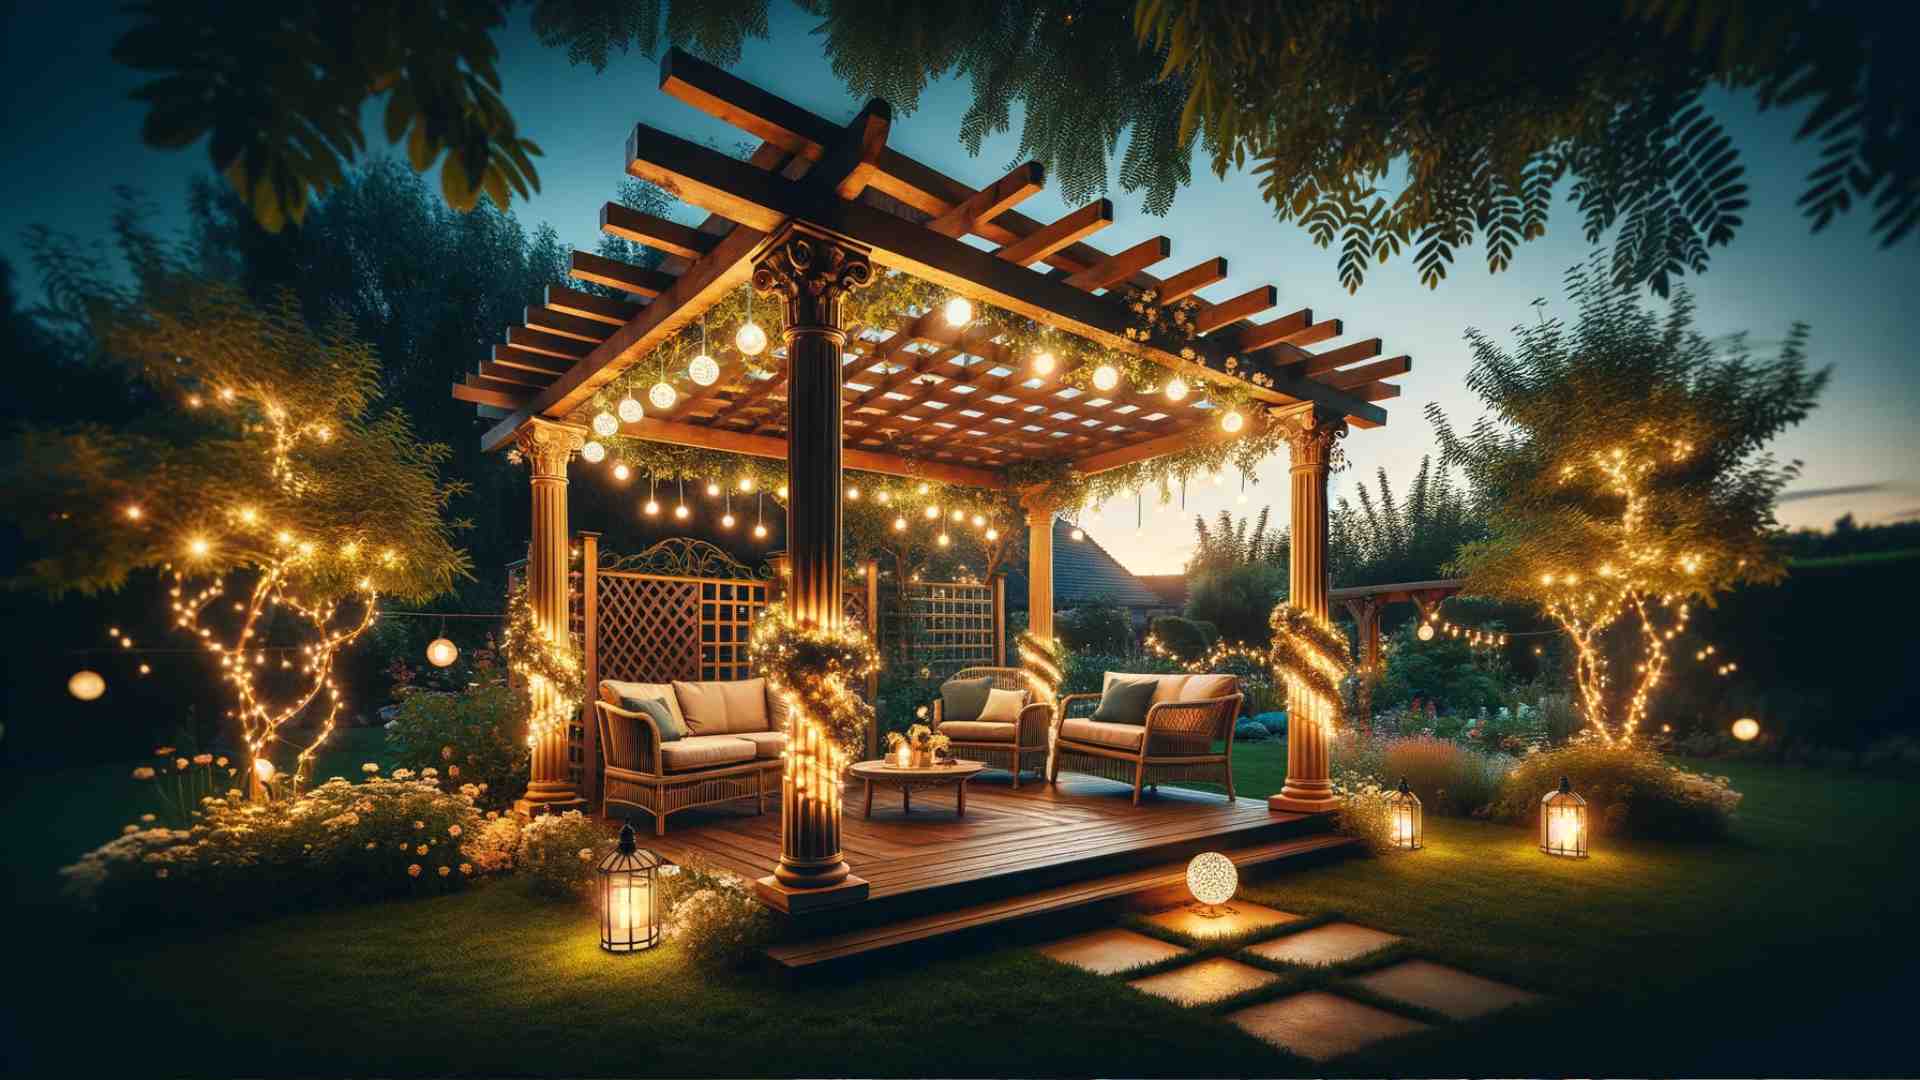
Uplighting Essentials: Low and Angled for Drama
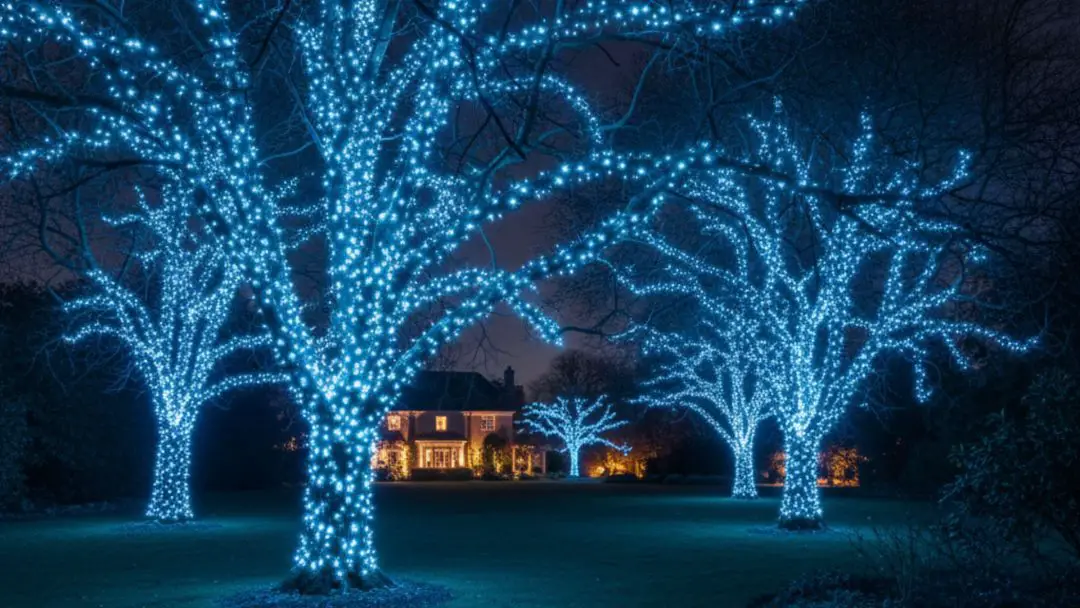
Uplighting, on the other hand, can create a stunning visual effect, especially when used to illuminate trees or architectural features. The fixtures are typically placed at the base of the object, aiming upward to reveal details and shapes that might otherwise be lost in the darkness.
When uplighting trees, the lights should be positioned in the lower part of the tree, angling the lighting body slightly toward the trunk. This technique intensifies the tree’s presence and texture while minimizing glare.
Adjusting for Objects: Tailoring Light to Subject
The exact positioning of up and down lights should always be tailored to the object or area being illuminated. For features like statues or fountains, uplights may be placed closer to the base to highlight texture and form.
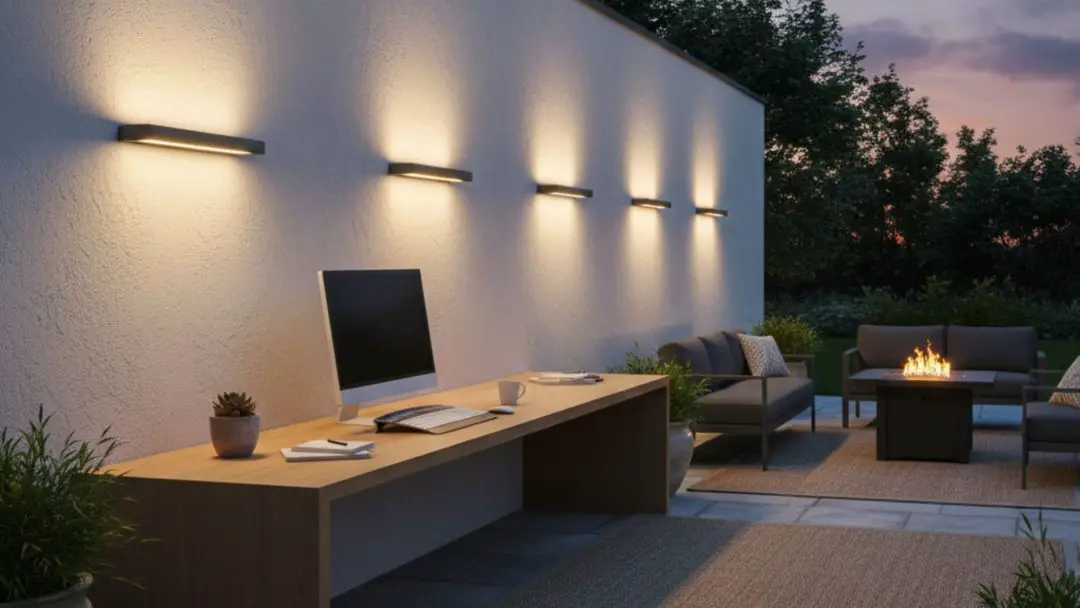
For broader architectural lighting, such as a wall or facade, down lights may be spaced evenly along the top edge, casting light that cascades down and creates a wall-washing effect.
Installation Tips for Optimal Lighting
- Use fixtures with adjustable angles to fine-tune the direction of the light after installation.
- Consider the beam spread and intensity of the light to ensure the illuminated object is lit as intended without spilling too much light into the surroundings.
- Incorporate dimmers where possible to adjust the brightness according to the time of night or the event being hosted.
- Always opt for fixtures that blend or complement the landscape or architectural elements they are lighting to maintain a cohesive look during the day.
Conclusion: The Finishing Touches of Front of House Lighting
As we draw the curtains on our exploration of front of house lighting positions, it’s clear that the thoughtful placement of each fixture is as crucial as the fixture itself. From the functional brilliance of orientation lights to the aesthetic charm of decorative lighting, each element plays a pivotal role in creating a welcoming and safe environment.
Whether it’s the guiding glow of pathway lights or the dramatic flair of up and down lights, the proper positioning can elevate the appearance of a home, turning it into a beacon of warmth and style.
By adhering to the principles and tips discussed, homeowners can ensure their front of house lighting is not just installed, but perfectly positioned to cast their homes in the best possible light.