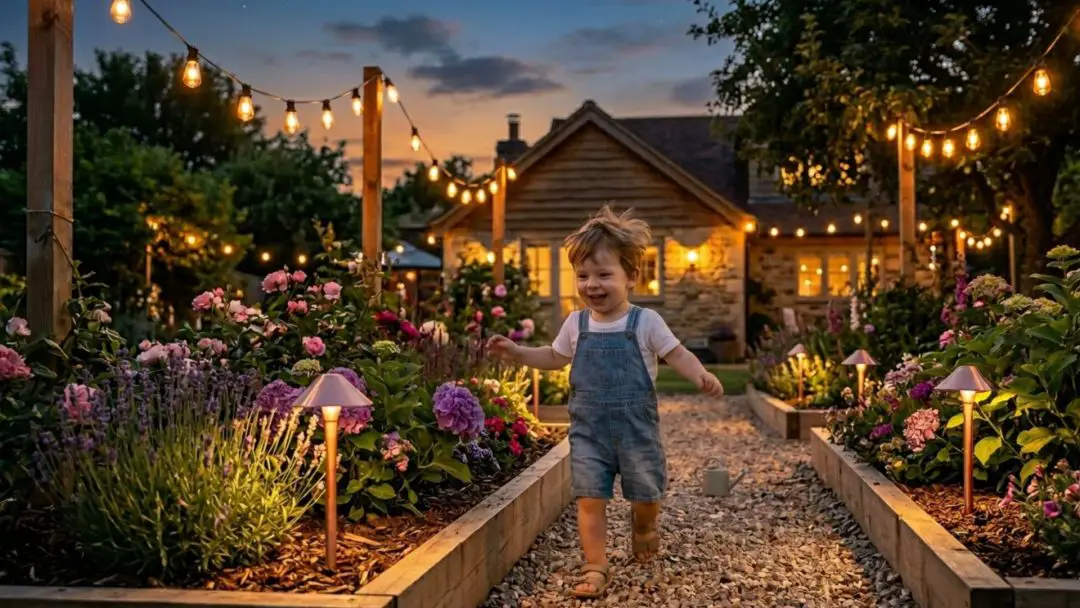
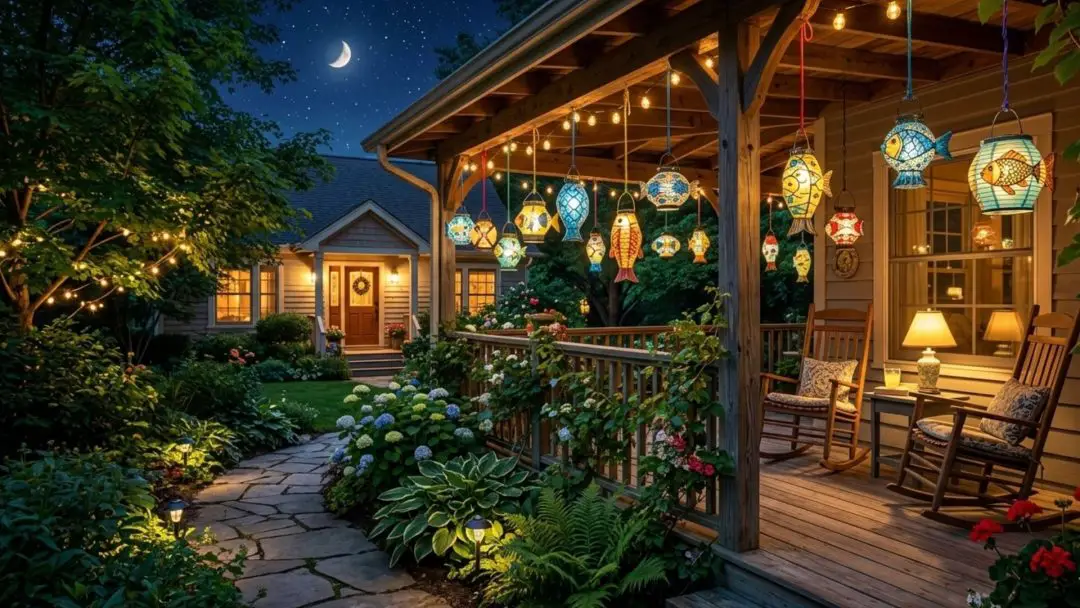
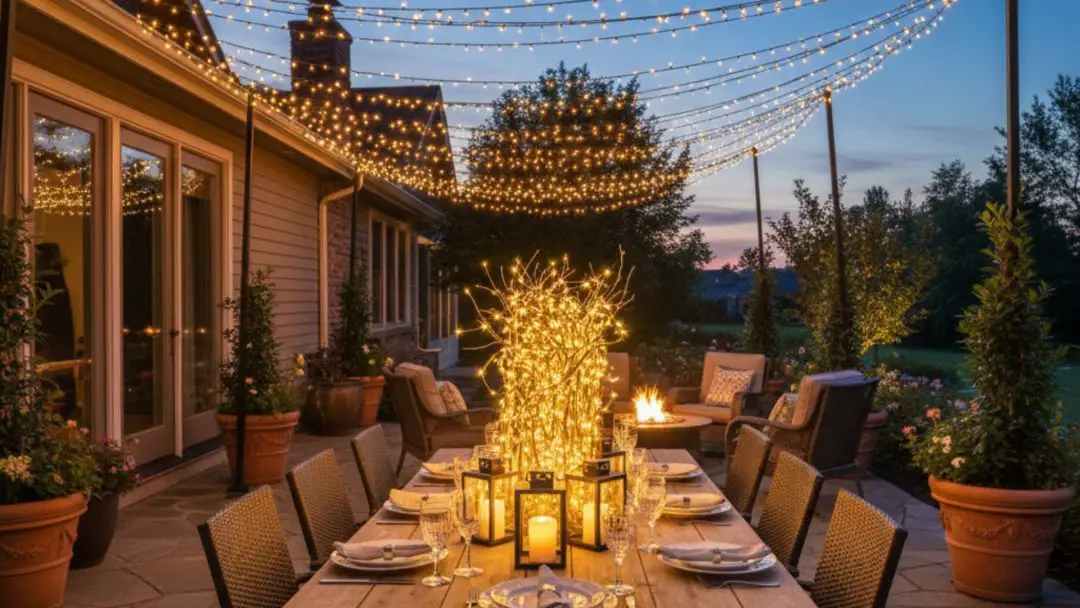
Crafting your own outdoor lanterns can be a delightful weekend project that doesn’t just brighten your space but also showcases your creativity. Plus, it’s an eco-friendly endeavor if you use recyclable materials, so you can light up your garden guilt-free!
Now, I know what you’re thinking: DIY can mean disaster in disguise, right? But fear not! The ideas I’m about to share are surprisingly simple and even more stylish.
There’s something incredibly satisfying about making something beautiful with your own two hands, especially when it lights up those long, lovely evenings. So, without further ado, let’s dive into these ten DIY outdoor lantern ideas that you simply must see!
1. Tin Can Lanterns
Transforming old tin cans into charming outdoor lanterns is a brilliant way to recycle while also adding a touch of whimsy to your outdoor spaces. These lanterns are not just simple to make, but they also offer an opportunity to unleash your creativity with patterns and colors that match your garden’s theme.
The soft, scattered light these lanterns cast can create a magical atmosphere in your backyard or porch, perfect for those evenings when you just want to relax under the stars. Plus, they’re incredibly cost-effective, making them a fantastic project for anyone looking to spruce up their outdoor area without breaking the bank.

The process itself is a fun little adventure in crafting, especially if you involve friends or family. It’s a great way to spend an afternoon, turning what would be waste into something beautiful and functional. These lanterns are also highly customizable; whether you want a sleek, modern look with geometric patterns or something more rustic, the sky’s the limit. What’s more, they’re durable enough to hang outdoors yet light enough to move around as needed.
Why should you give this a try? Well, aside from the obvious environmental benefits of upcycling, these lanterns add a personalized touch that store-bought lights simply can’t match. They tell a story — your story — through their design and the care you put into making them.
So, ready to get started? Here’s how you can make your own enchanting lanterns:
- Select Your Cans: Choose a variety of sizes for a more visually interesting display.
- Clean and Remove Labels: Soak the cans in warm, soapy water to easily peel off any labels and glue.
- Paint: Spray paint them in colors of your choice. Metallic colors work well for a more reflective effect at night.
- Punch Holes: Using a nail and hammer, punch holes to create your desired pattern. This can be as simple or intricate as you like.
- Insert Candles: Place either real candles or LED tea lights inside. If using real candles, ensure the metal is not too thin to avoid overheating.
- Hang with Wire: Use sturdy wire to hang your new lanterns from tree branches or hooks around your outdoor area.
2. Paper Bag Lanterns
Picture this: a gentle glow lighting up your garden path or creating a cozy ambiance on your outdoor dining table. This can be easily achieved with just a few brown paper bags and some LED tea lights.
The beauty of these lights lies in their simplicity and the soft, diffused light they emit, which can transform any outdoor space into a warm, inviting area. Plus, they’re incredibly safe since LED lights don’t heat up like traditional candles.

Crafting these luminous decorations is not only easy but also a great activity to involve the whole family. You can cut out designs that suit your event or décor style, from elegant floral patterns to fun holiday-themed shapes. They are a fantastic choice for everything from a relaxed backyard barbecue to more formal evening events. And because they are so inexpensive to make, you can create a dozen without denting your wallet.
One of the best parts about using these is their portability. You can easily move them around to suit your changing décor needs or as the party moves from one part of your garden to another. They are also perfect for those who love to personalize every detail of their décor, giving you the freedom to add a unique touch that really speaks to your style.
Ready to give it a go? Here’s how to put together your own enchanting pathway or table lights:
- Gather Supplies: You’ll need brown paper bags, scissors, LED tea lights, and a pencil for sketching designs.
- Design and Cut: Sketch your design on the paper bag and carefully cut out the patterns. Keep it simple or get as intricate as you like.
- Open and Fill: Open the bag and place a couple of stones or sand at the bottom for stability.
- Add Lights: Place an LED tea light inside each bag. Make sure the light is centered and upright for the best glow.
- Arrange: Line these along your walkway, space them out on tables, or cluster them in a corner for a concentrated light effect.
3. Recycled Glass Jar Lanterns
Looking around your home, you might find quite a few old glass jars that seem ready for the recycling bin. Instead, how about giving them a new lease on life as chic lanterns that can brighten up any outdoor space?
Decorating these jars with paint or a bit of glitter allows you to add a personal touch that reflects your style and creativity. You can hang them from tree branches for a floating lights effect or place them strategically on tables and along walkways to guide your guests with a warm glow.

These lanterns aren’t just a treat for the eyes; they’re also incredibly practical and versatile. Whether you opt for candles for a traditional flicker or LED lights for safety and longevity, the effect is equally enchanting. This DIY project is perfect for those who want a cost-effective way to enhance their outdoor decor. Plus, it’s a great excuse to get a little messy with glue and glitter on a lazy afternoon.
Not only do these lanterns provide a beautiful source of light, but they also stand as a testament to your commitment to recycling and sustainability. Each jar that twinkles in your backyard is a jar saved from the landfill—a small but meaningful victory for the planet. This project is ideal for those who appreciate the simpler pleasures of home decor and are looking for a relaxing project that also makes a statement about their values.
Ready to transform those old jars into something magical? Here’s how to get started:
- Collect Glass Jars: Gather various sizes and shapes to create a visually interesting display.
- Clean and Remove Labels: Soak the jars in soapy water to remove any labels and adhesive residue.
- Decorate: Use waterproof paint or glue with glitter to decorate the jars. Get creative with patterns or keep it simple with a sleek coat of paint.
- Insert Lights: Place either a candle or an LED light inside each jar, depending on your preference.
- Prepare for Display: If hanging, wrap wire around the neck of the jar securely and create a loop for hanging. For tabletop display, you might want to add sand or small stones to stabilize the jars.
- Arrange: Position your new lanterns around your outdoor space to maximize their charming effect.
4. Cardboard Box Lanterns
Imagine turning those small cardboard boxes cluttering up your garage into charming lanterns that cast a soft glow on your porch or backyard. With a little creativity and some paint, these boxes can be transformed into stylish lighting that adds a cozy ambiance to any outdoor setting.
The soft light emitted through the cut-out patterns creates a mesmerizing effect, ideal for setting a relaxed, inviting atmosphere. Plus, it’s a great way to reuse materials that might otherwise end up in the recycling bin.

This DIY project is perfect for those who enjoy crafting and want to personalize their outdoor decor. You can choose paint colors and cut-out designs that match your existing outdoor furniture or party theme. Not only does this add a touch of uniqueness to your space, but it also ensures that your lighting is truly one-of-a-kind. And let’s face it, making something this cool from just a cardboard box can feel pretty rewarding.
Aside from the aesthetic appeal, these lanterns are incredibly light and easy to move around, making them perfect for impromptu outdoor gatherings. Whether you need to brighten a dark corner or add some flair to a nighttime BBQ, these lanterns are up to the task. They’re also safe to use since LED lights don’t heat up like traditional candles, reducing the risk of fire.
Ready to get started? Here’s a simple guide to making your own luminous decorations:
- Gather Materials: You’ll need small cardboard boxes, a craft knife, paint, and LED lights.
- Cut Out Designs: Use the craft knife to carefully cut patterns into the sides of the boxes. These can be geometric shapes, stars, or anything else that strikes your fancy.
- Paint: Apply your chosen paint to the outside of the boxes. Bright colors work well for a festive look, or go with something more subdued for a sophisticated feel.
- Insert LED Lights: Place a small LED light inside each box. Make sure the light is stable and centered to maximize the glow.
- Display: Arrange your new lanterns wherever you need a little extra light or decoration.
5. CD Case Lanterns
Ever wondered what to do with those old CD cases that have been gathering dust since your music went digital? Why not turn them into a trendy piece of décor that can light up your porch or backyard with a modern twist!
These clear cases can be easily transformed into a chic, minimalist lantern that casts a delightful glow, perfect for setting a contemporary ambiance. Not only does this project help in repurposing plastic, but it also adds a unique, artistic touch to your outdoor lighting.

This type of lantern is a real conversation starter, featuring a sleek design that complements any modern outdoor setting. They’re also incredibly lightweight and can be moved around to illuminate different areas as needed. Whether you’re hosting a dinner party or just enjoying a quiet evening outdoors, these lights provide the perfect blend of functionality and style. Plus, using LED lights ensures they are energy-efficient and safe to use around fabrics and outdoor furnishings.
One of the great benefits of this project is its simplicity. You don’t need to be a craft expert to assemble these lanterns, and the materials required are minimal. This makes it an ideal weekend project that won’t eat up your time or budget. And let’s face it, upcycling something as outdated as CD cases into something this cool can make you feel pretty clever.
Ready to light up your space with a bit of DIY flair? Here’s how to create your own glowing masterpieces:
- Collect CD Cases: You’ll need several clear CD cases, depending on how many lanterns you want to make.
- Clean the Cases: Wipe down each case to ensure there are no fingerprints or dust.
- Assemble the Cube: Use strong glue to bond the edges of the CD cases together, forming a cube.
- Insert the LED Light: Place a small LED light inside the cube. Make sure it’s battery-operated for easy use.
- Seal the Top: Optionally, glue the top case to seal the cube, or leave it open for easy access to change the light.
- Display: Arrange your new lanterns on your porch, hang them from low branches, or line them up along a walkway.
6. Seashell Lanterns
Imagine bringing a bit of the seaside right to your backyard or porch with just a couple of large seashells and some lights. These luminous creations use the natural beauty of seashells as both the base and the lid, encapsulating a gentle light within.
They cast a soft, oceanic glow that can transport you to a beachside evening under the stars, right from the comfort of your own home. What’s more, they add a touch of natural elegance and a whisper of coastal charm to any outdoor setting.

This project isn’t just about the unique aesthetic; it’s also a fantastic way to repurpose those large seashells you might have collected during beach vacations. Perhaps they’ve been sitting in a drawer or on a shelf, and now they can be transformed into something functional and beautiful. Each lantern you create will be unique, featuring the distinct patterns and shapes only nature can design. Plus, they’re a great conversation starter at any outdoor gathering.
Why opt for this project? Well, besides the obvious environmental perk of upcycling, these lanterns provide a serene light source that’s incredibly soothing. They’re perfect for those who appreciate the artistry of nature and want to incorporate more organic elements into their living spaces. Additionally, they’re quite simple to make, which is always a bonus.
Feeling inspired to try this out? Here’s how you can make your own:
- Choose the Right Shells: Look for large, sturdy seashells for both the base and the lid of your lantern.
- Clean and Prep the Shells: Wash them thoroughly to remove any sand or residue.
- Secure the Light: Place a small candle or an LED light inside the base shell. If using a candle, ensure there’s adequate space to prevent overheating.
- Attach the Lid: Use twine or wire to gently secure the top shell to the base. Ensure it’s snug but not too tight, as you might want to open it to replace the light source.
- Display Them: Arrange your seashell lanterns around your porch, hang them if possible, or place them on tables for ambient lighting.
7. Coconut Shell Lanterns
Imagine turning those tough coconut shells into stunning lanterns that bring a tropical flair to your porch or garden. By hollowing out and carving intricate patterns into these shells, you can create a unique light fixture that throws captivating patterns of light around your outdoor space.
These lanterns not only offer a sustainable way to repurpose natural materials but also provide a warm, inviting glow that enhances the ambiance of any evening. It’s a delightful way to add a touch of island paradise to your home, no matter where you live.

The beauty of these lanterns lies in their natural charm and the soft, dappled light they emit, which can make even the simplest of spaces feel magical. Each one is a work of art, showcasing your crafting skills and your commitment to eco-friendly practices. They’re perfect for those balmy summer nights when you want to sit outside and enjoy the gentle breeze. Plus, they’re a conversation starter—guests will love the handmade touch and the story behind each piece.
Why should you try making these yourself? Well, aside from the obvious fun in the crafting process, you’ll end up with a highly unique and personal decoration that can’t be found in stores. They’re also incredibly versatile; use them to line walkways, illuminate tables, or hang from porch ceilings to create a dreamy overhead light installation. There’s something truly special about lighting that’s been made from something as simple and rustic as a coconut shell.
Ready to give it a shot? Here’s how you can create your own tropical lanterns:
- Select the Shells: Choose large, intact coconut shells for easier handling and more space for decorative carvings.
- Hollow Out the Shells: Carefully remove the coconut meat and clean the inside thoroughly.
- Carve Designs: Use a small carving tool to make decorative patterns in the shell. Simple or complex, it’s your call!
- Insert Light: Place a small candle or an LED light inside the shell. If using a candle, ensure proper ventilation.
- Display Your Lanterns: Arrange them on your porch for a seated gathering or hang them around for a festive look.
8. Driftwood Lanterns
If you have a knack for beachcombing, you’ve probably collected more pieces of driftwood than you know what to do with. Why not use them to craft a rustic lantern that brings a bit of seaside charm to your outdoor spaces?
Assembling these weather-worn pieces into a lantern frame not only recycles them in a creative way but also offers a delightful source of light. It’s a perfect project for adding a touch of natural, rugged beauty to your porch or garden.

This DIY activity doesn’t just help clean up the beaches—it turns your finds into a functional art piece. Each lantern you create will be unique, shaped by the curves, textures, and hues of the driftwood you’ve chosen. They provide gentle illumination for a serene evening outdoors, making them ideal for those who enjoy a bit of light without overwhelming brightness. Plus, they’re a fantastic talking point when you have guests over.
Opting to make these yourself offers the satisfaction of handcrafting something truly one-of-a-kind, blending craftsmanship with environmental consciousness. The process is as rewarding as it is entertaining, suitable for DIY enthusiasts of all skill levels. Not only do these lanterns enhance the ambiance, but they also reflect a personal connection to nature and a commitment to upcycling.
Ready to turn those driftwood treasures into glowing lanterns? Follow these steps:
- Collect Driftwood: Gather various lengths and thicknesses for more texture and depth.
- Design Your Frame: Lay out your pieces to form a rough lantern shape before assembly.
- Secure with Wire or Twine: Use sturdy wire or twine to hold your driftwood pieces together, ensuring the frame is stable.
- Insert a Light Source: Place a candle or LED light inside. If using a candle, make sure there’s enough air circulation to prevent overheating.
- Display Proudly: Set up your lantern on the porch or hang it from a sturdy branch to enjoy its rustic glow.
9. Fabric Scrap Lanterns
Digging through your fabric stash can uncover more than just memories of past projects; it can be the start of creating stunning lanterns that add a burst of color and light to your porch or yard. Wrapping these colorful scraps around wireframes and securing them with glue is not only an excellent way to repurpose materials but also a fun way to personalize your outdoor space.
Each piece of fabric brings its own texture and hue, allowing you to design lanterns that perfectly match your decor style. The LED lights inside emit a soft, ambient glow, creating a warm and inviting atmosphere perfect for evening gatherings.

These lanterns are surprisingly simple to make and offer a fantastic solution for using up leftover materials that might otherwise go to waste. By choosing different patterns and colors, you can craft a vibrant tapestry of lights that illuminate your evenings. They’re lightweight, easy to hang, and can be moved around to suit any occasion or mood. Plus, they’re safe to use, as the LED lights don’t heat up like traditional bulbs.
In addition to being decorative, these lanterns are a practical choice for outdoor lighting. They provide enough light to brighten a path or enhance the visibility on your porch without being overpowering. Whether you’re hosting a party or just enjoying a quiet night at home, these lanterns can be tailored to suit the event, making your space feel cozy and well-curated.
Ready to turn your fabric scraps into glowing decor? Here’s how to get started:
- Gather Your Materials: Collect various fabric scraps, a wireframe for each lantern, glue, and LED lights.
- Wrap the Fabric: Cut the fabric into strips or shapes that will easily cover your wireframes. Wrap them creatively, covering all sides.
- Secure with Glue: Apply a strong adhesive to ensure the fabric stays in place on the wireframe.
- Insert LED Lights: Tuck small LED lights inside the lanterns, ensuring they’re evenly spaced to create a uniform glow.
- Hang or Display: Choose spots around your porch or garden to hang your lanterns, or place them on tables and other surfaces for added ambiance.
10. Egg Carton Lanterns
Turning what might look like trash into a colorful treasure is quite the feat, and that’s precisely what you can achieve with some old egg cartons and a bit of creativity. By cutting out the individual egg cups, painting them, and stringing them together, you create a vibrant string of lanterns that can light up any outdoor space.
These lanterns not only reuse materials that would otherwise end up in the recycle bin, but they also add a playful splash of color and light to your porch or garden. It’s an excellent project for those who enjoy crafts and want to add a personal touch to their outdoor décor.

The process of making these lanterns is straightforward and offers a fantastic opportunity to involve kids in a creative endeavor. They can choose their favorite colors and help paint the egg cups, making it a fun family activity. Plus, because you’re using LED lights, these lanterns are safe to hang about, even in the kids’ play areas. They offer a gentle light that enhances the nighttime ambiance without being overly bright or intrusive.
Not only do these lanterns provide aesthetic value, but they’re also incredibly cost-effective. Using materials you likely already have at home, you can create something beautiful and functional. This kind of project appeals to those who appreciate sustainable solutions and are looking for ways to cut down on waste. And let’s be honest, it feels great to make something so cute out of something so ordinary.
Ready to create your own delightful lantern string? Here’s what you need to do:
- Gather Materials: You’ll need several egg cartons, scissors, paint, a paintbrush, and small LED lights.
- Prepare the Egg Cups: Cut out the cups from your egg cartons and trim any excess material for a neat appearance.
- Paint: Color the cups in various shades. Let them dry completely.
- Assemble the Lanterns: Poke a small hole in each cup and string them together. Insert an LED light into each cup.
- Display: Hang your new lanterns around your porch or in your garden to enjoy their charming glow.
Wrapping It Up

Well, there you have it—ten unique ways to light up your evenings with a bit of DIY magic. Whether you’re crafting with driftwood or upcycling old jars, each project adds a personal touch that no store-bought lantern can match.
It’s about creating memories as much as it is about creating light. So, grab some tools and maybe a little glitter, and let your creativity shine!